How to build a shed- Part two
Welcome back to our how to build a shed series. If you missed part one of our build, you can check that out HERE! It includes a material list and progress photos! We made some pins for Pinterest in case you want to pin and save for later! This DIY shed is totally custom, but is a great project to tackle in the Spring/Summer time months!
We would love for you guys to use the Pins below on your Pinterest! While you’re over there give us a follow so you can see what we're currently loving/what we’re up to!


Today I’m going to be sharing the second part of our diy shed series! This post will include updated photos from what we have accomplished since part one! Here’s where we left off on our first shed post.

Hello, World!
All four walls were framed, including the windows. We did run into a small mishap and altered the windows after the first post. We added both a header and more 2x4 supports on the sides of the window framing. Let’s get started, shall we!

We didn’t have the second portion of our materials for our shed build, so to practice safe social distancing we utilized Home Depot’s home delivery service. This tacked on an additional $79 to our order, but it was 100% worth it! We were so impressed with the driver who dropped it off. He spoke to us from his truck (parked in the street), dropped everything at the end of our driveway (again making no contact with us) and left our product receipt. Exceptional! So impressed with Home Depot.
Once the materials were dropped off we were able to get to work! Here is a photo of our unwrapped materials.

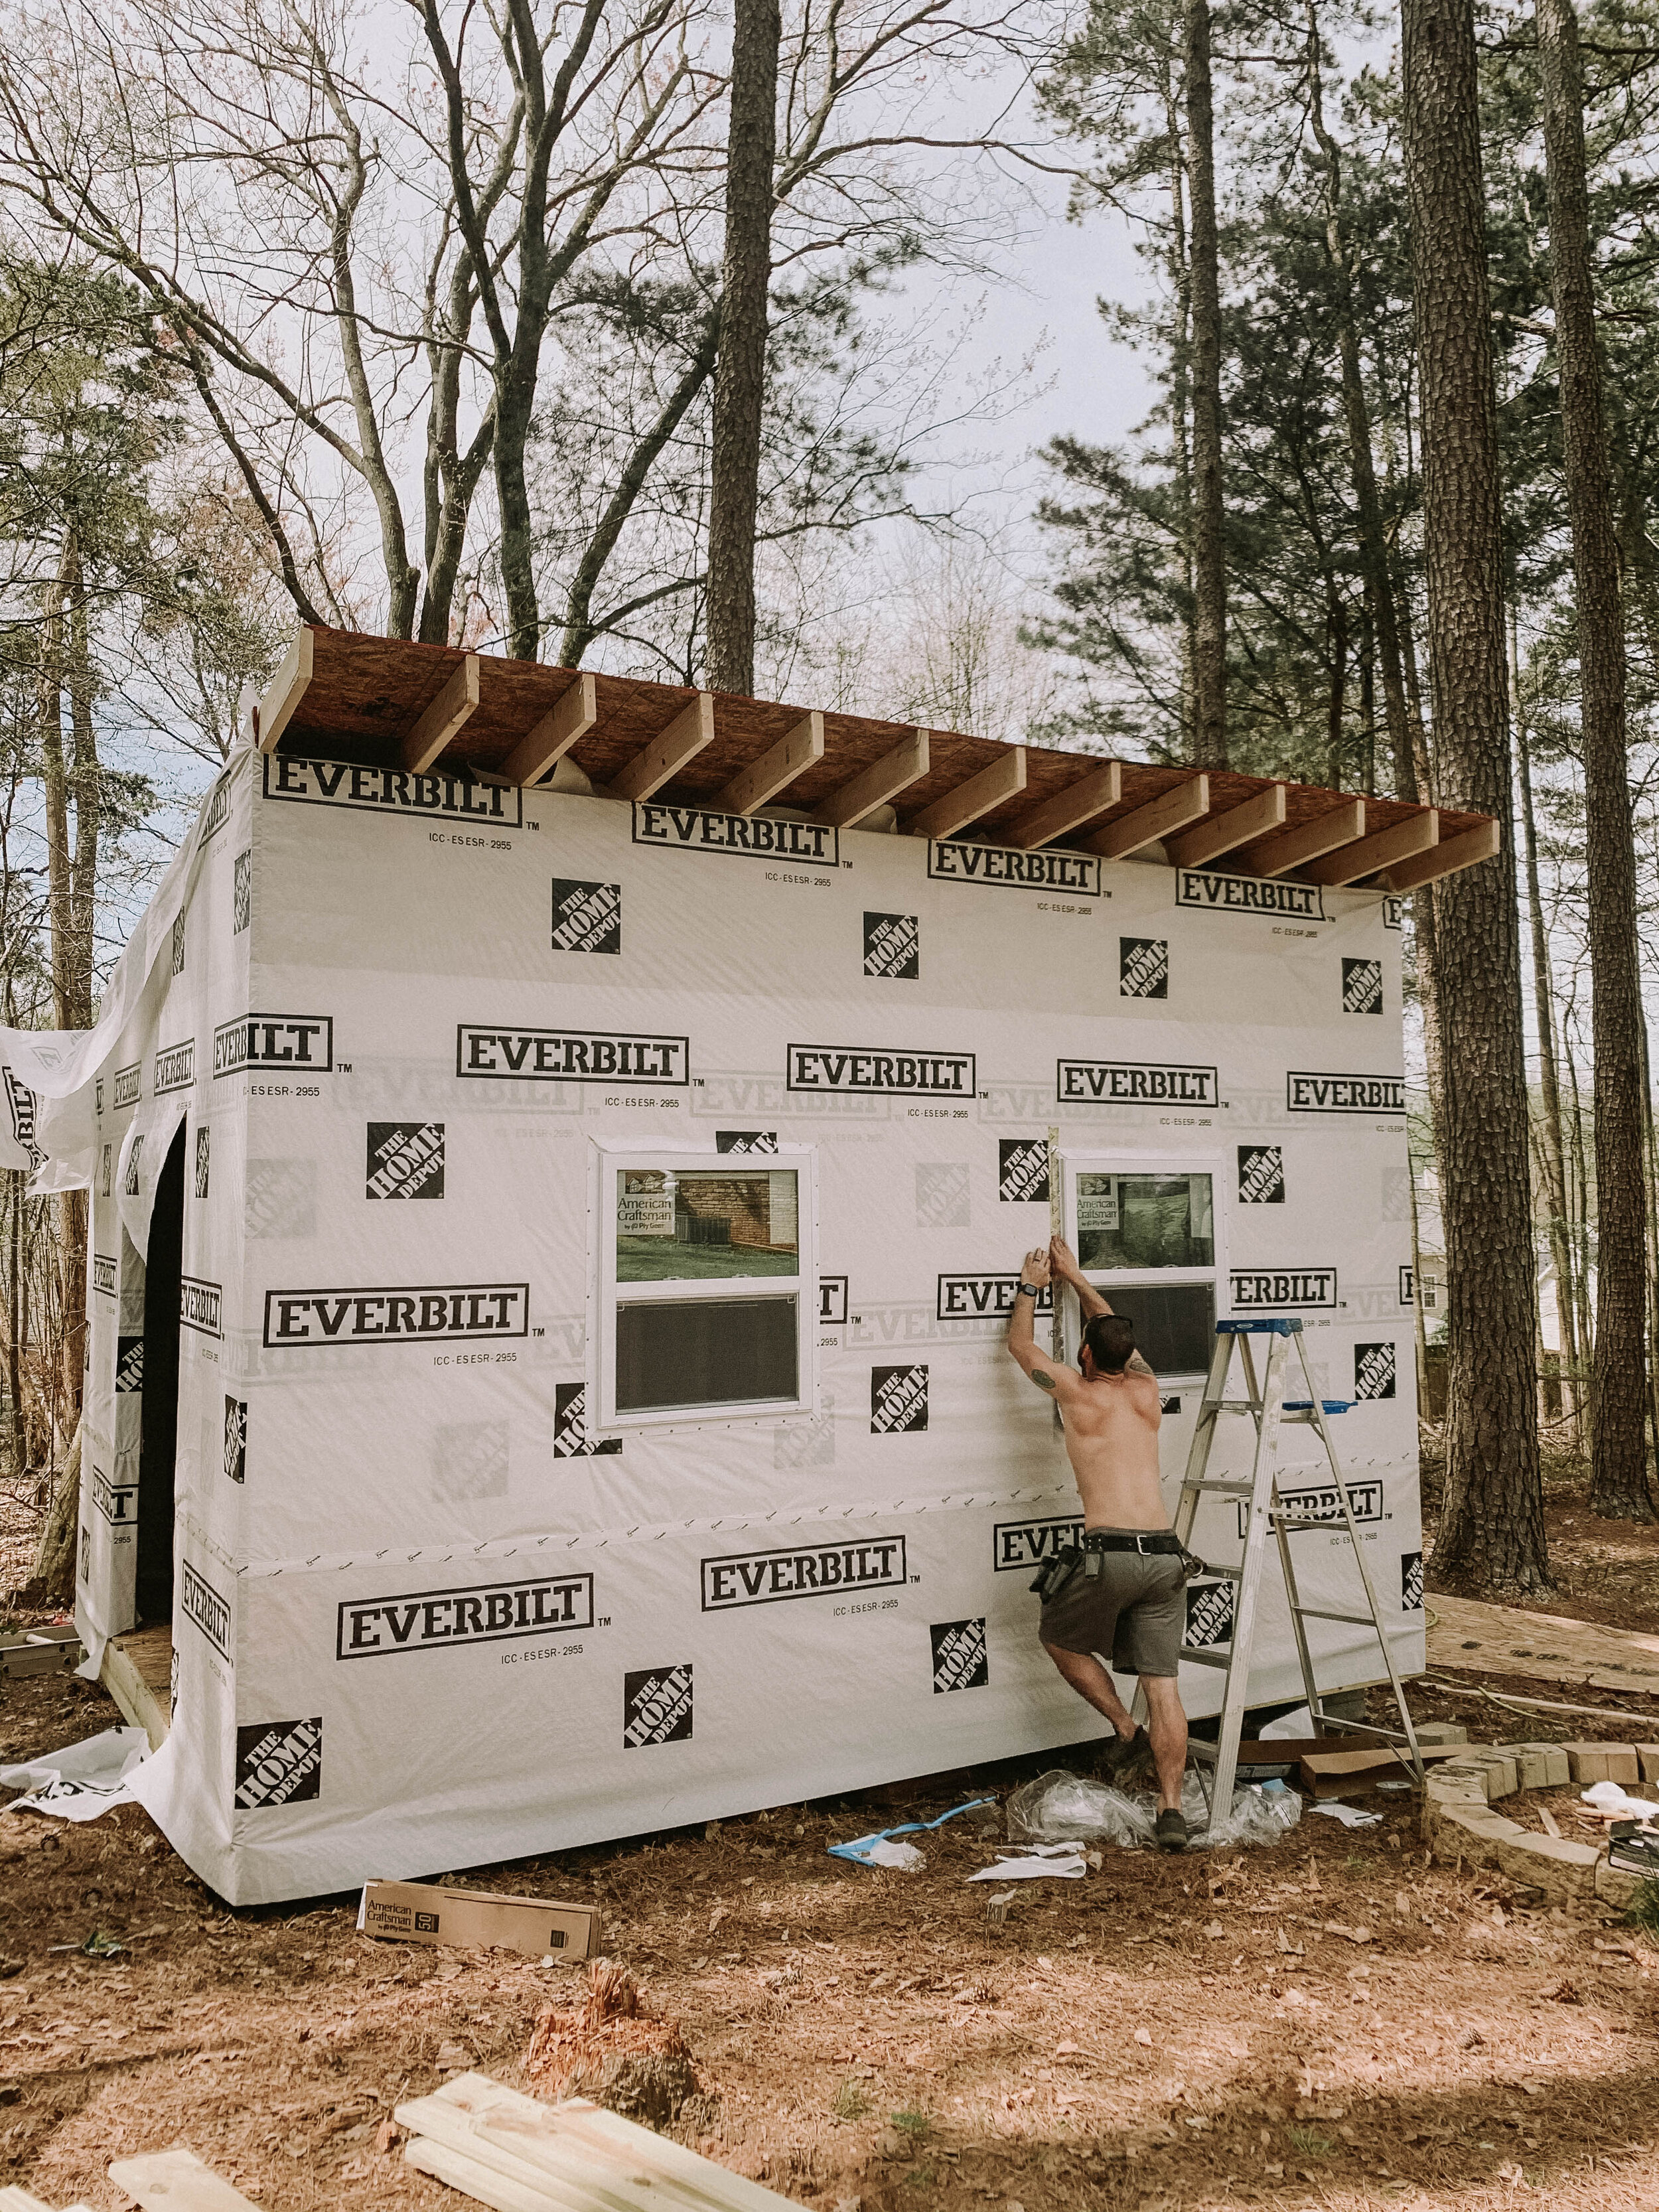
We started by installing the 2x6 shed roof joists. In order for the boards to sit properly on the shed frame, we had to notch out the slant on each piece.

Here is a different view of the shed joists from below. I don’t know about you, but I love looking at all the lines on framing.

When the shed roof joists were installed we moved onto the plywood walls. (You’'ll see a couple pieces of plywood on the roof in the photo below! Scot put those up there before the walls were installed.) You’ll definitely want to install the walls before the roof as your structure will be more secure that way.

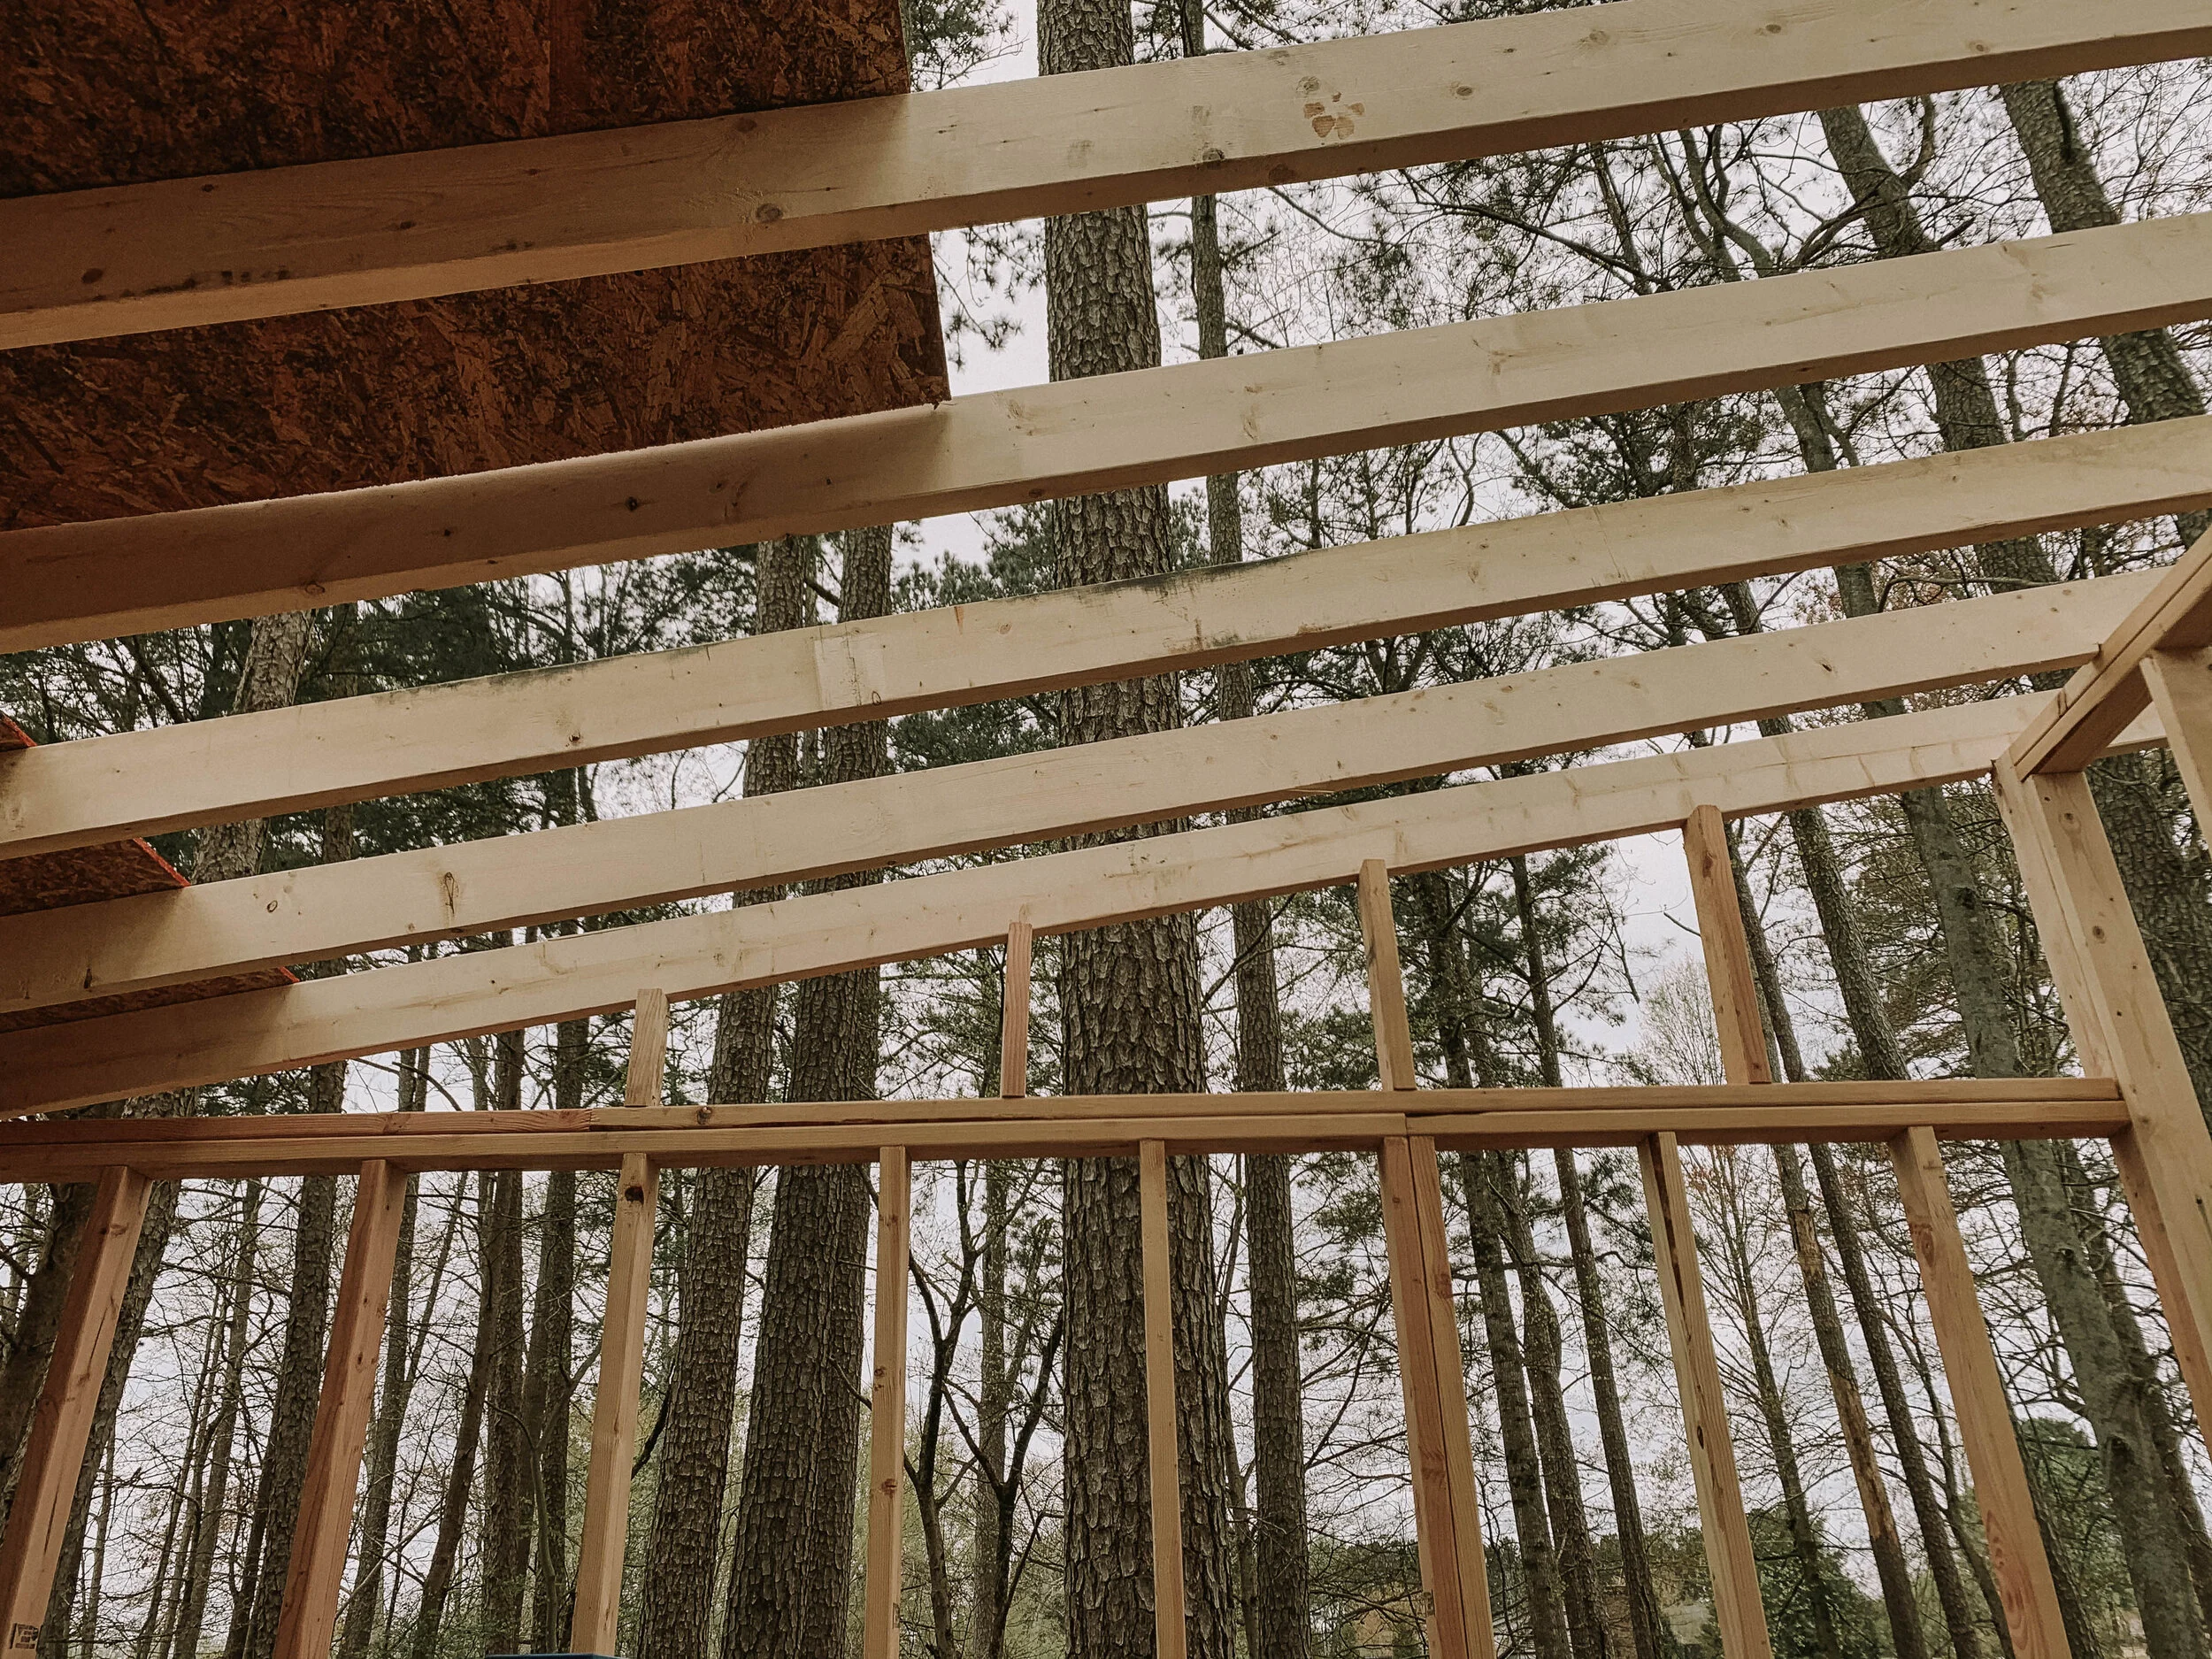
Side view of roof joists and side supports.

Another view of the side of the shed roof joists and side supports.

We used these windows . We wanted to windows on the front of the shed, so that when we were looking at the shed from the house we didn’t see the door.


Here’s a side view of the shed. This opening is where our DIY door will be.


Since I couldn’t help Scot lift the higher pieces for the wall, we leveled and installed a 2x4 to hold it in place, along with a 2x6 for extra security.


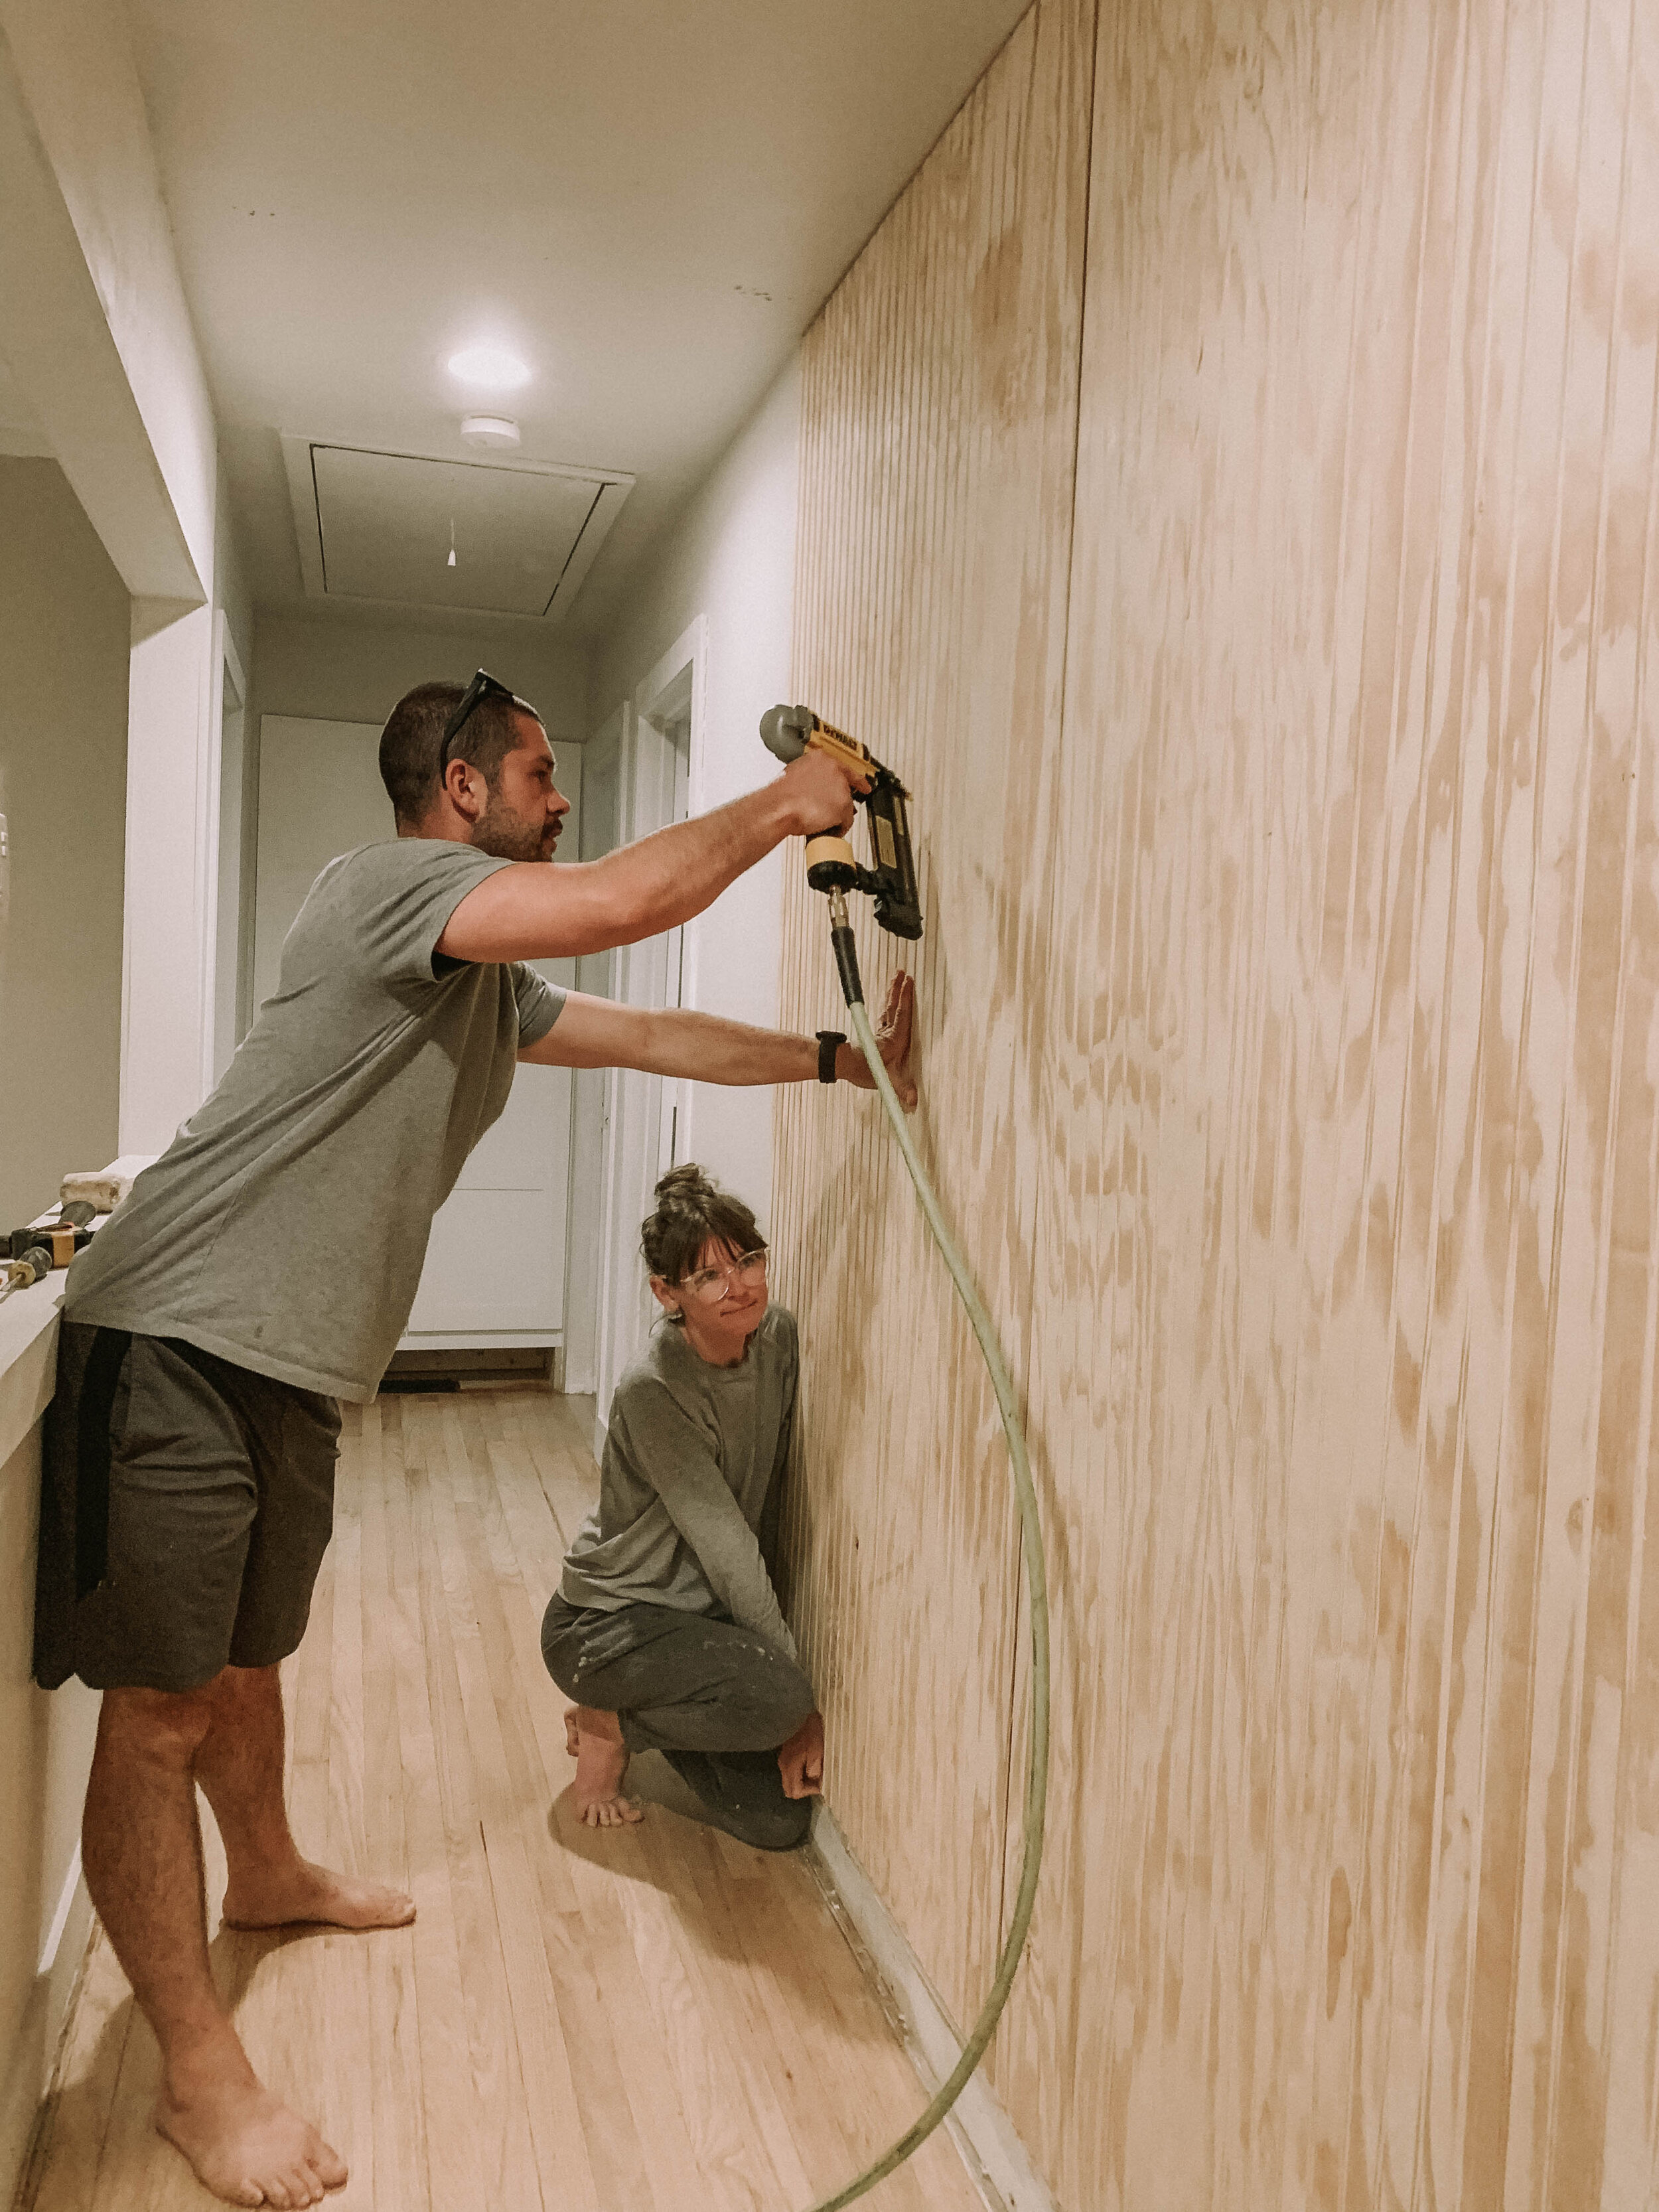
We cut our wrap in the windows and doorway by creating an “x”. This allowed us to tuck in the extra wrap before installing the windows for added waterproofing.

Proof that I helped, even with my lifting restrictions! :)


Thank you so much for stopping by and checking out our progress for our part two series of “How to build your own DIY shed for your backyard”! We really appreciate it! If you have any questions feel free to reach out via email at thisminimalhouse@gmail.com or jump over and connect with us on Instagram!
SHED POSTS:
Stay tuned for part three soon!
Pin these photos below to save this DIY project for a later date!


Hello, World!
a