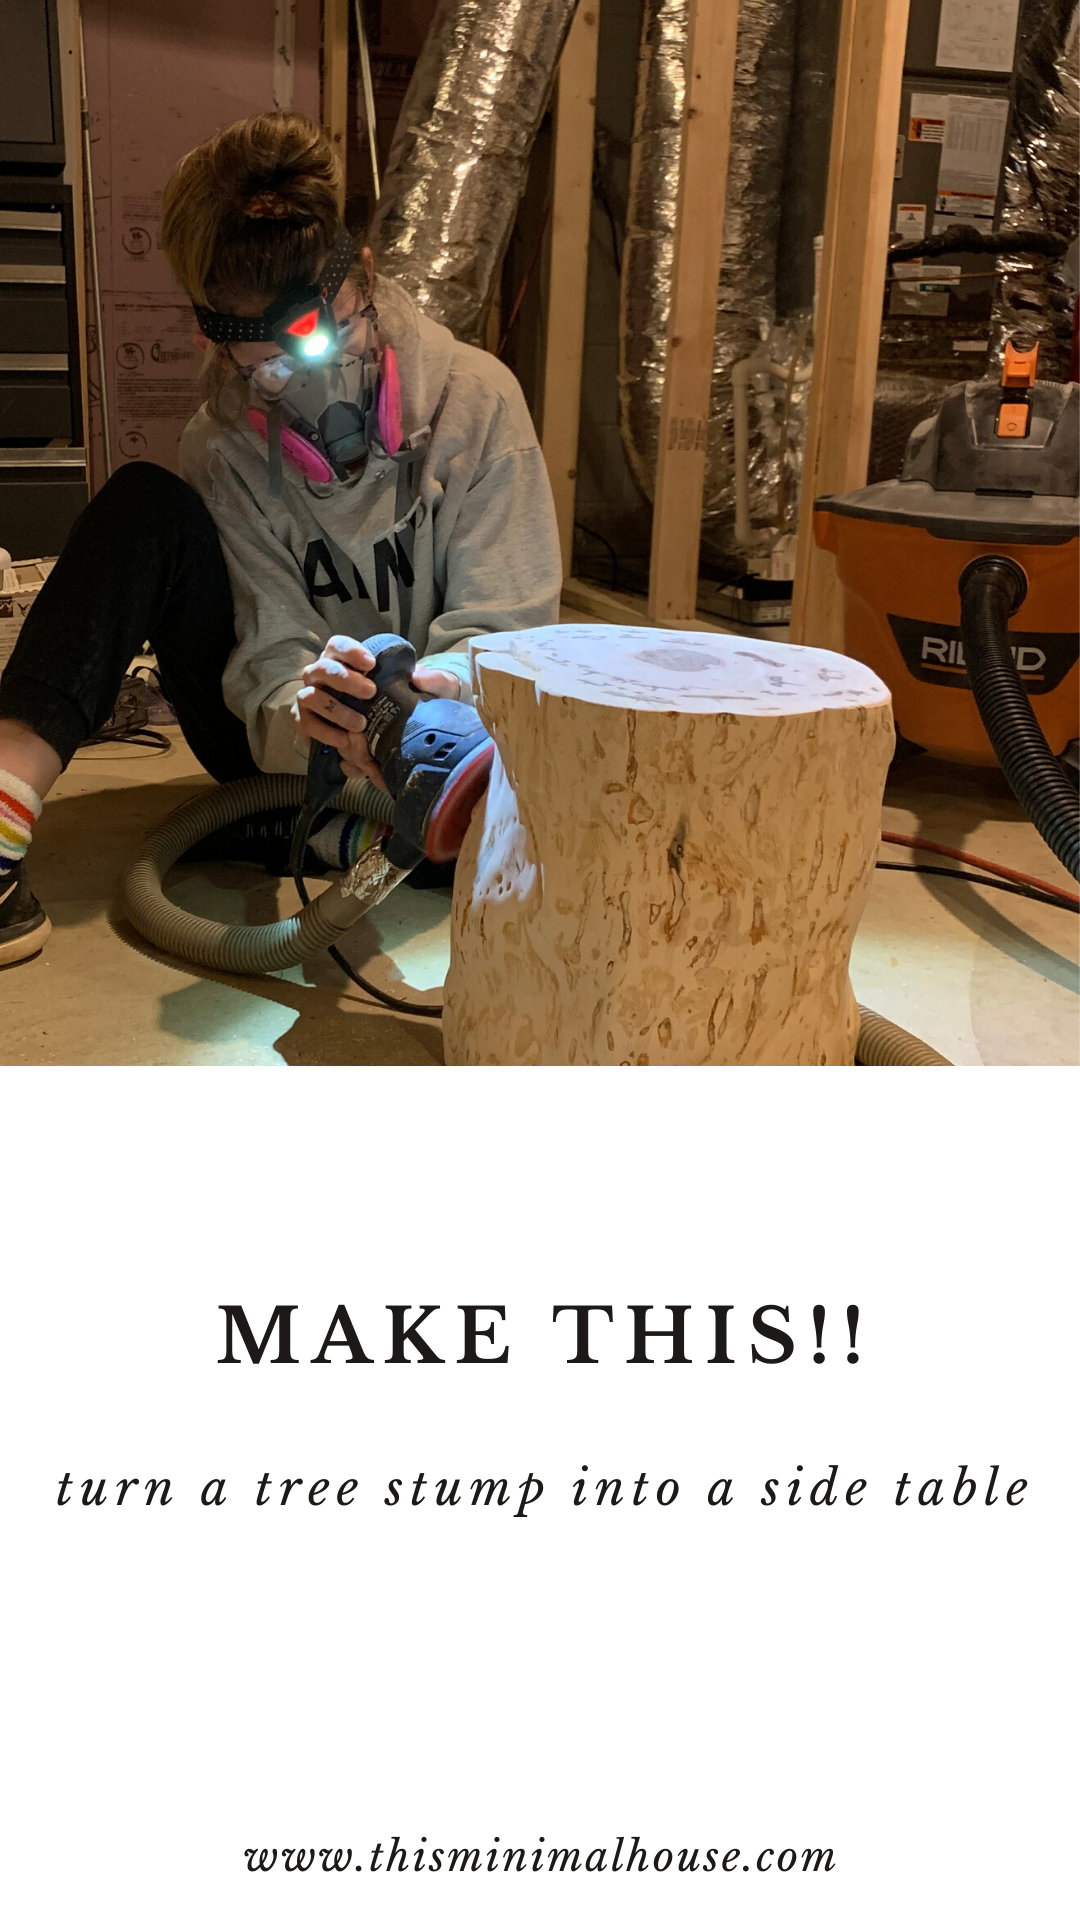
DIY tree stump side table

I’m not sure if you guys are as obsessed with tree stumps as I am, but I think they’re the perfect way to incorporate organic natural decor and design into your home. Yesterday we were outside in the yard getting a few things checked off our list before the rain set in and decided to finally cut down a pecan tree that sat in the middle of our yard. While the tree itself was beautiful, it was completely taken over by woodpecker holes. Besides the woodpecker holes, it was kind of in the worst place for our yard.
Removing this tree allowed our kids to play baseball away from our house (saved windows), eliminated the horrible caterpillar nests we get in it EVERY SINGLE SUMMER (disgusting), and overall made our yard look even larger.
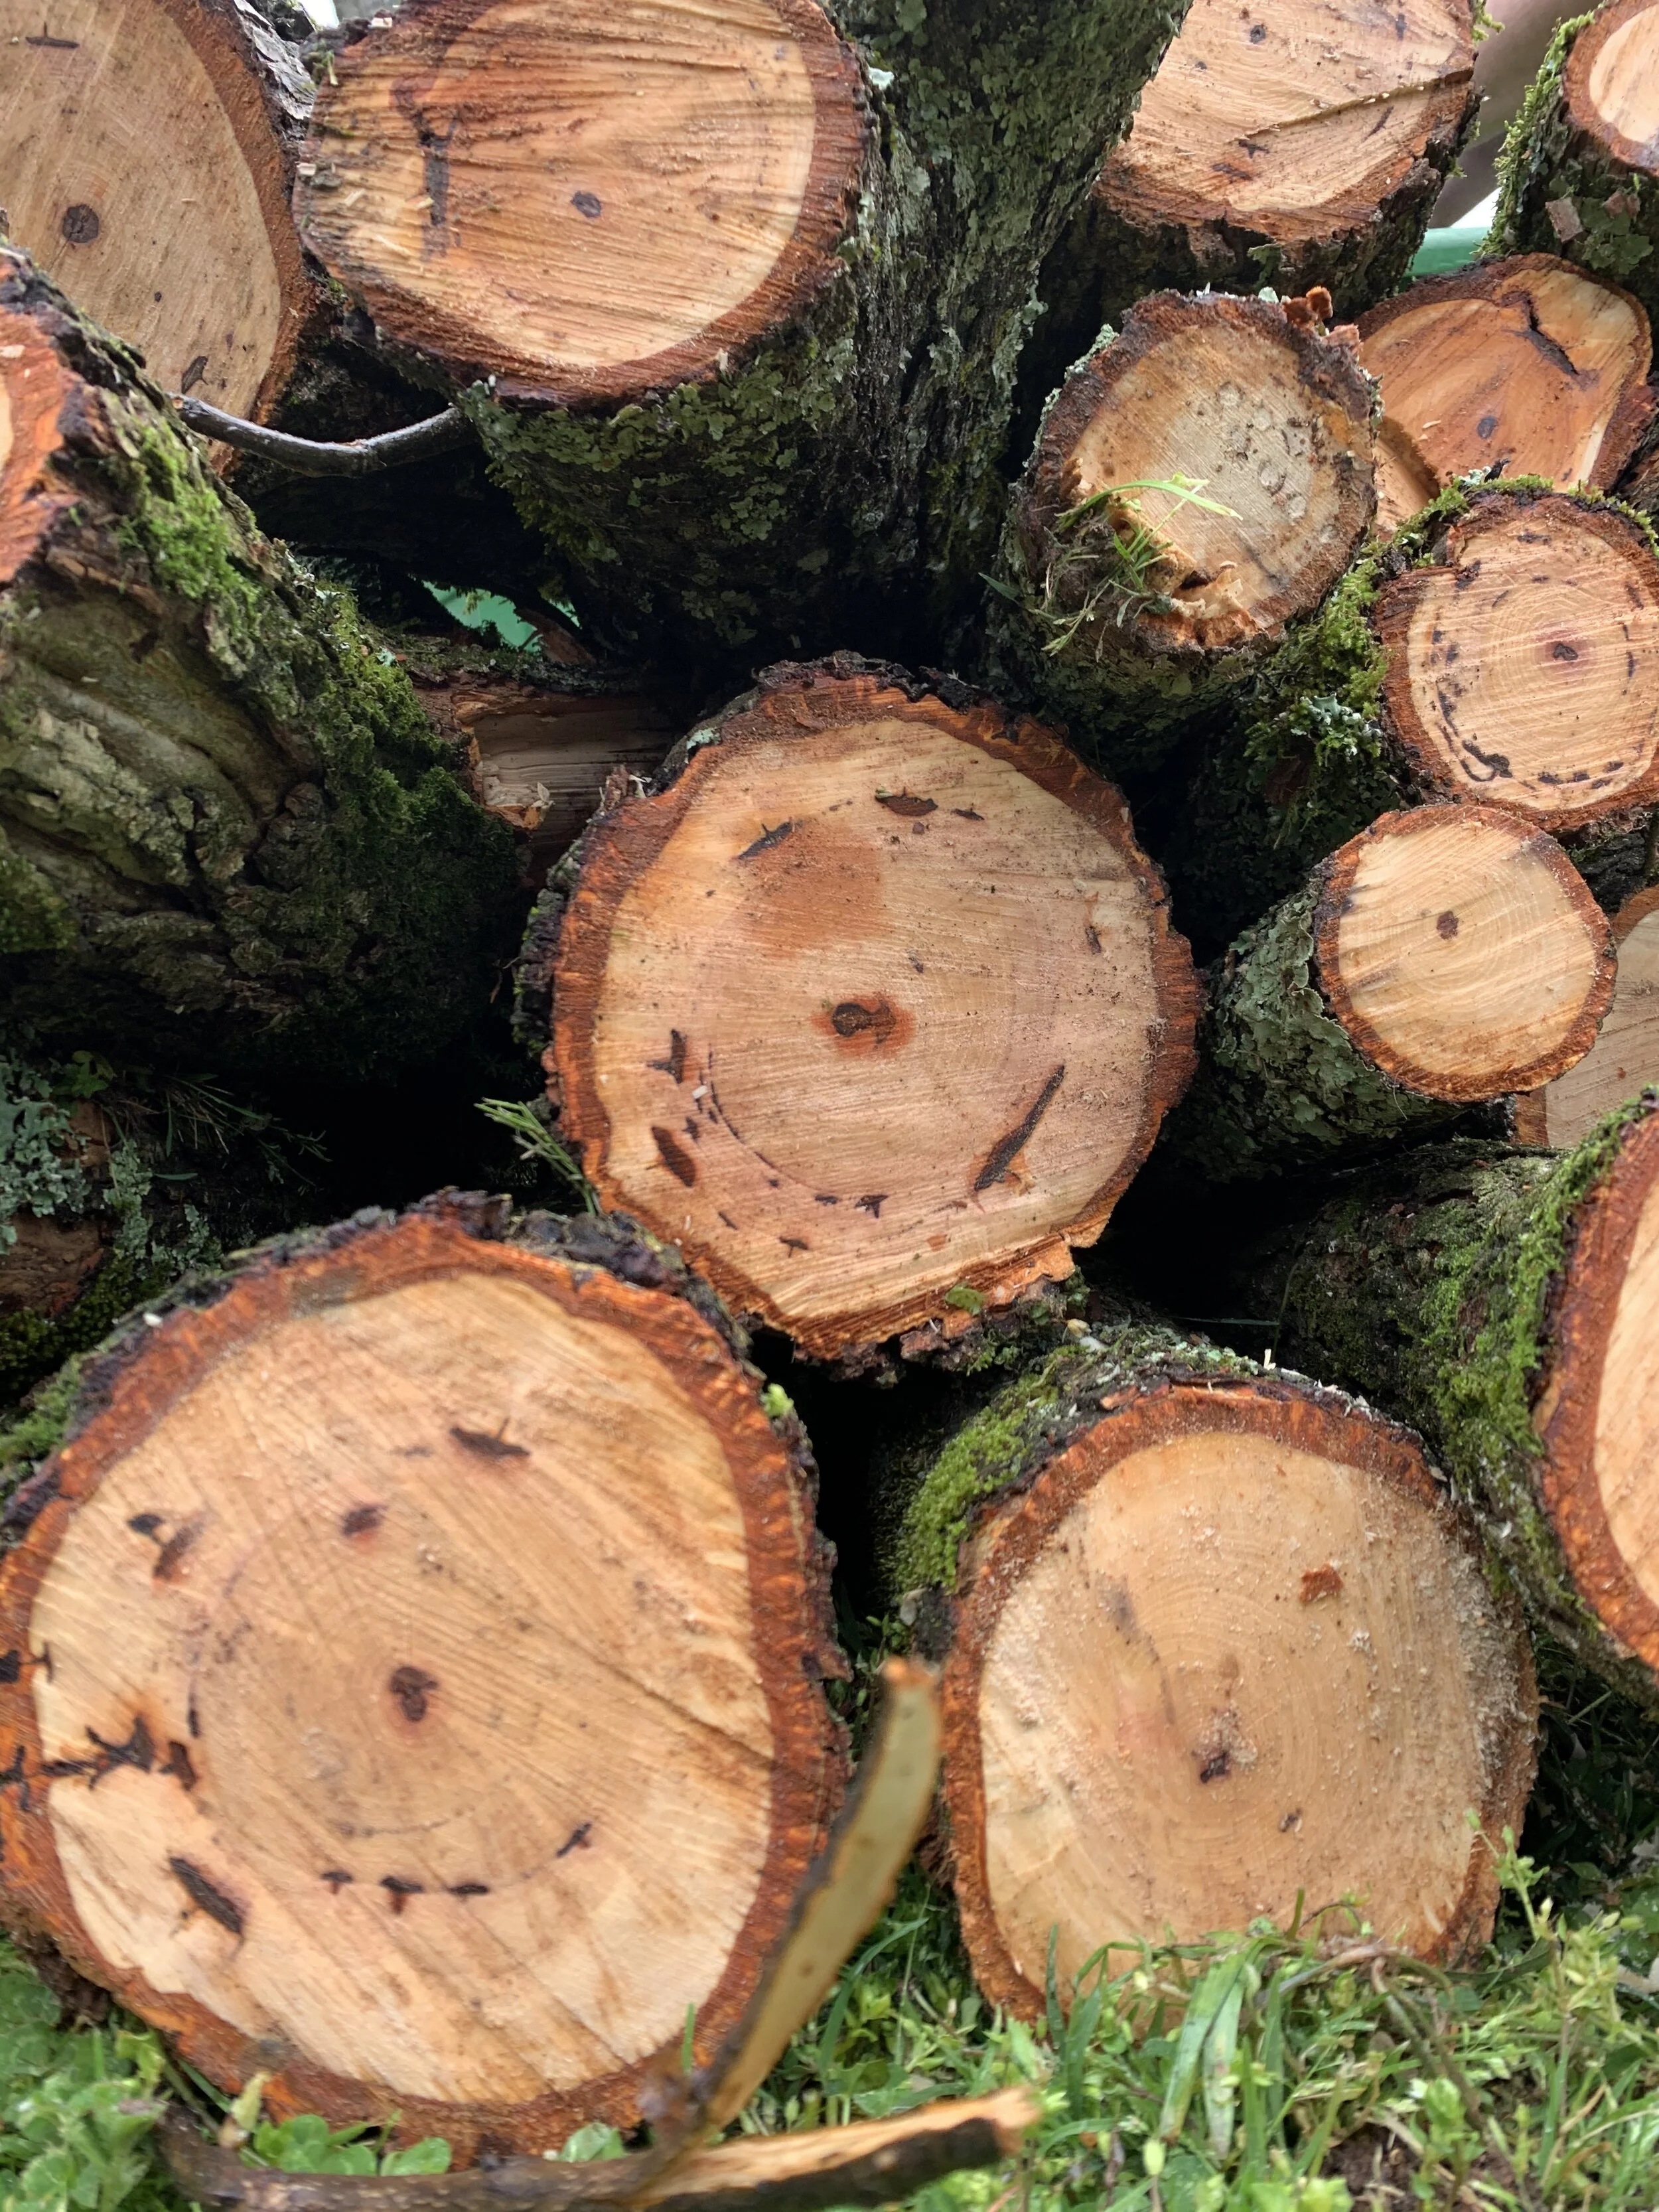
I digress. The first thing Scot did was cut down the tree itself. Then we put all of the branches on the curb to be chipped. Next he cut up different size stumps. Finally we stored the wood from this tree that he chopped with his axe and stored it under our new shed. Speaking of new shed, we have some exciting things coming up regarding that DIY so stay tuned.
Once we organized all the wood we got to work on one of the stumps. My oldest son helped me remove the bark since I still have lifting restrictions, and I put together a fun time lapse of the entire process. I thought it would be fun to share on here, in case you’re wondering how we got to the final look of this DIY tree stump side table. Enjoy!
Here are a few before photos of what the tree stump looked like during and after removing the bark from it.

This was after we successfully removed the front portion of the trees bark. With trial and error we determined that the best method was using a hammer to get underneath the bark, allowing us to get a good grip on the bark to pull off.
Here’s what the tree stump looked like after we removed all of the bark.

Isn’t that such a GORGEOUS tree stump?! I just cannot get over the knots. Here’s a close up.

I mean….
Anyways, as you saw from the time lapse video above, I first attempted to sand this tree stump by hand. (After allowing it to dry overnight) That obviously wasn’t a sufficient method. I ended up getting out our orbital sander and using several different grits to achieve the look I wanted.
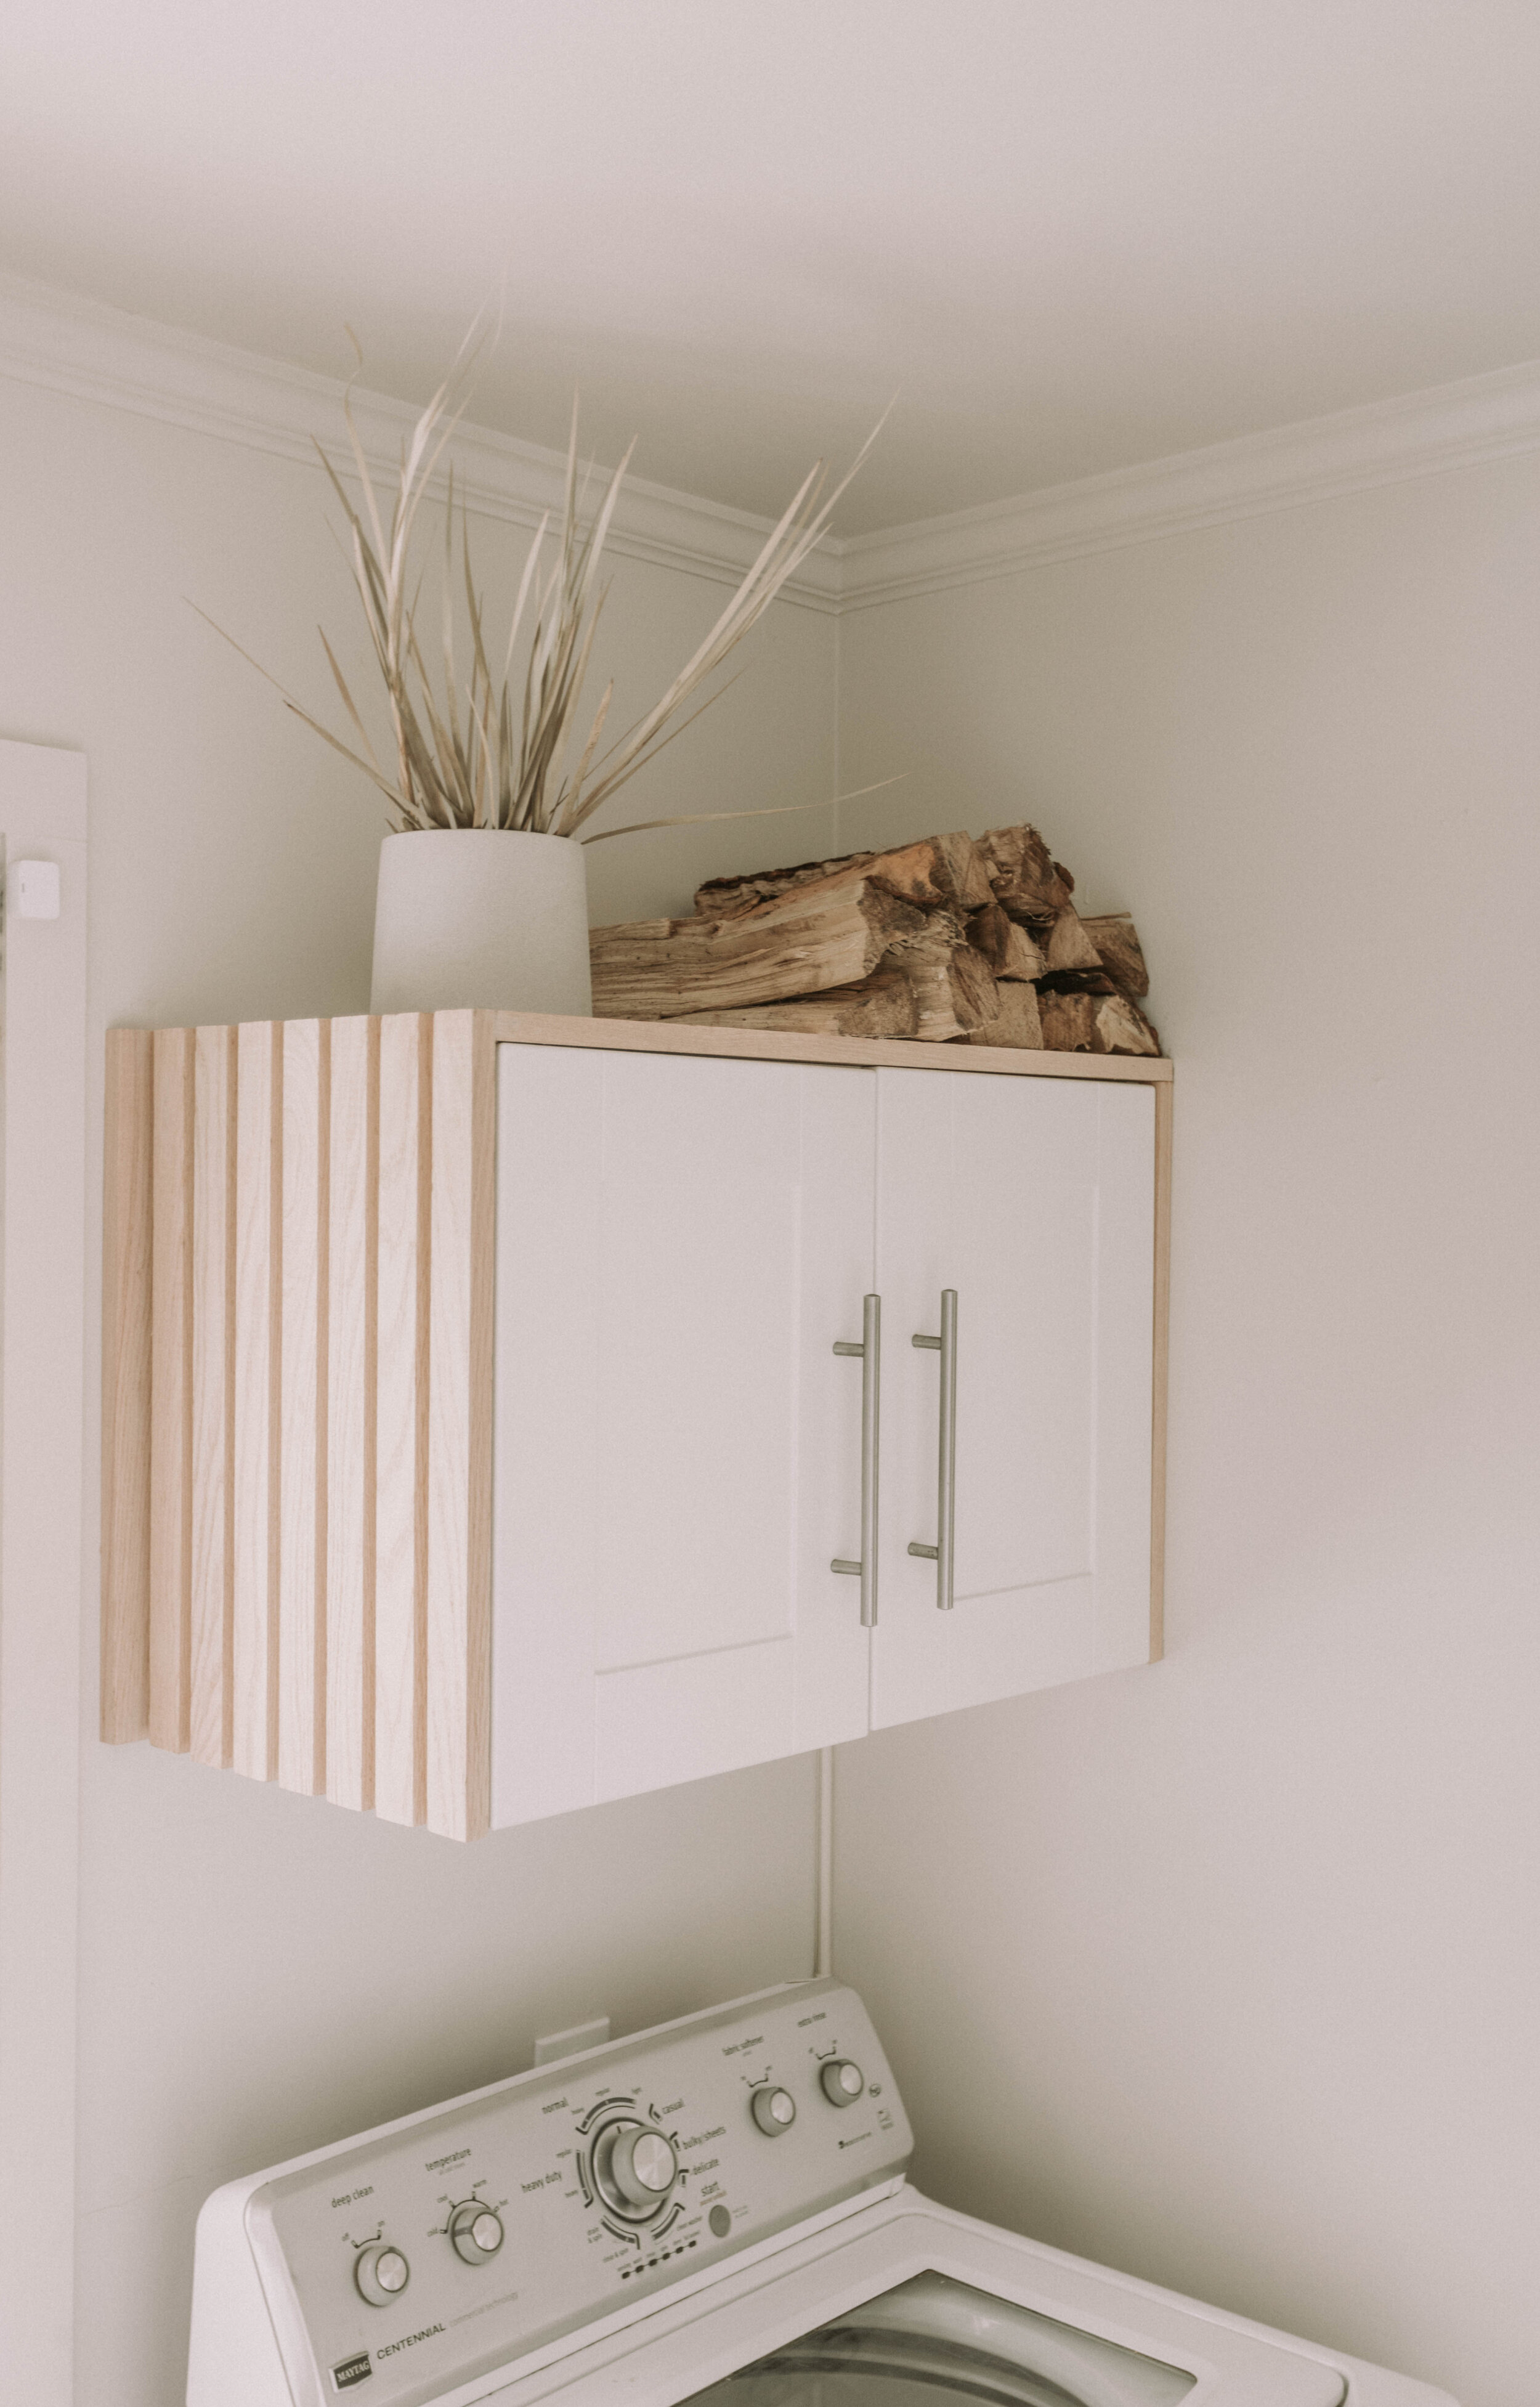
Overall I am so impressed with how our DIY tree stump side table turned out. It is so multi functional, it can literally go in any space in our home. We have big plans to do a larger project with tree stumps in the near future, so I will keep you guys posted on that! For now here’s a photo of what the tree stump currently looks like!

If you guys make a tree stump side table we would love to see! Come over and hang out with us on Instagram! Make sure to PIN the images below to save for later in case you want to tackle this easy DIY project at a later time! :)