Upgrade your attic door with a hook and pull system
We are scrambling to wrap up the finishing projects for our Spring 2020 One Room Challenge. Yesterday we tackled our attic door, which really needed some attention. Luckily, the project itself wasn’t super intense, however it was a drastic cosmetic change/improvement. The trim around our attic door is original to the house, and since we’ve since replaced all the trim with MDF, we wanted this to match.
The first thing we did was grab our shop vac and a crow bar and removed the trim. We had a roach infestation when we moved in six years ago, so vacuuming while removing trim is essential in our house for health reasons. Luckily we didn’t run into too gross of a situation, but nonetheless it still kept our working space clean.
Anyways, once the trim was removed we measured and cut down our MDF sheet. Since we’re working with an older attic door, we had to make sure the door would still fully open with it installed without too large of a gap. Whatever gap we did have was going to be filled with our favorite gap filling product.
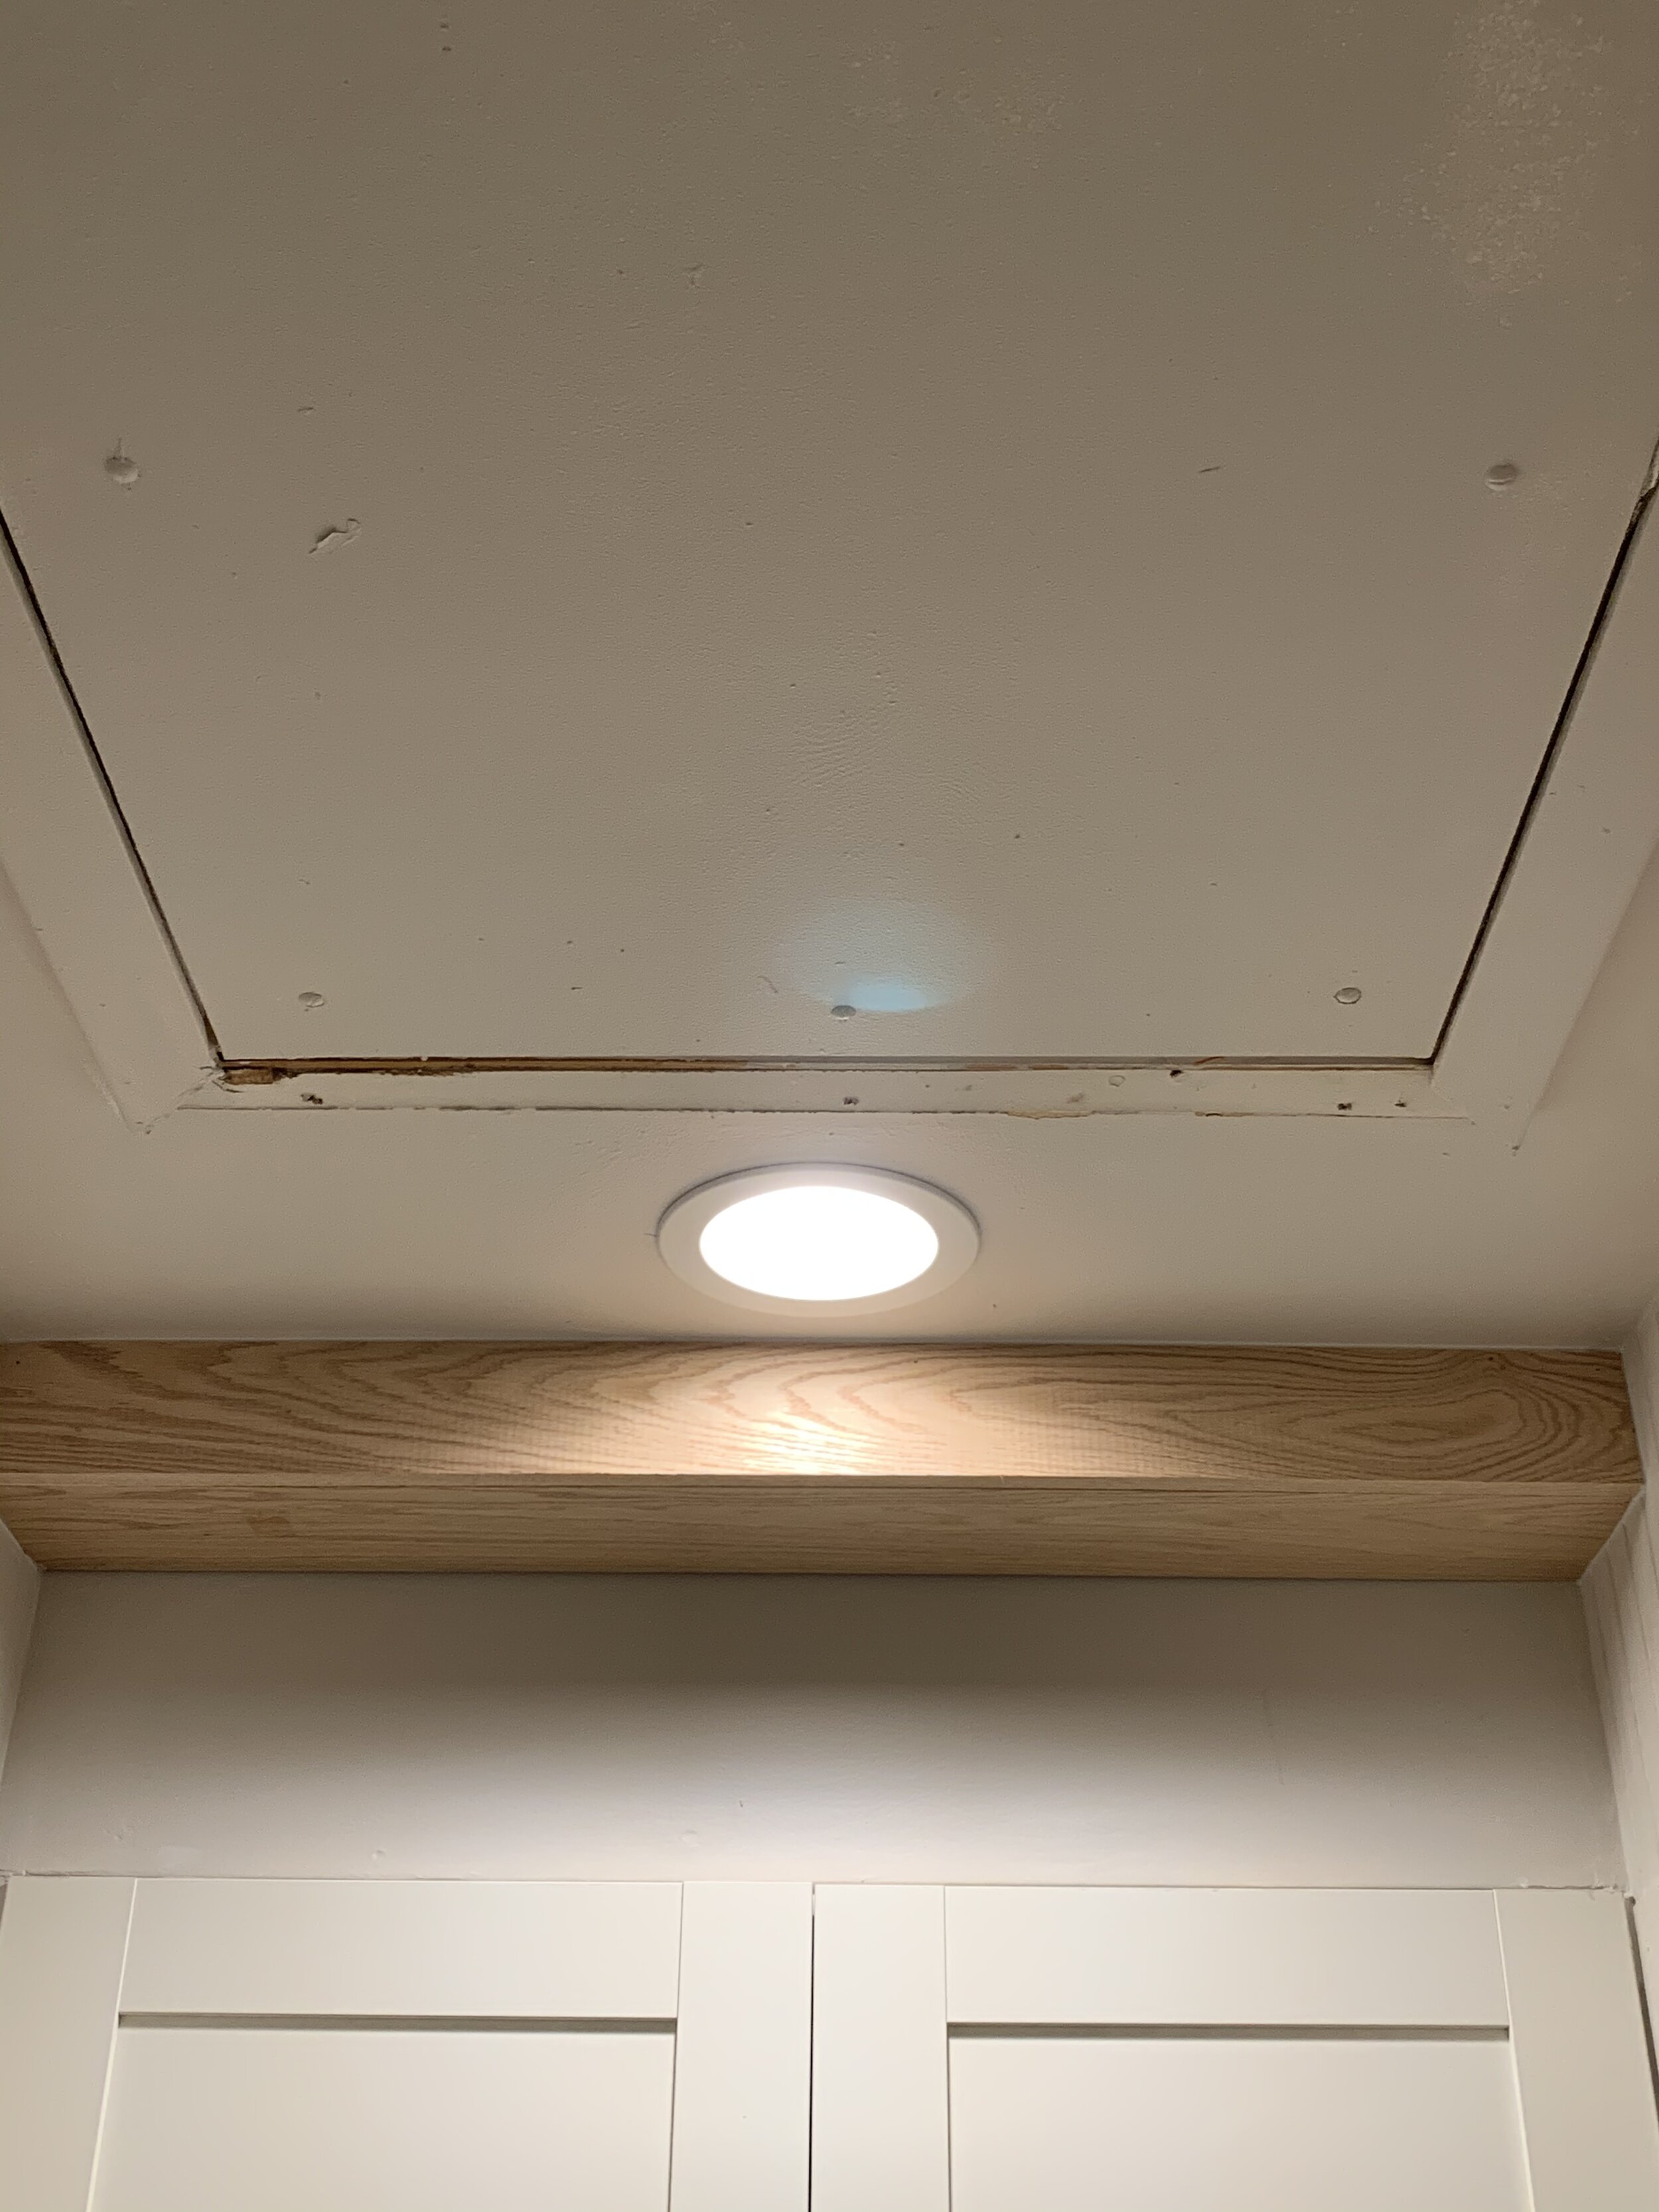
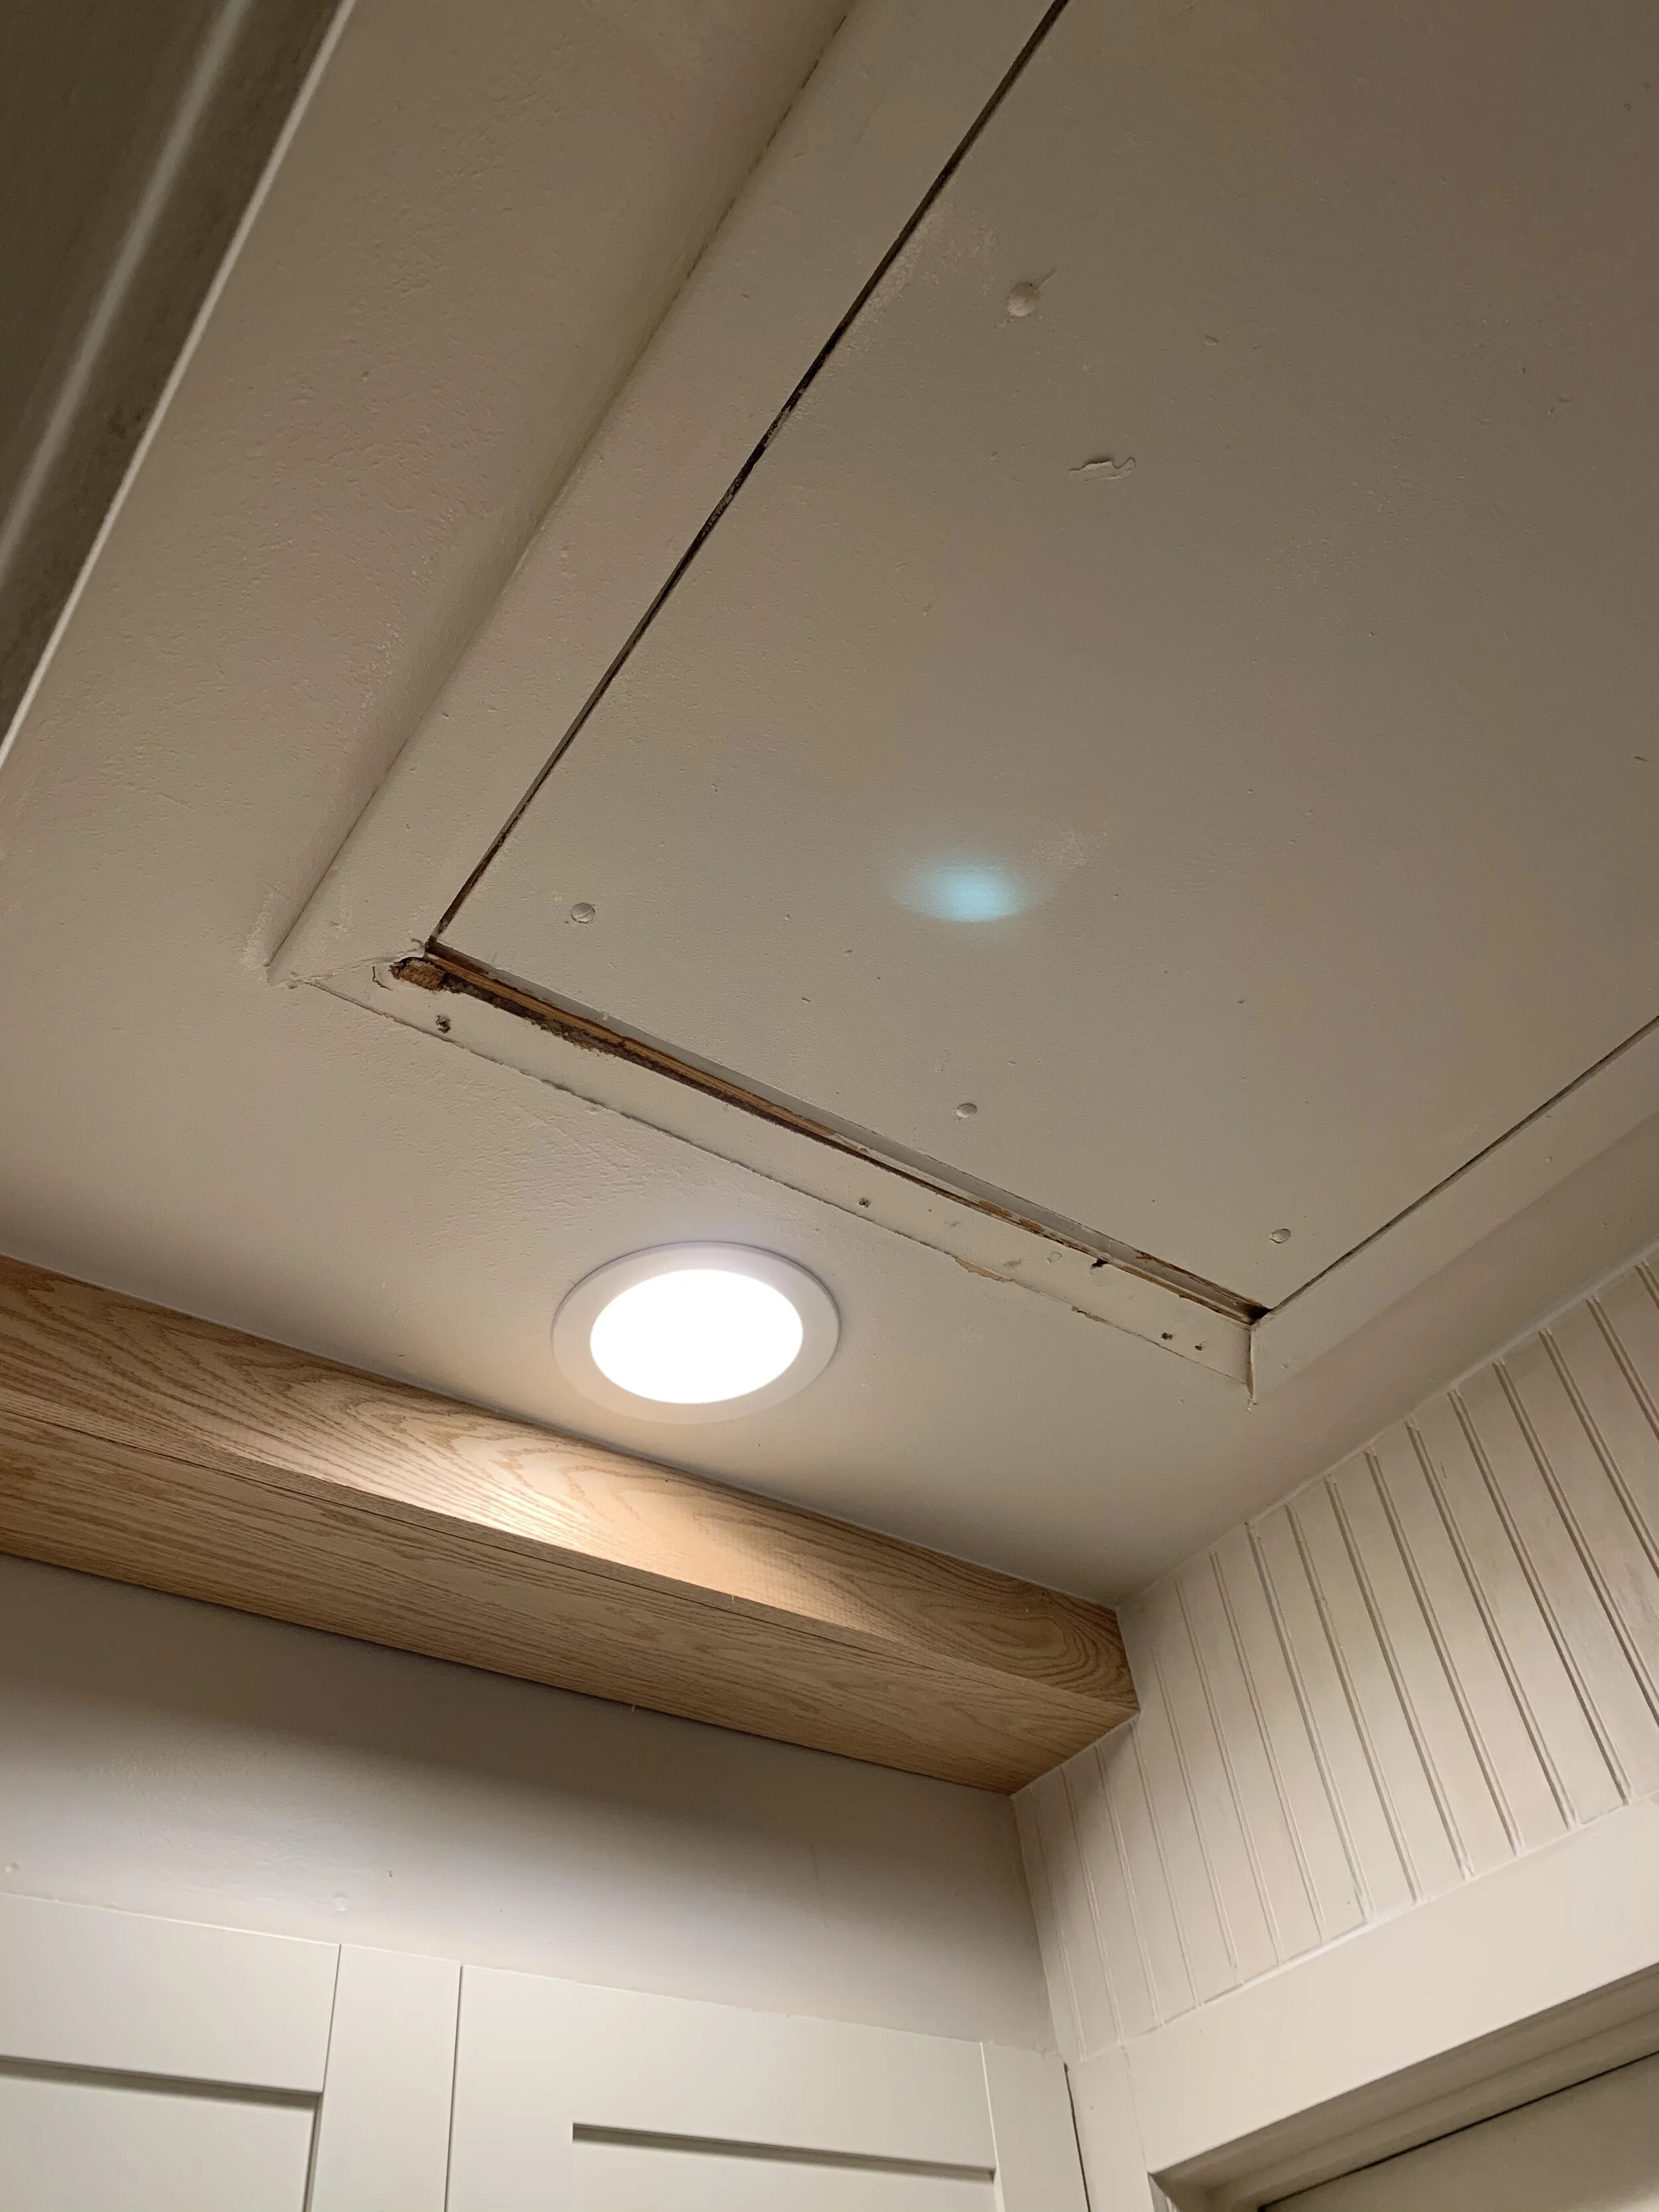
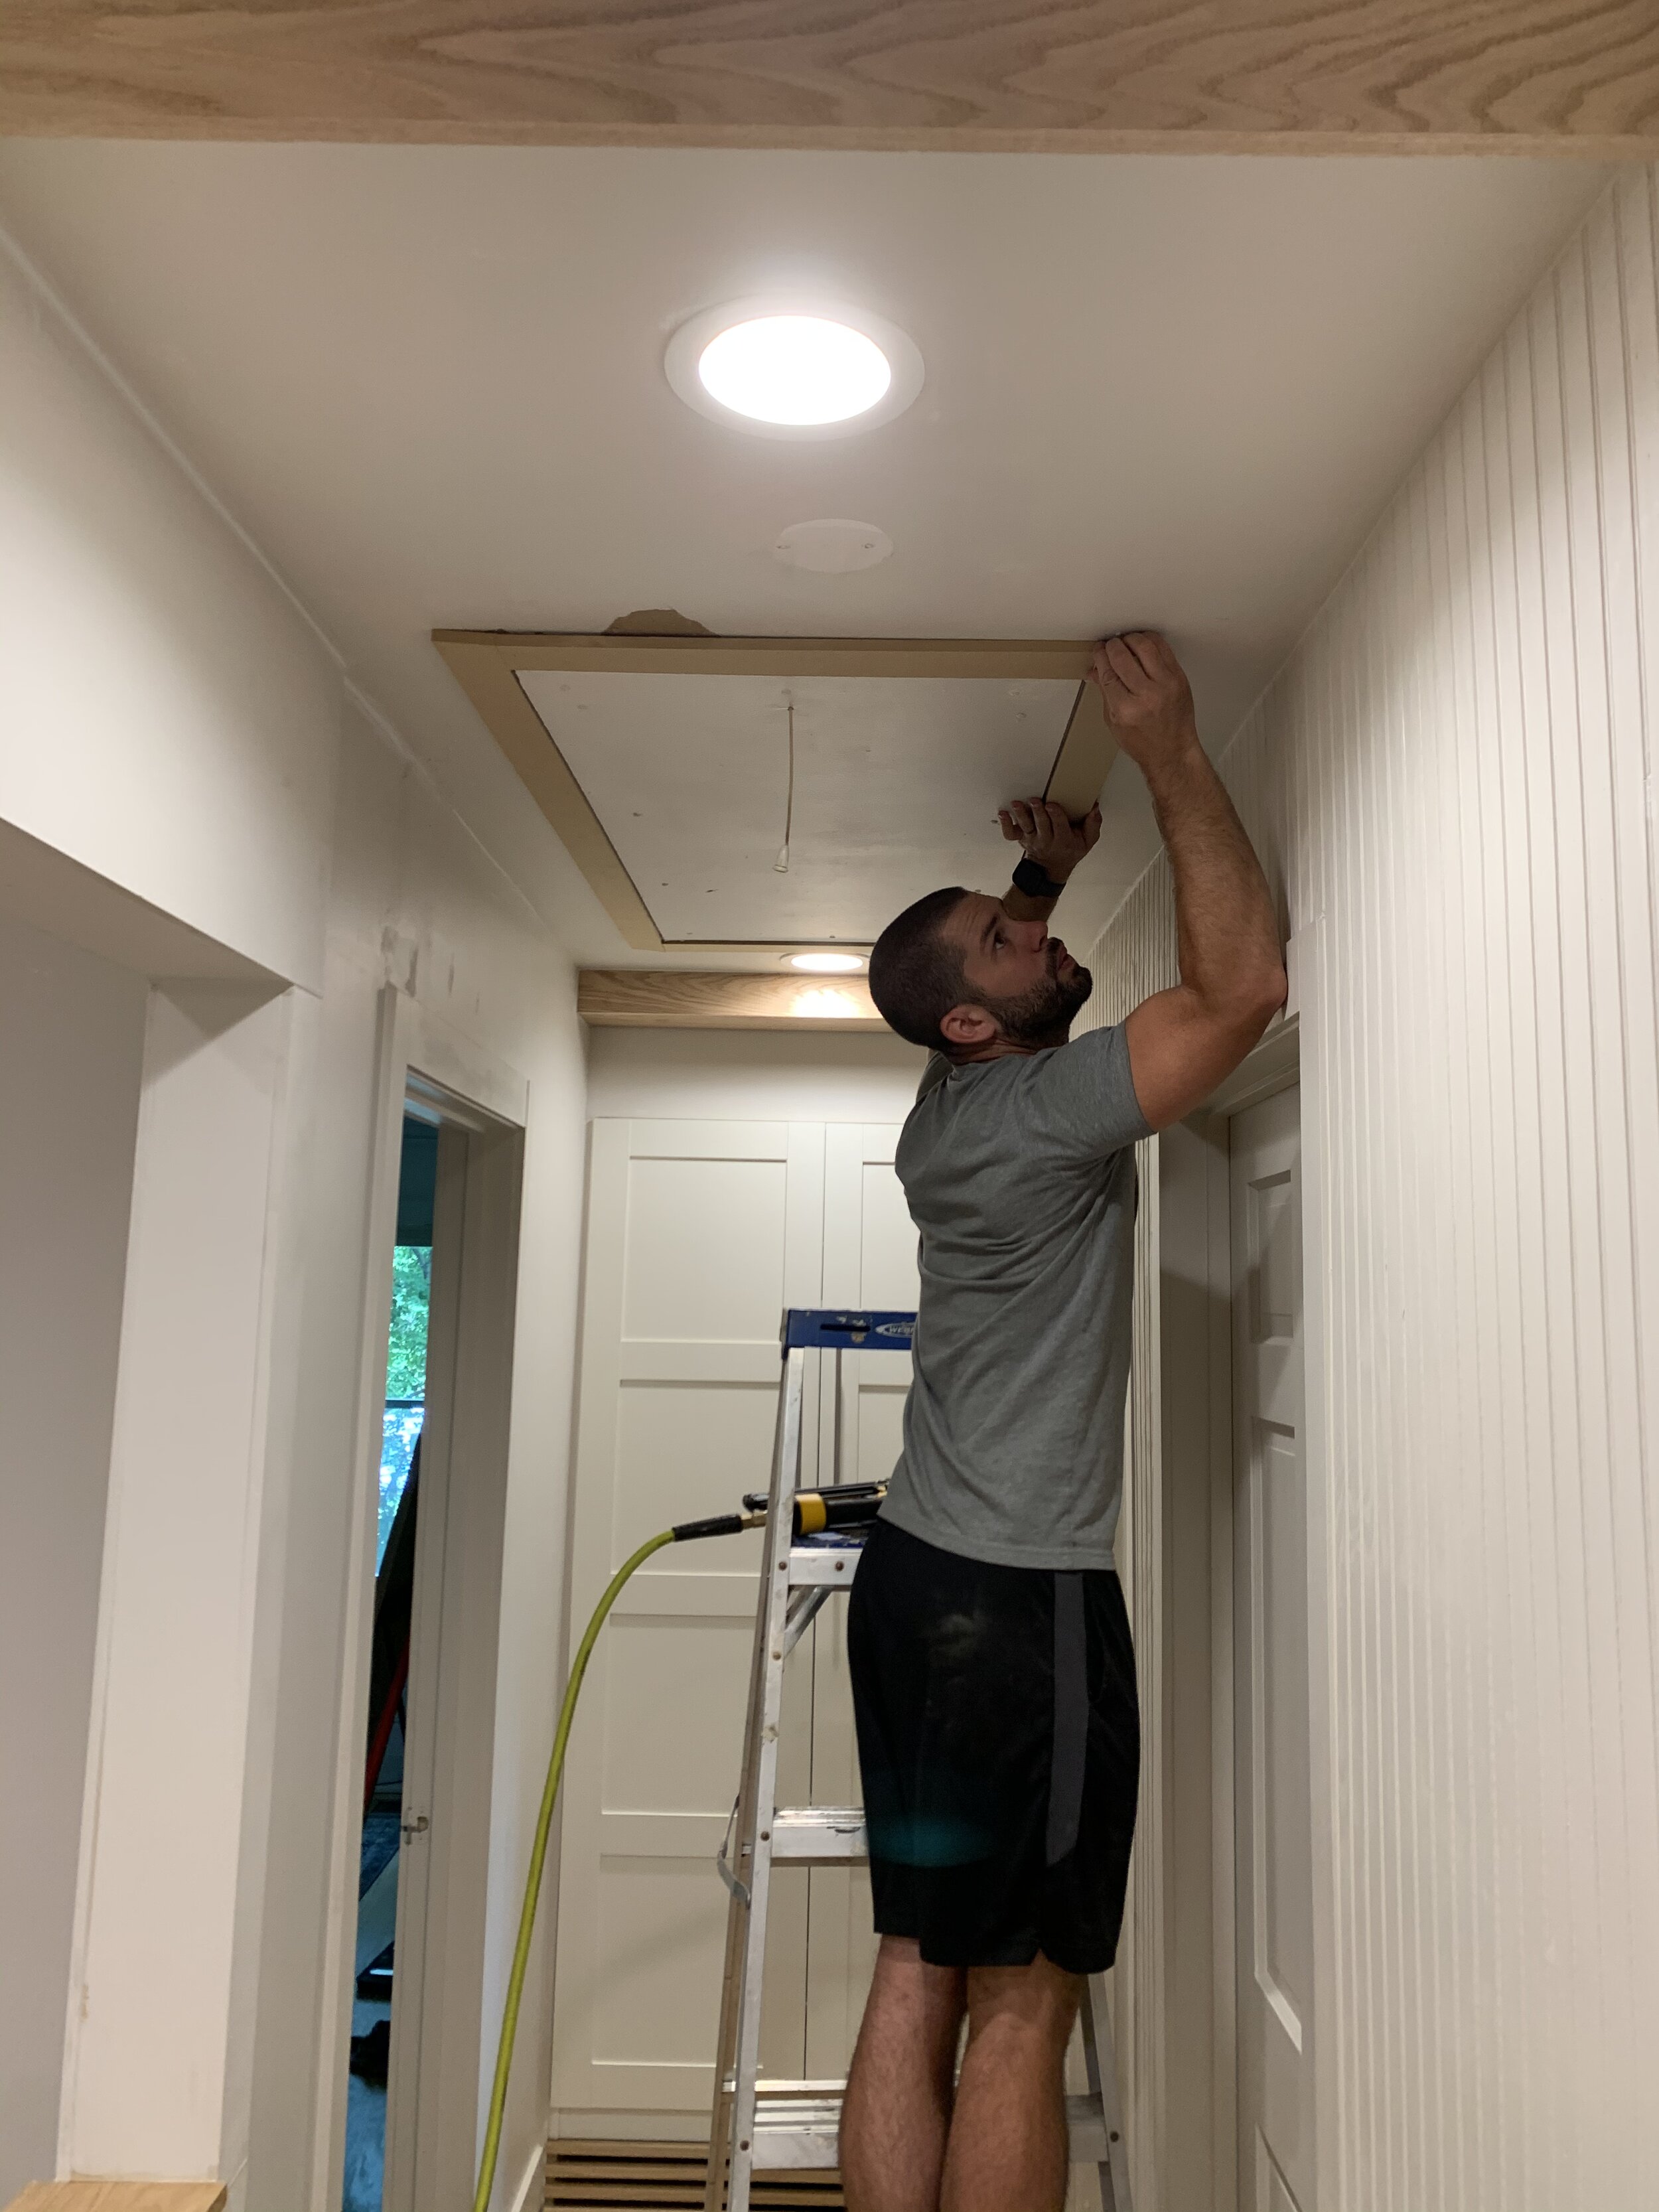
We installed this last can light at the end of the hallway, and it was a the best thing that ever happened to this wardrobe. It’s completely lit up now and it looks so much better. We love that you can change the temperature to match the remainder of your lights.
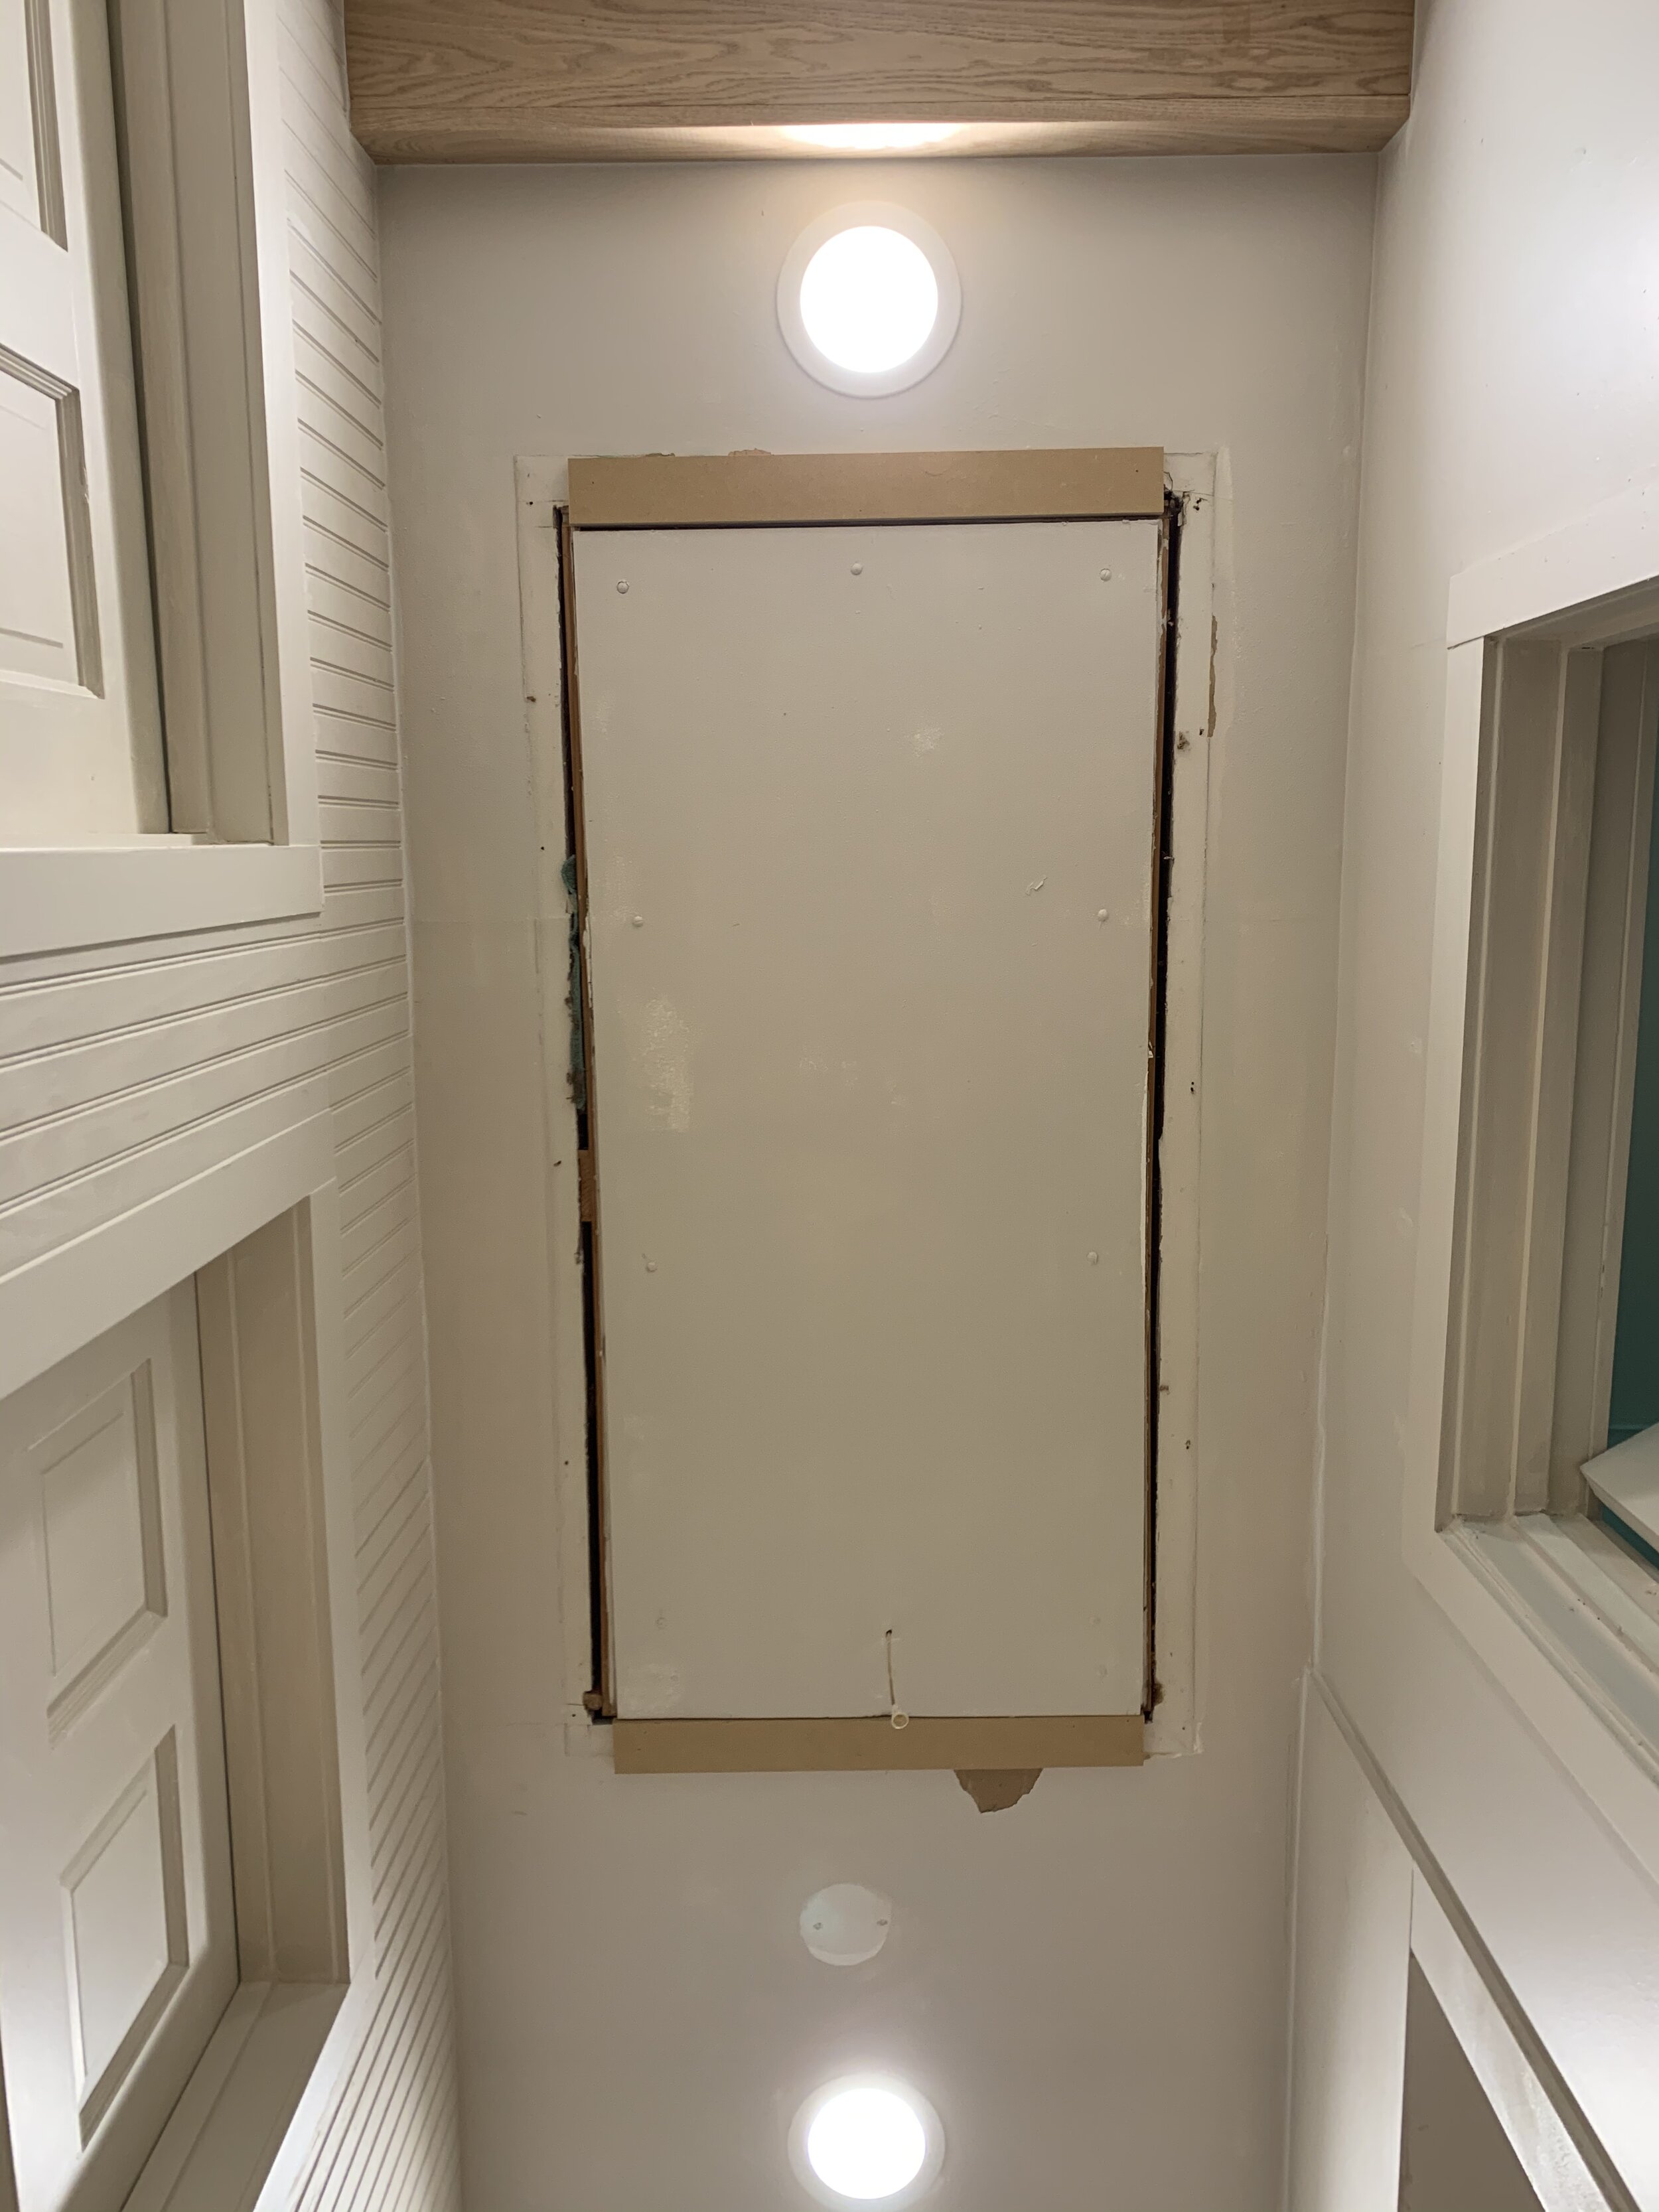
Here’s what the attic door looked like once all the trim was removed.

We accidentally missed a spot with our knife, so we had a little drywall tearing that we have to patch with some mud. Not too big of a deal since we have other spots we need to attend to. This metal ladder has been through six years of DIY projects, and we highly recommend it!

First grab your tape measure and measure your cuts.


Here’s how the attic door looked like we the end pieces of MDF trim.

Now for the fun part! We wanted to completely eliminate the string pull down eye sore. We wanted something that was affordable, minimal, and practical. We opted to install a hook and pull system with very inexpensive items. Let me show you guys what we did!
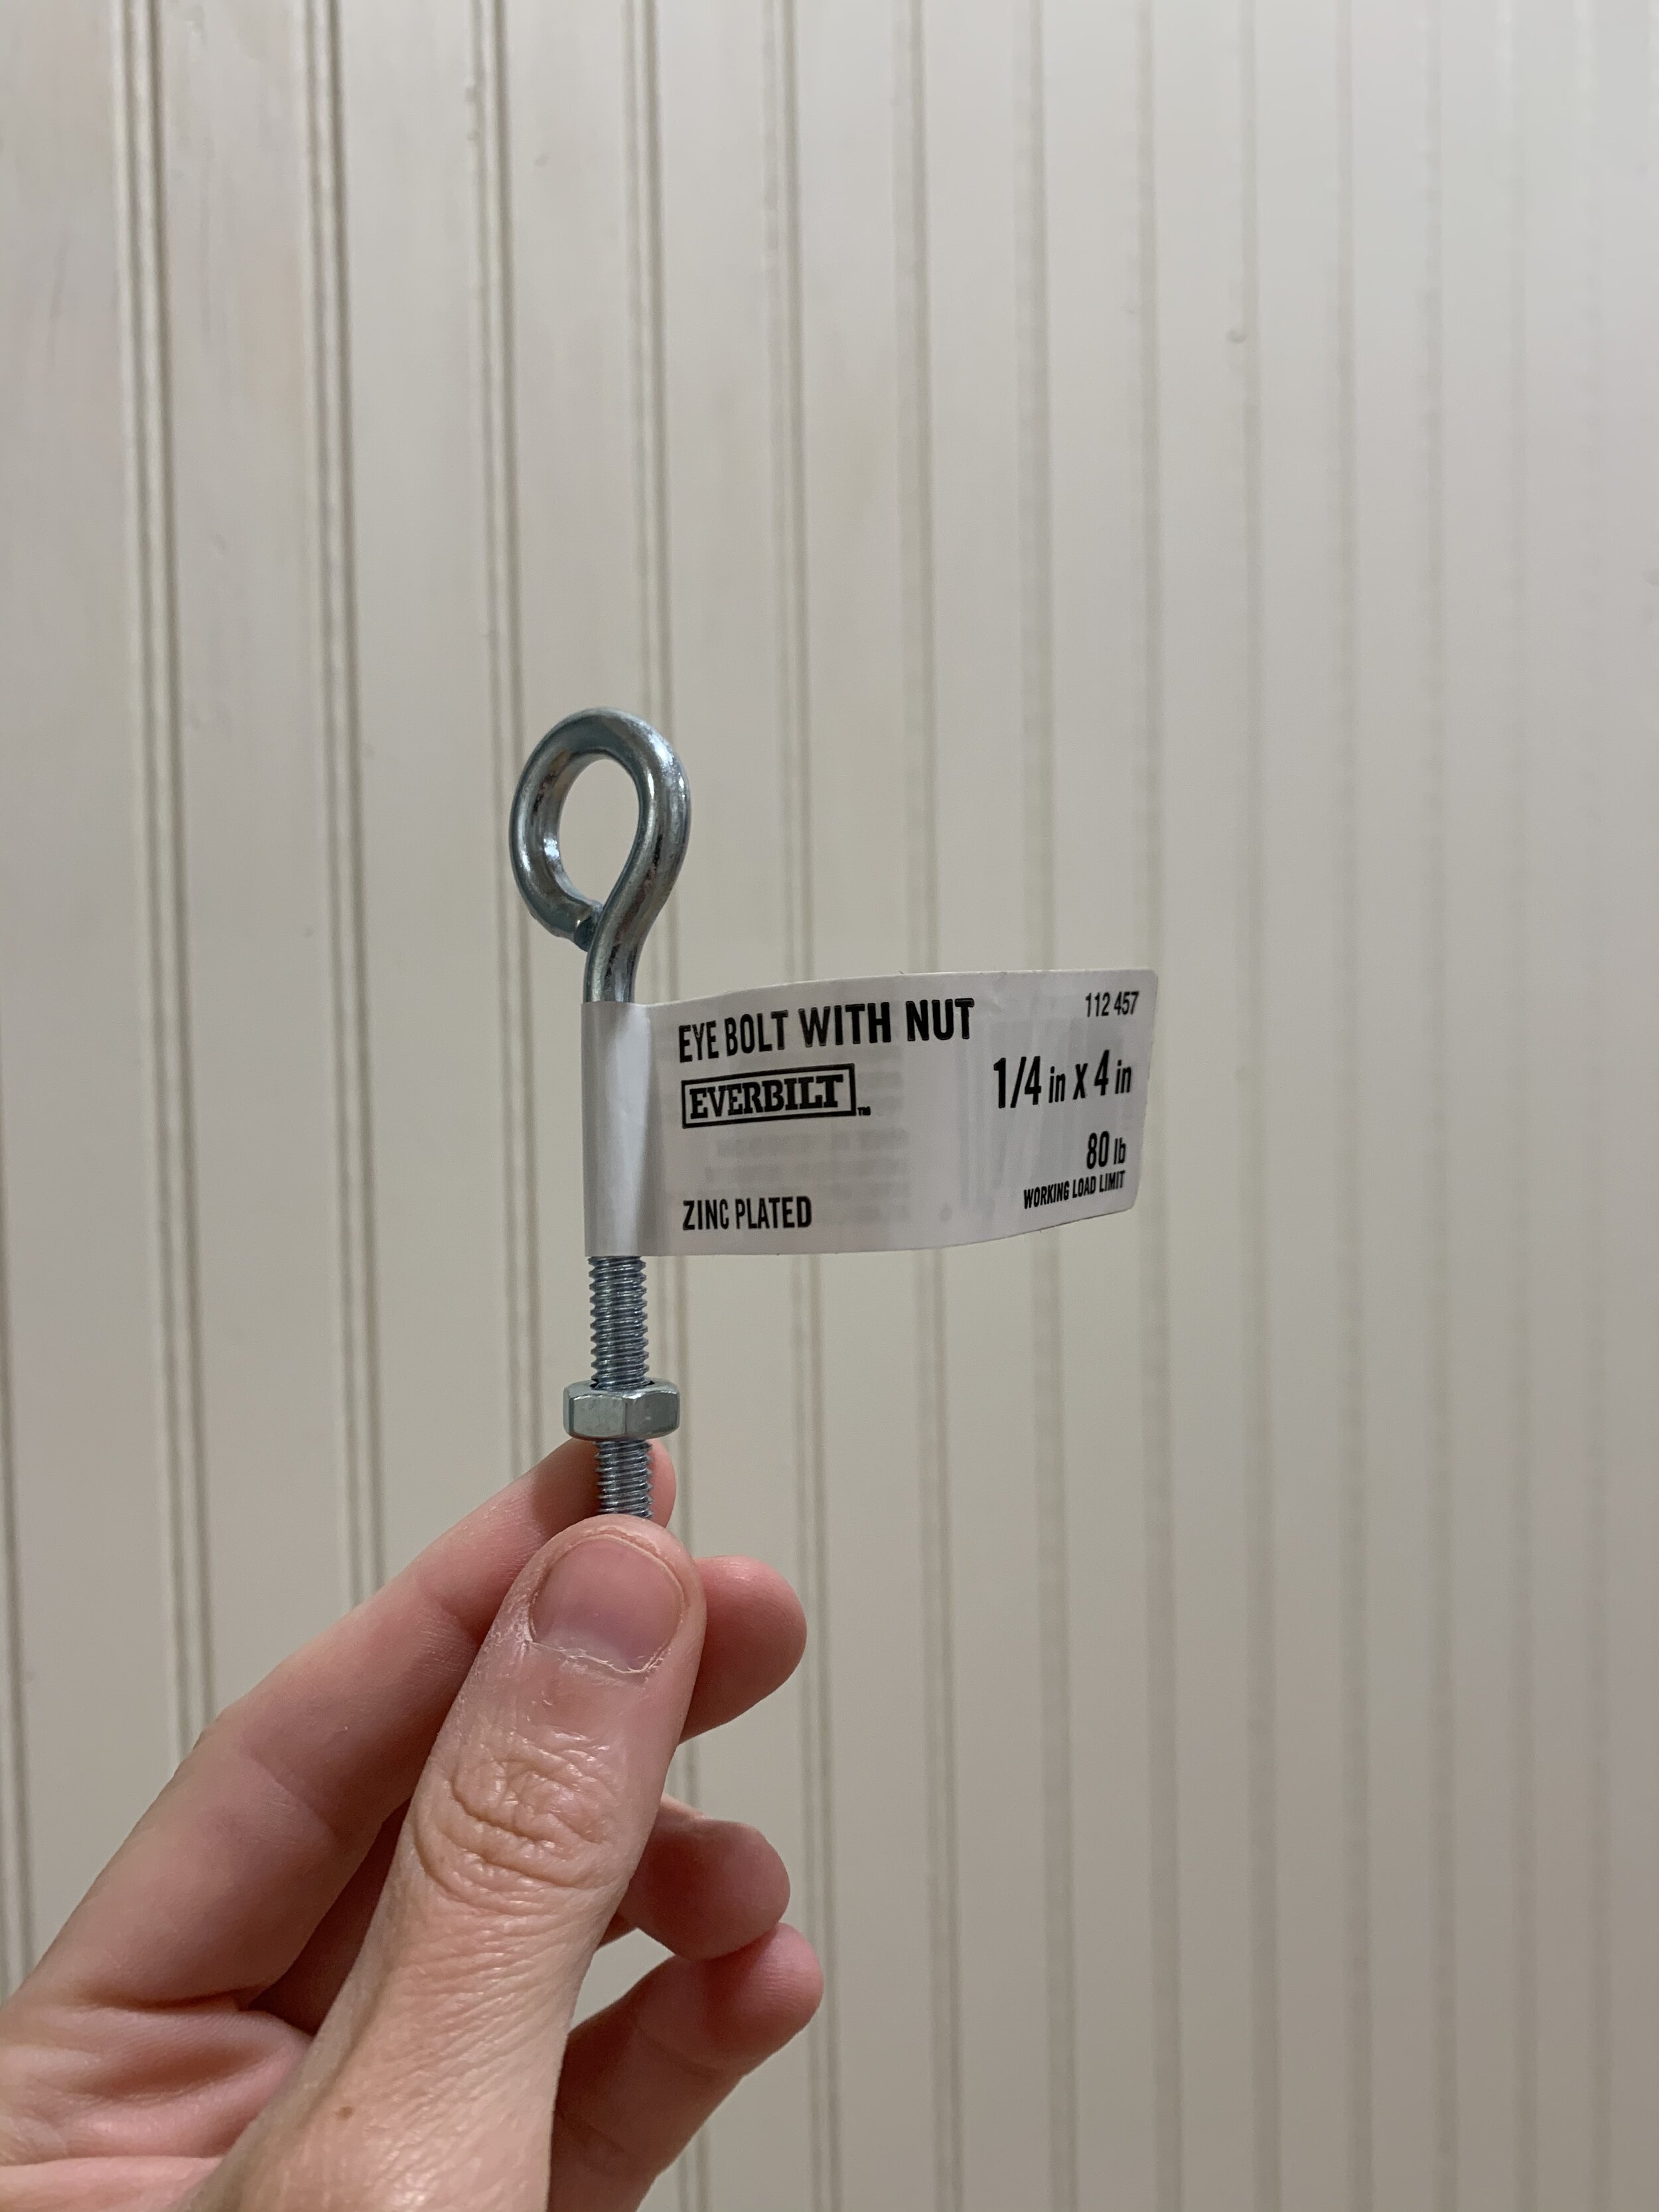
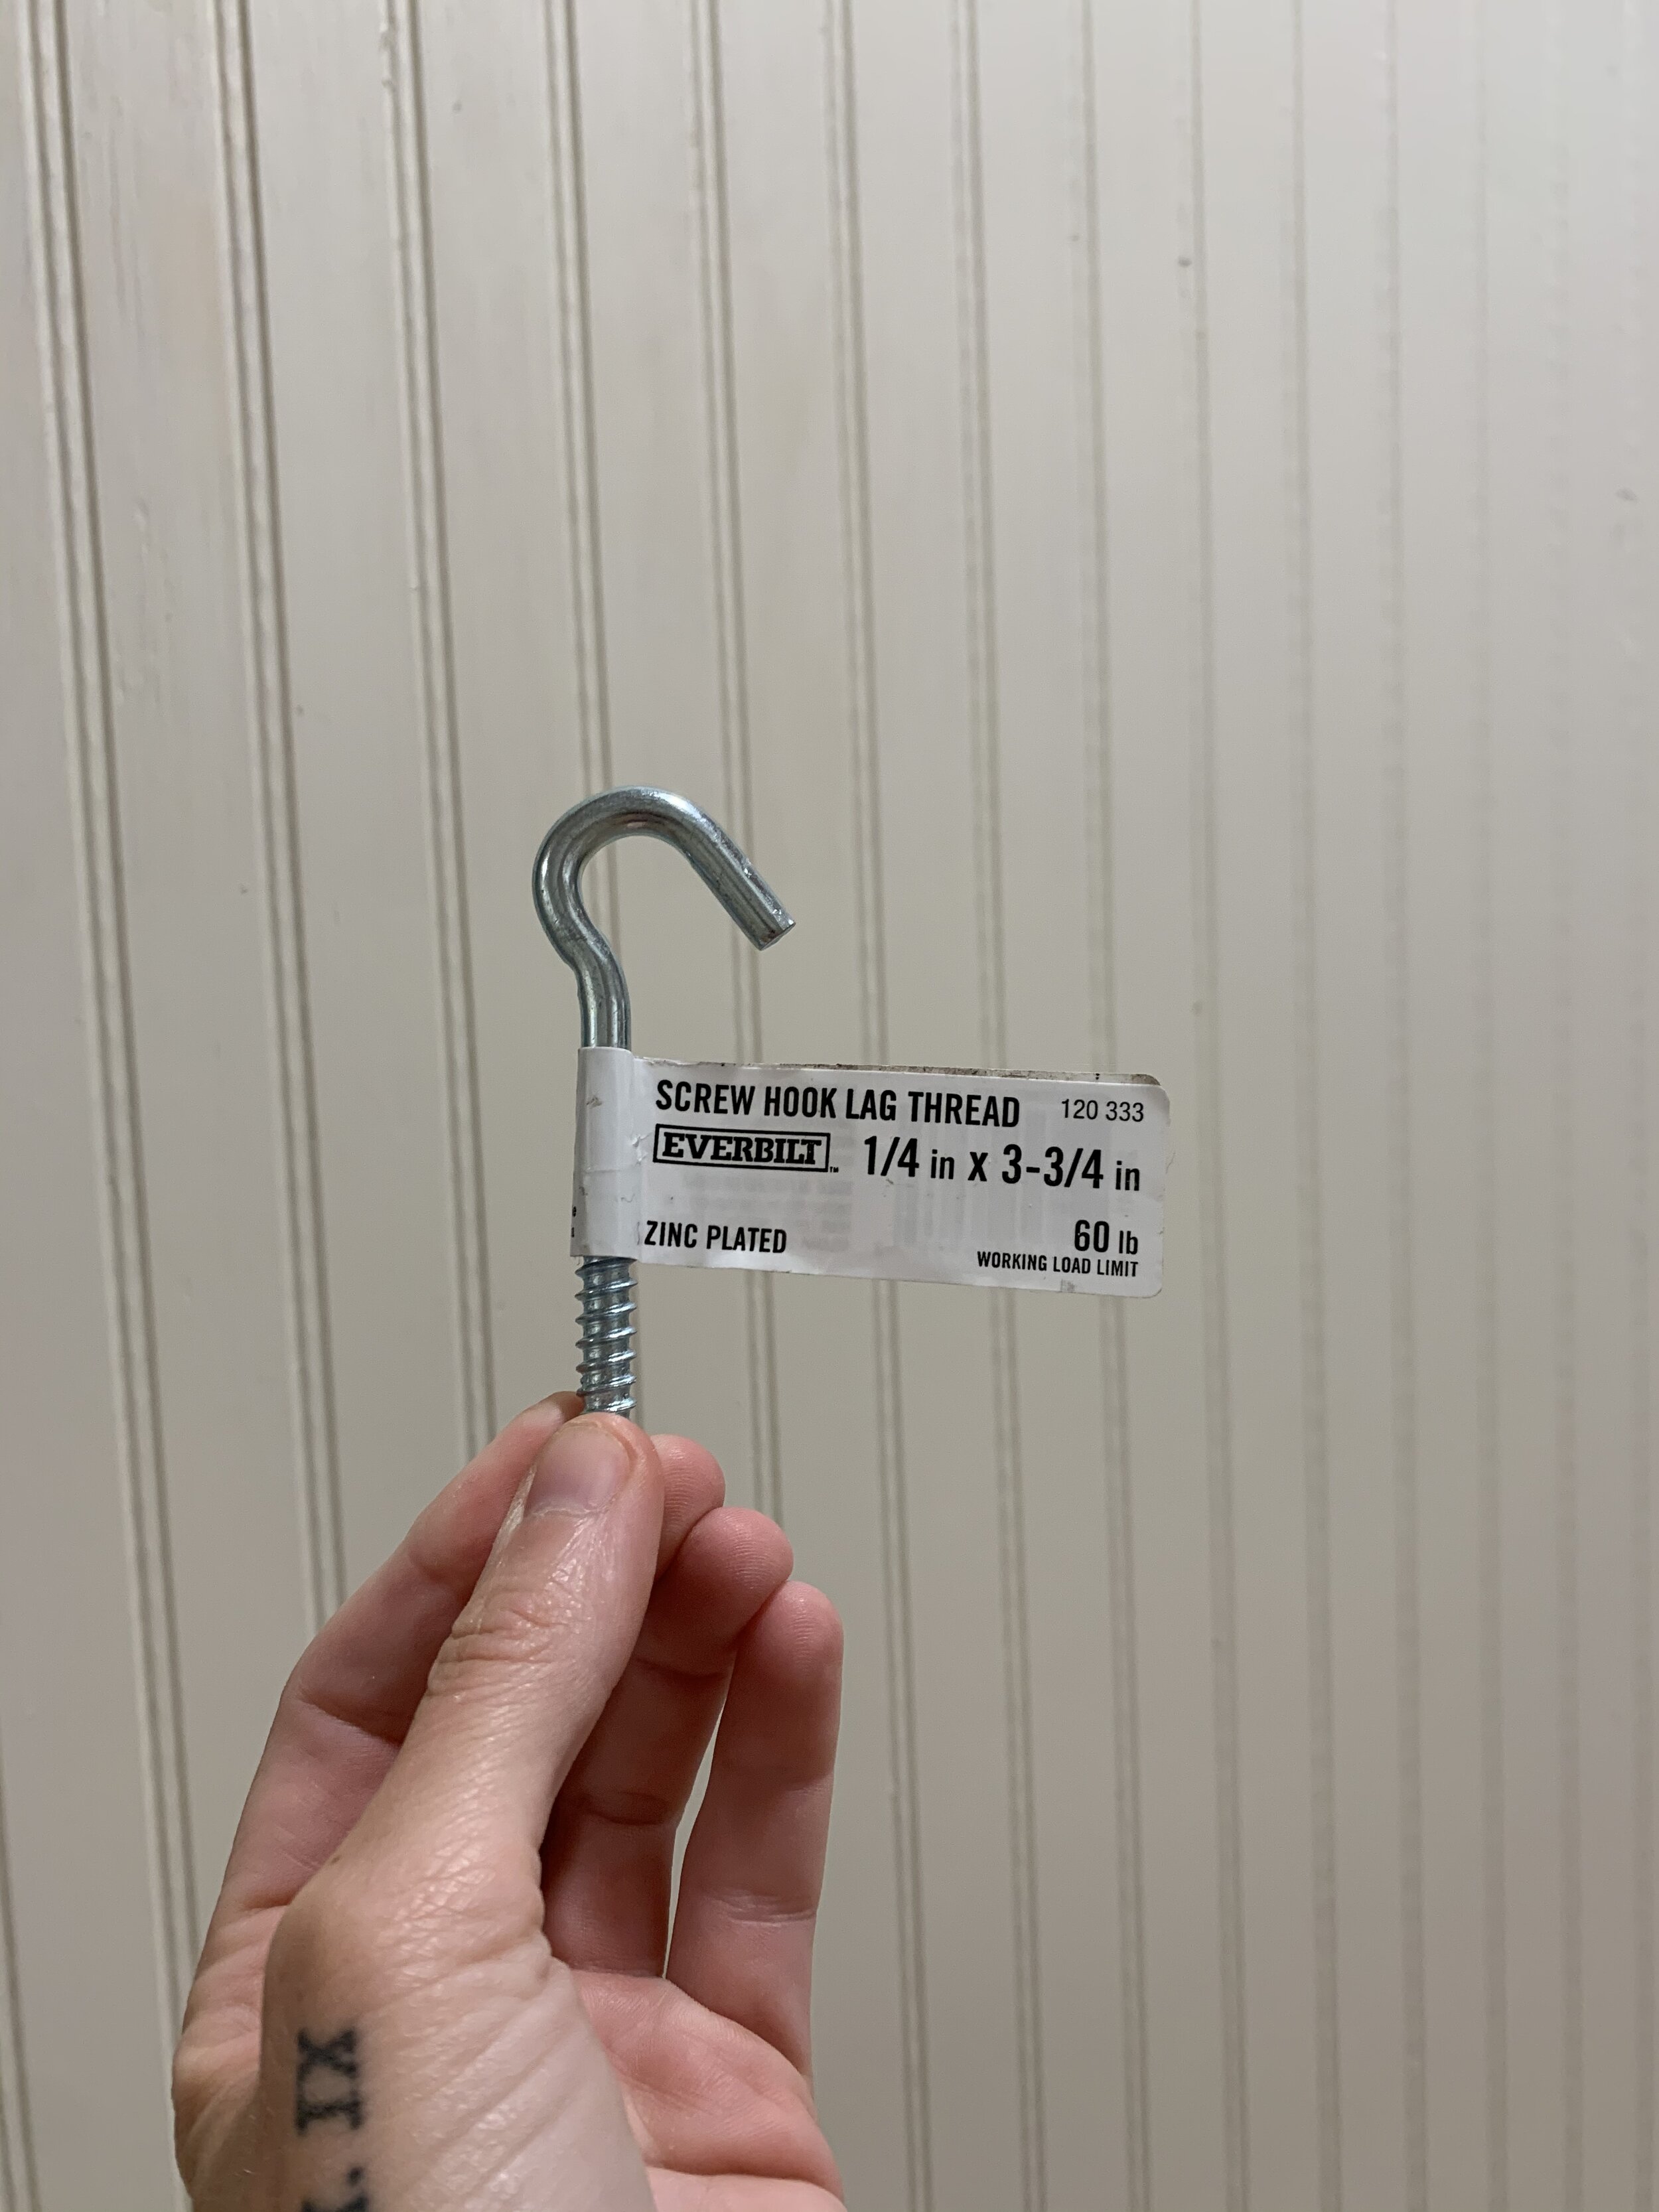
First we grabbed these three items from Home Depot.
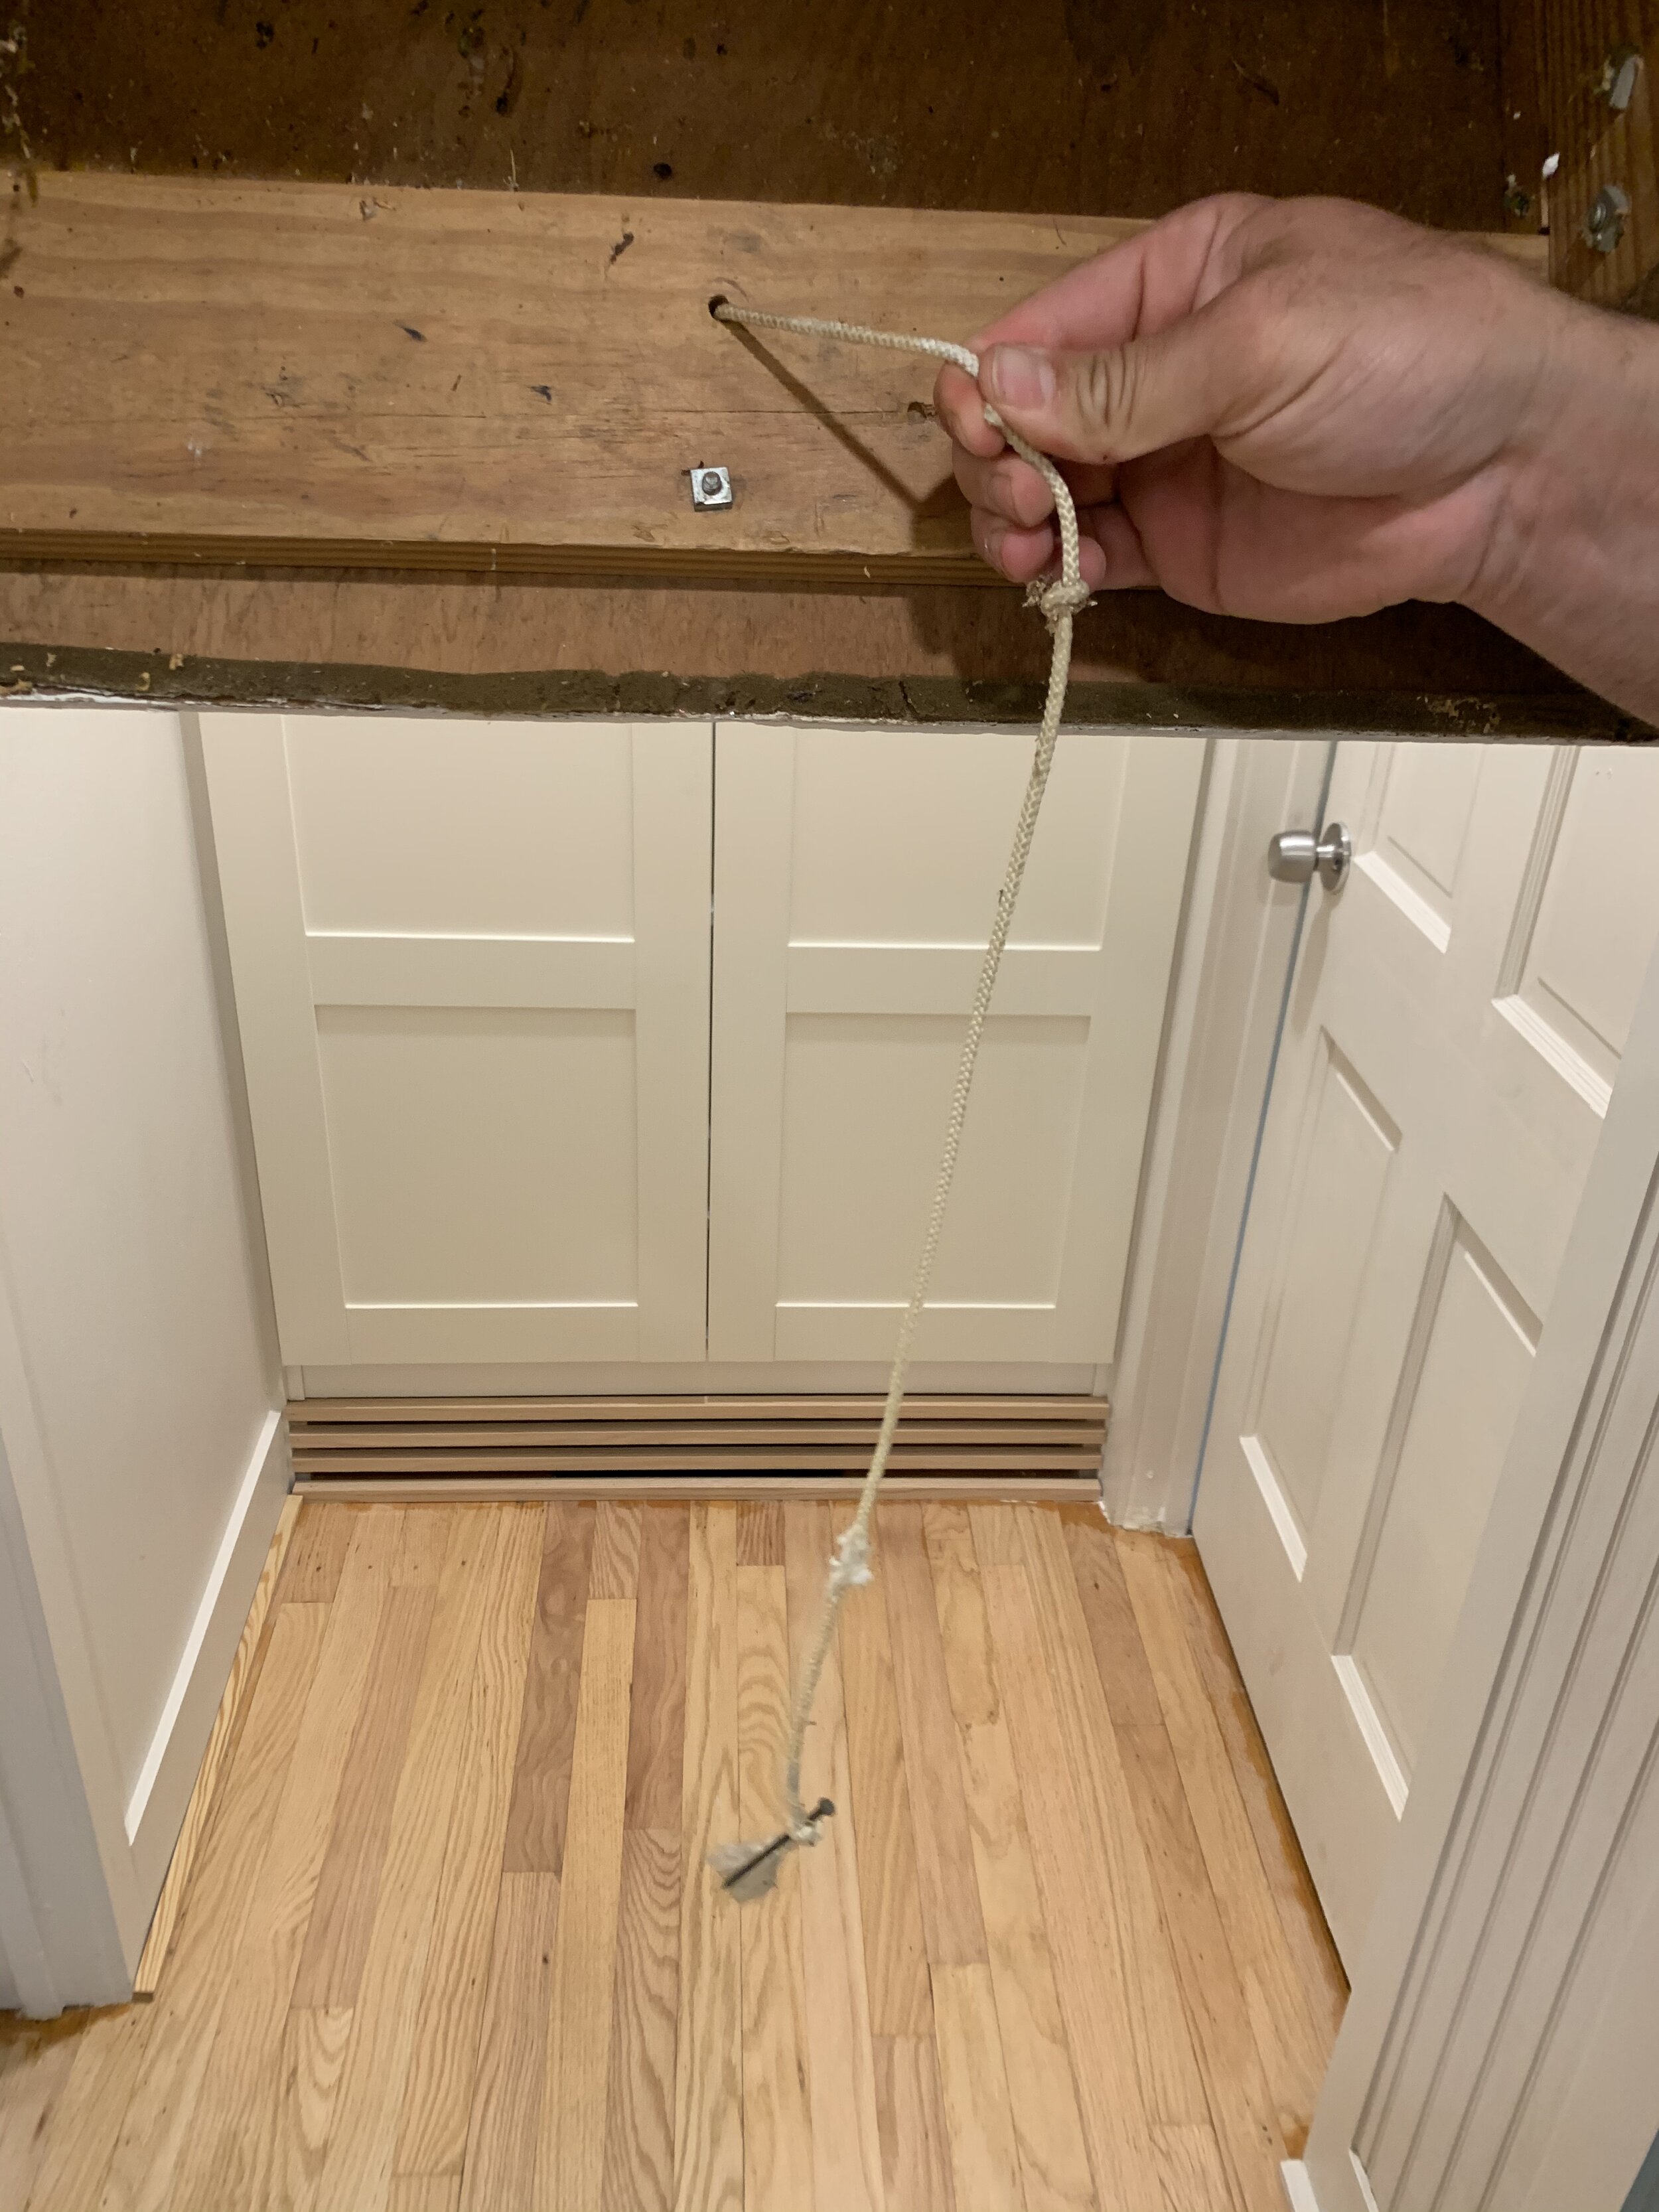
Grab a knife or a pair of scissors and cut off your attic door string pull.
Next grab a drill bit and drill out a hole for your screw hook.

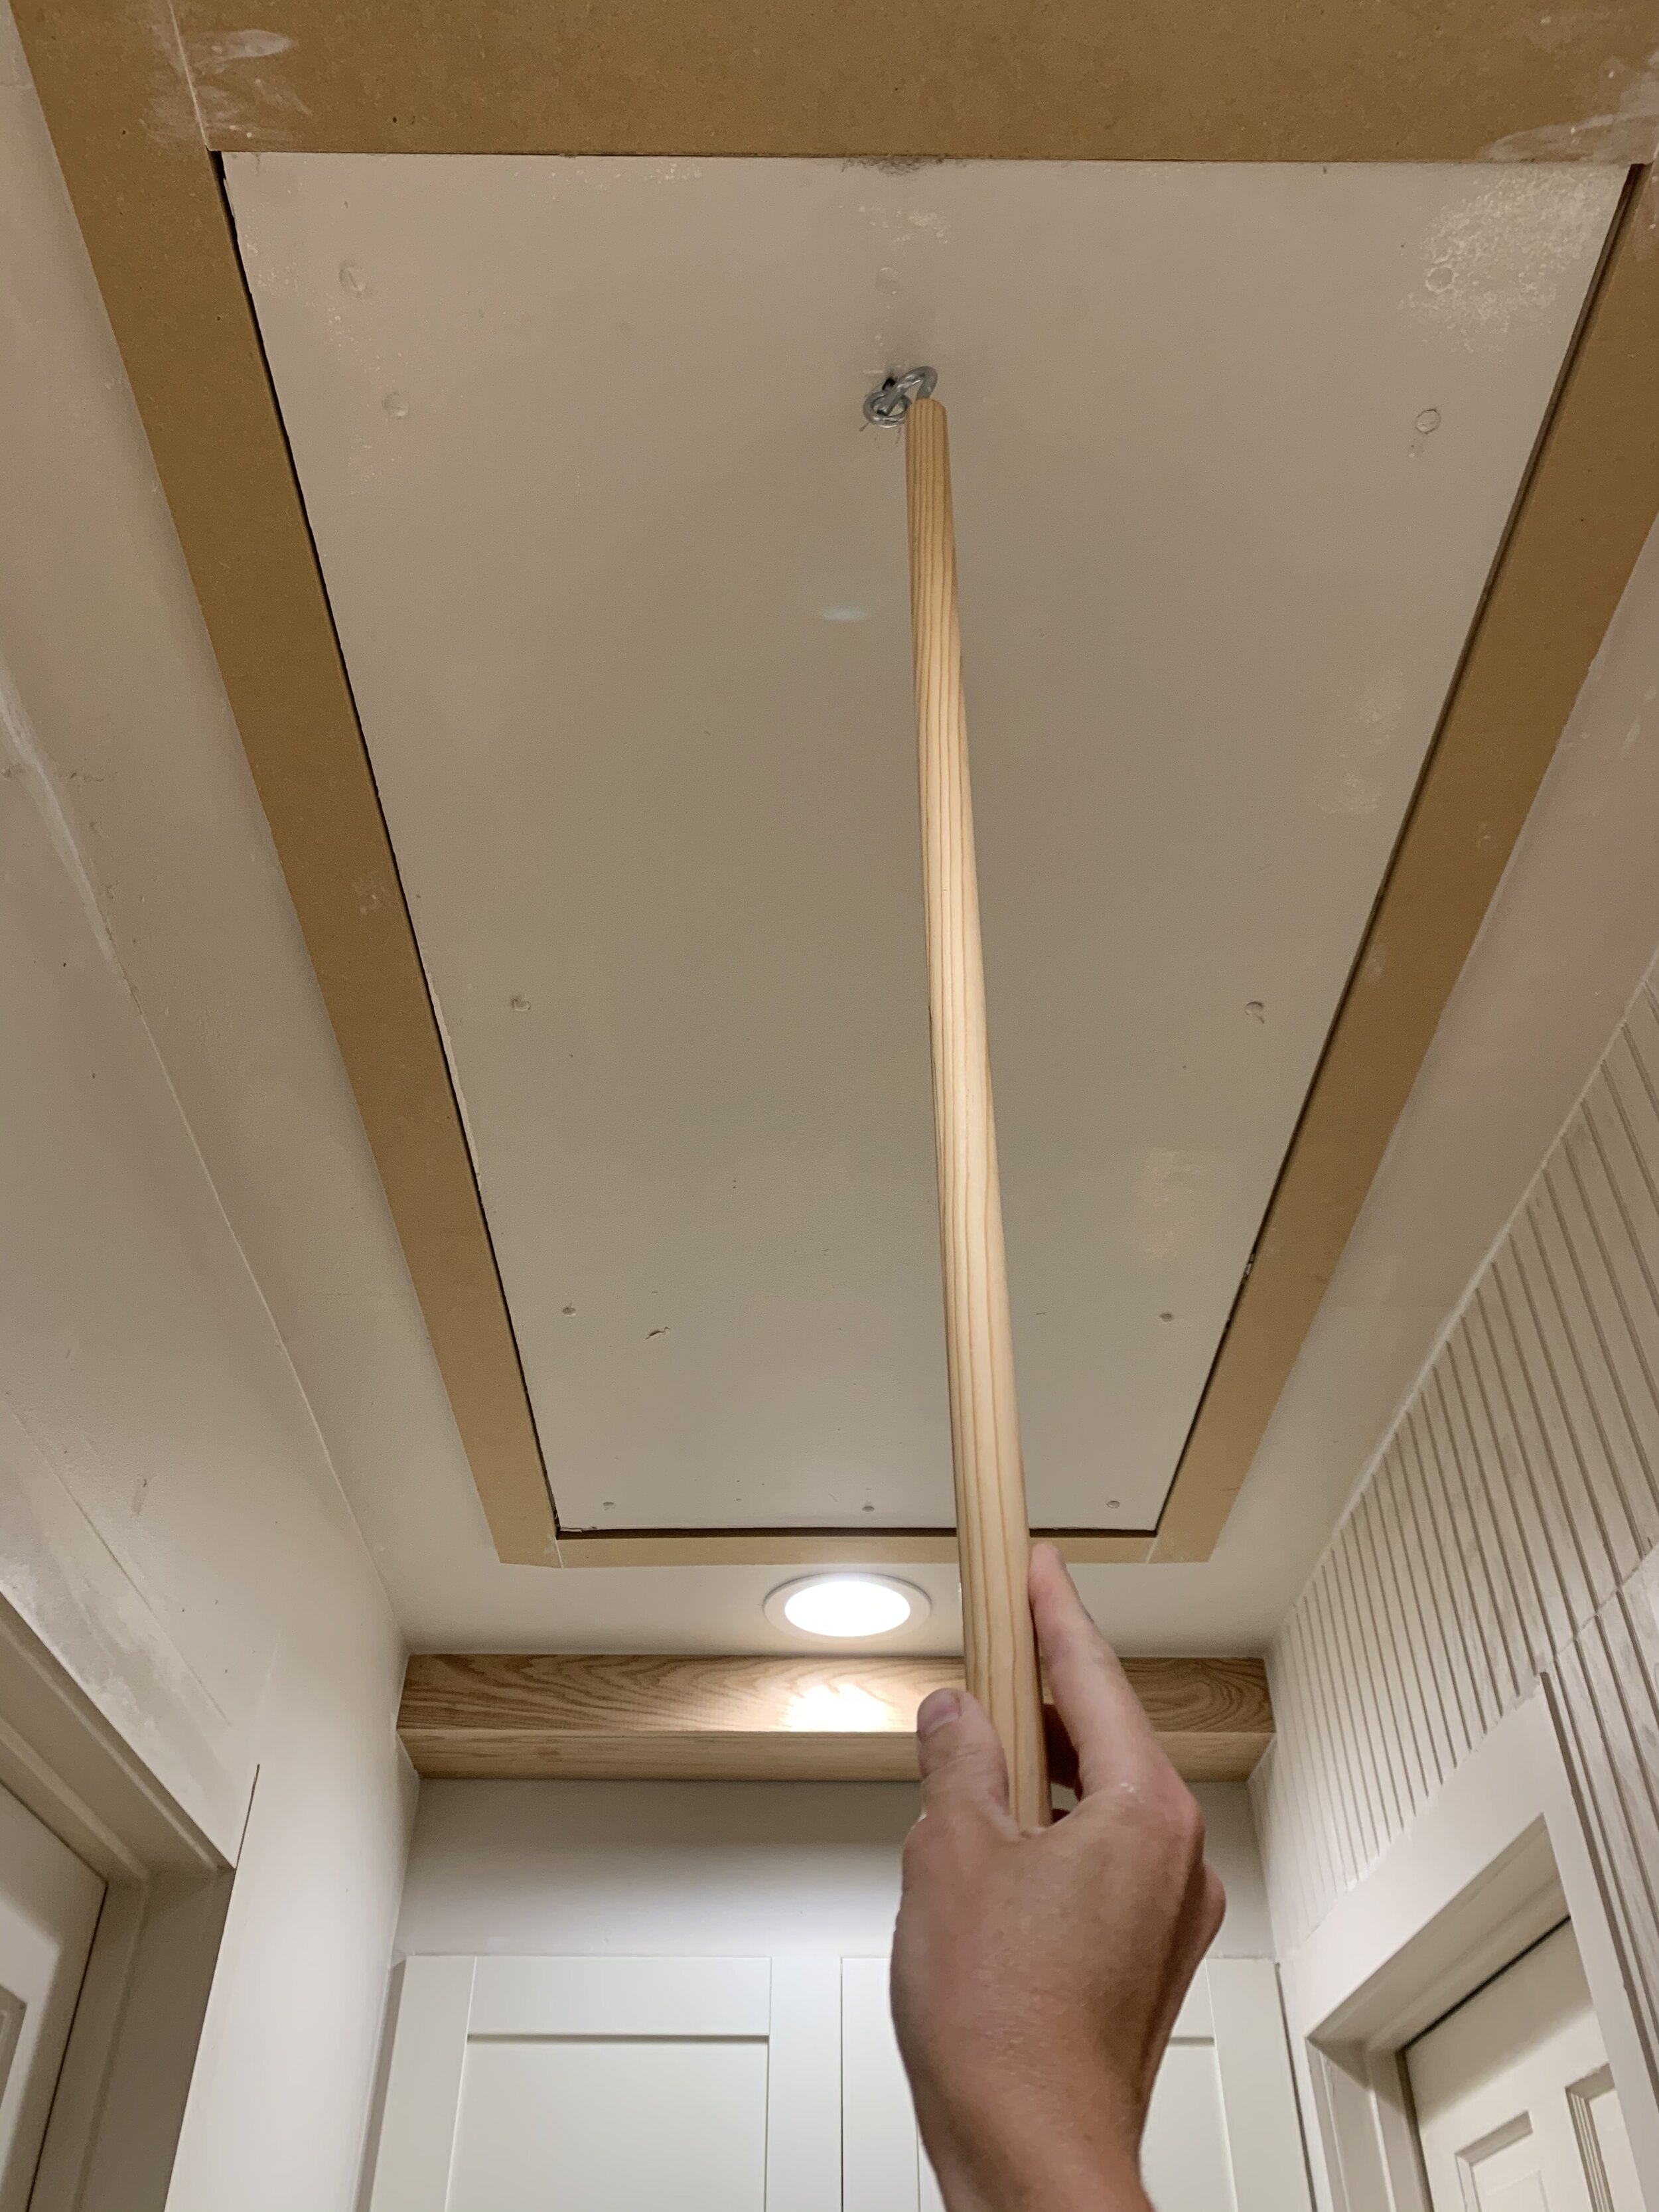
Finally grab your lag thread and screw it into the existing hole where your attic string pull down used to be!

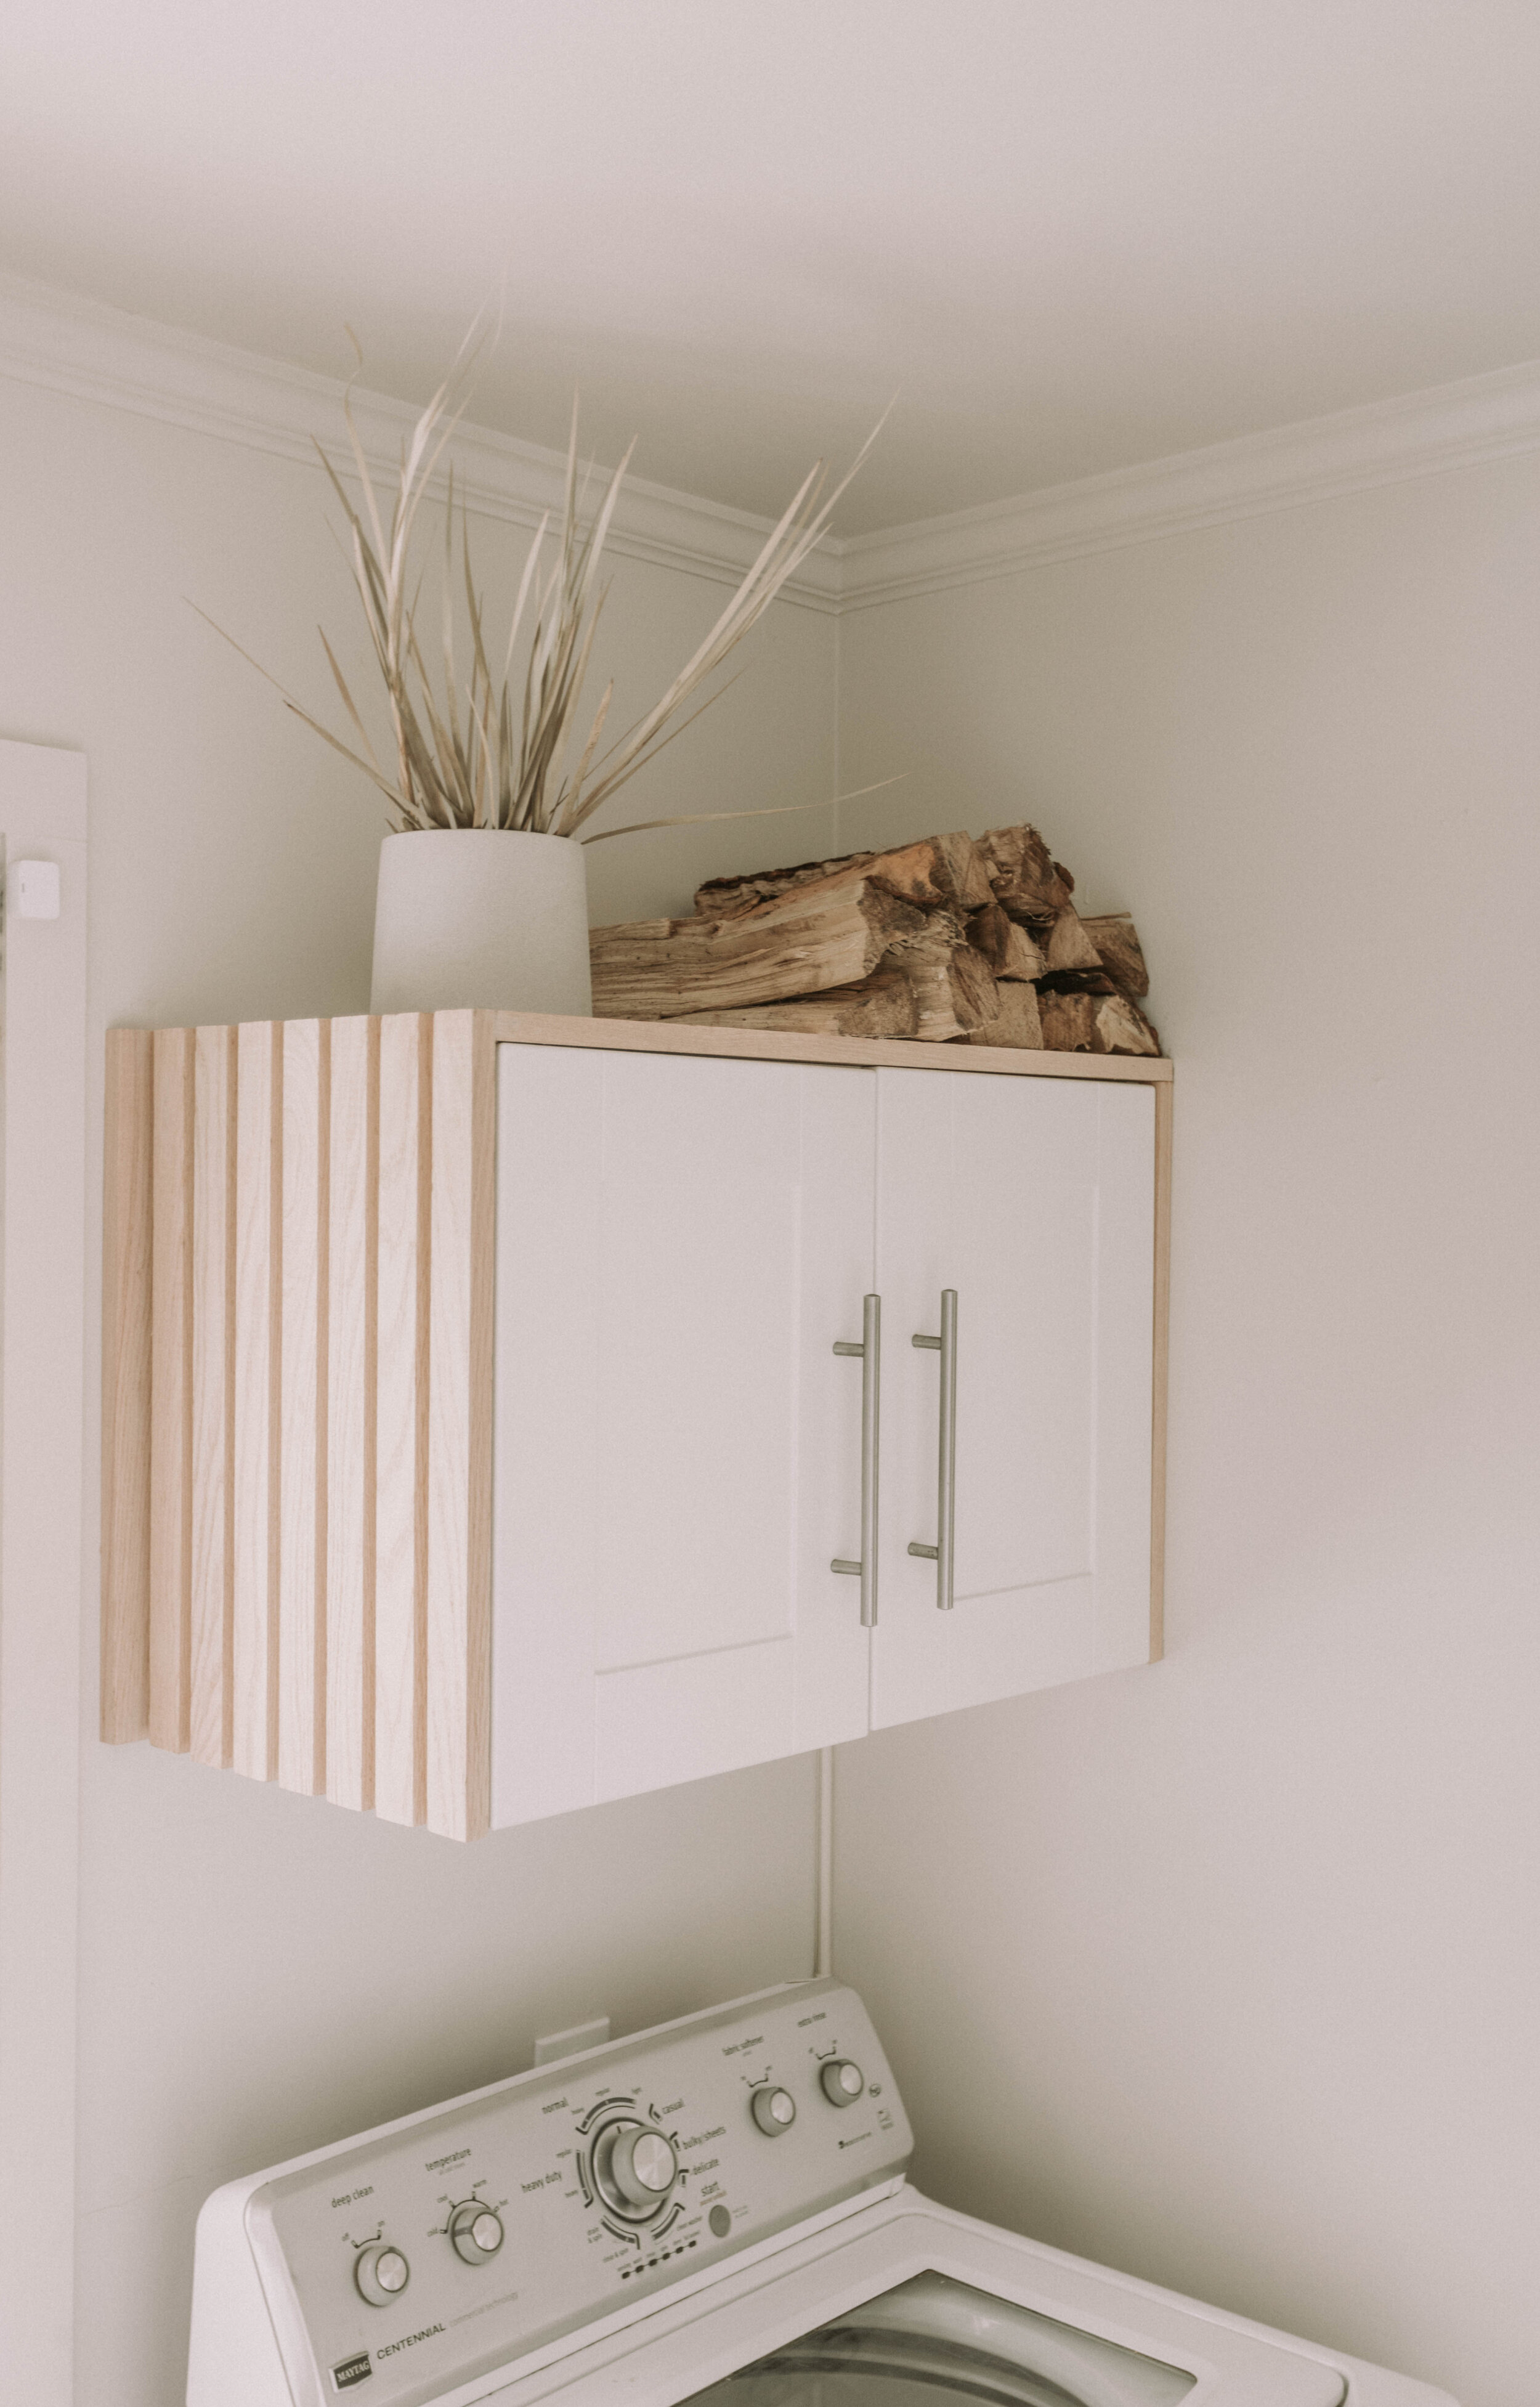
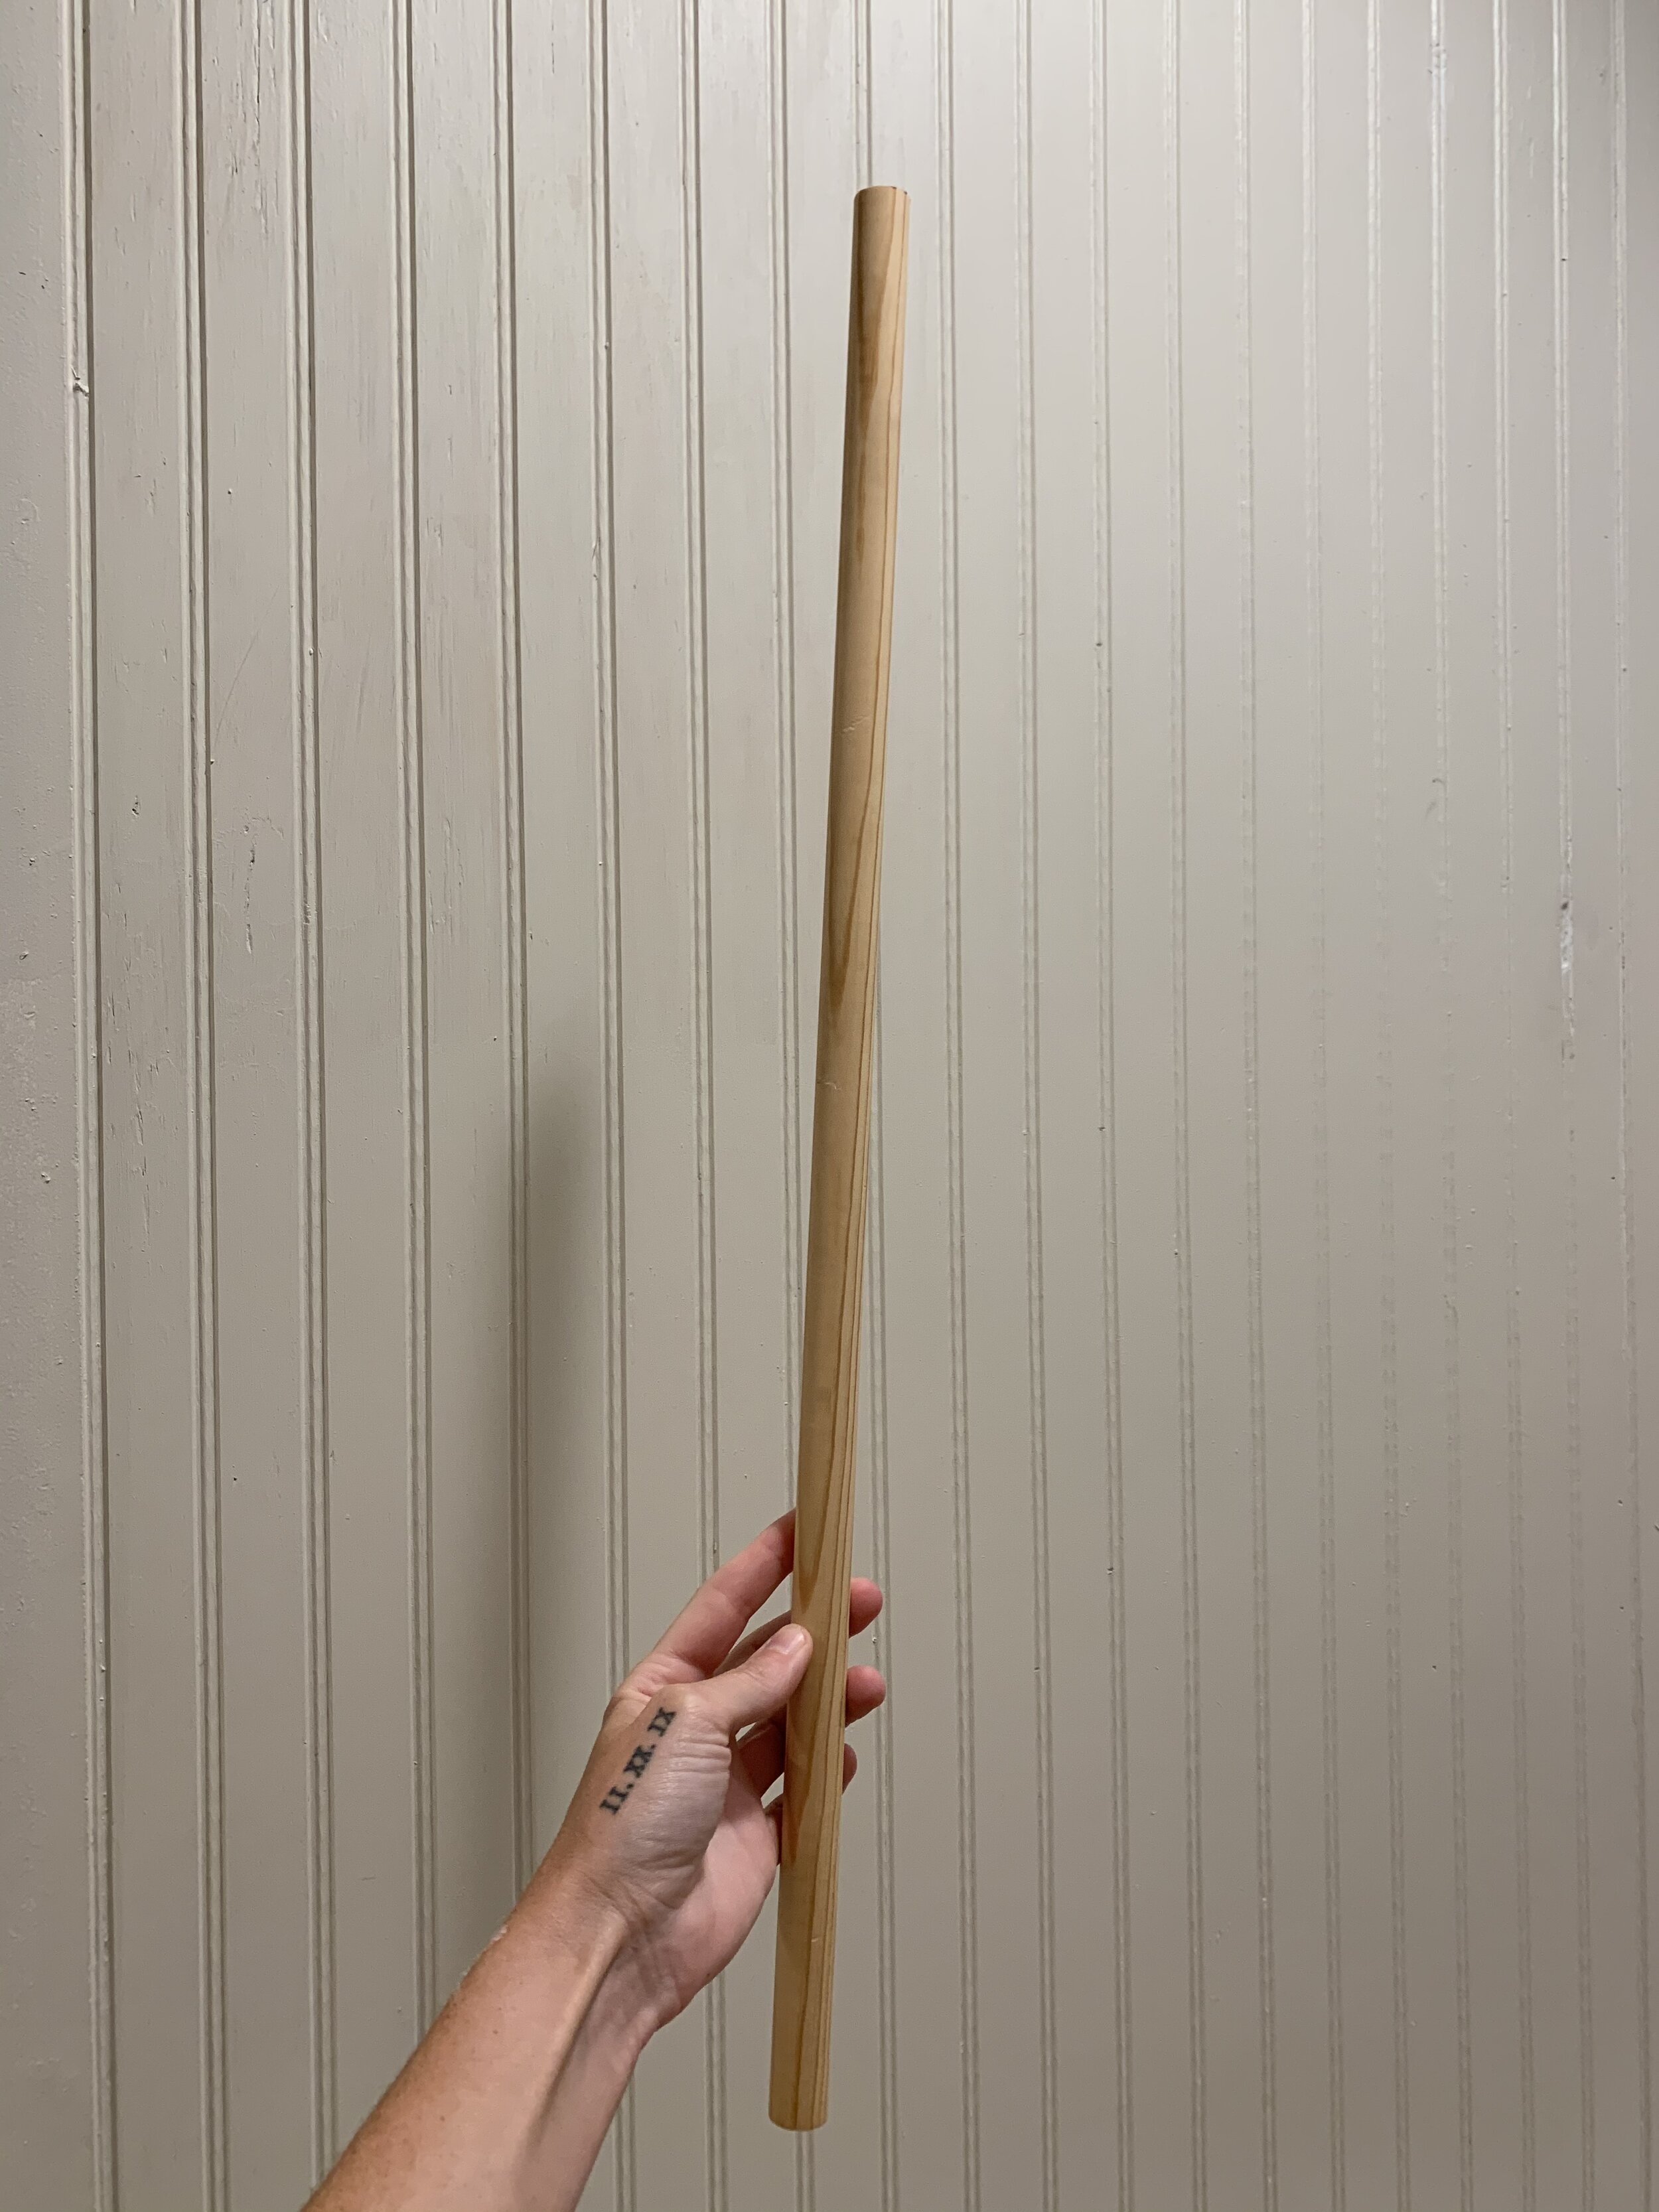
And here’s the final look at this simple, less than $5 hook and pull system for our attic! We cut the dowel down to size for our height. We’re going to store it in our Ikea Pax Wardrobe that we have at the end of the hall!
Thanks for much for stopping by and checking out our latest DIY project! If you guys don’t follow us on Instagram, when we hit 10K were giving away a firepit bundle! Click the button below to follow us over there!
While you’re at it, hop over to Pinterest and follow us there where we post all of our DIY projects and what’s currently inspiring us! Click the button below to follow!
Hello, World!
We created these graphics below in case you want to save this inexpensive project for later!