DIY outdoor firewood rack
We took a much needed break from our DIY shed (Part ONE, Part TWO) yesterday and took advantage of the down time by building a do it yourself outdoor firewood rack to put on the side of the shed! We are slowly getting this outdoor space ready for entertaining, and one of those things includes having fires. (We are OBSESSED with our firepit, if you’re in the market for one you can get it HERE). Last week when we cut down a tree in our front yard (check out this fun project we made from it HERE), we kept the smaller logs to chop up and use for firewood. Until yesterday we were storing that firewood under our shed, however living in a wooded area we prefer to have the firewood visible to avoid snakes and creatures that could hide in it!
Since we had some leftover wood from the shed, and we definitely didn’t want to accumulate a big scrap wood pile inside the new shed, we thought it would be fun to build a similar structure for our firewood. We were totally winging it and had ZERO game plan, but those always end up being our favorite builds. A few things we wanted our DIY firewood storage rack to have were wood slats and a slanted roof (to match our shed).
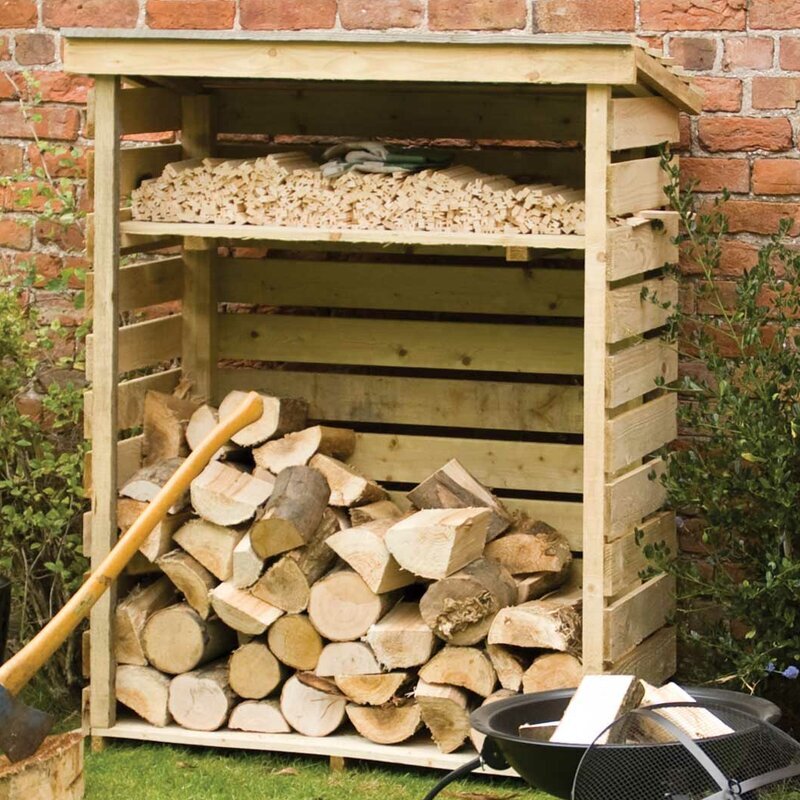
Here’s the inspiration we used for our do it yourself wood storage:
And here’s how we made ours!

We started this build by taking a scrap piece of 3/4 in plywood and cut it into two pieces. Our storage rack measures 22x48x36!

Next we used one of our favorite tools, our chalk reel, to mark our cut line.

We double checked our chalk line using our tape measure.

By using these easy clamps and a scrap piece of siding, we were able to cut an accurate line.


Once the plywood floor piece was cut, we measured and cut 2x4’s to install on the bottom of the base.

By standing the 2x4’s up we were able to have a sturdier base. We secured the 2x4’s using deck screws.

Add an additional 2x4 support in the middle of the base!

Next we took our metal square and measured where the 2x4 side supports would sit.

Using our jigsaw, we then cut out the marks we made for the 2x4 side supports. This allowed us to insert the 2x4’s and make them flush with the bottom of the base. This firewood rack will be holding significant weight, so the sides need to be solid and secure.

Once all of our 2x4 side supports were in place we took our chalk and marked our angle for the slanted roof.


After the angle cuts were made, we secured the top piece of plywood onto the wood storage rack using our deck screws. Next we took leftover treated wood and cut the side slats. We did this on both sides.

Our inspiration wood storage rack had slats along the back as well, we didn’t have enough scrap wood for that, however it will be sitting against the shed, so it’s not the end of the world!
Since we haven’t put the back slats on yet, we can decide whether or not we want the roof to slant up or down! We personally think it will protect the wood better slanting down in the front, but it’s personal choice!
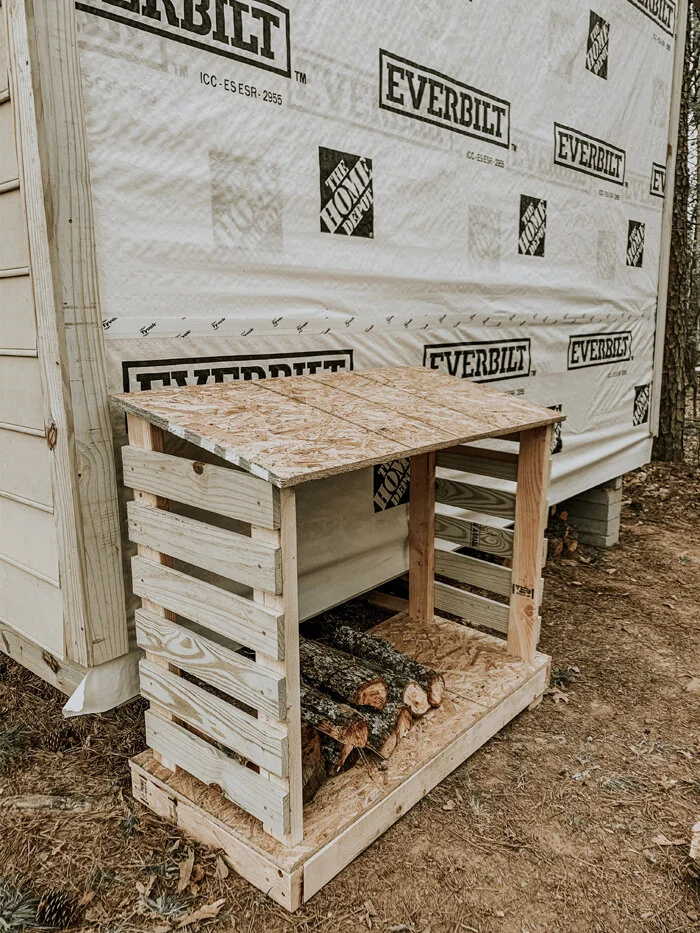
Here’s how our DIY outdoor firewood rack turned out!
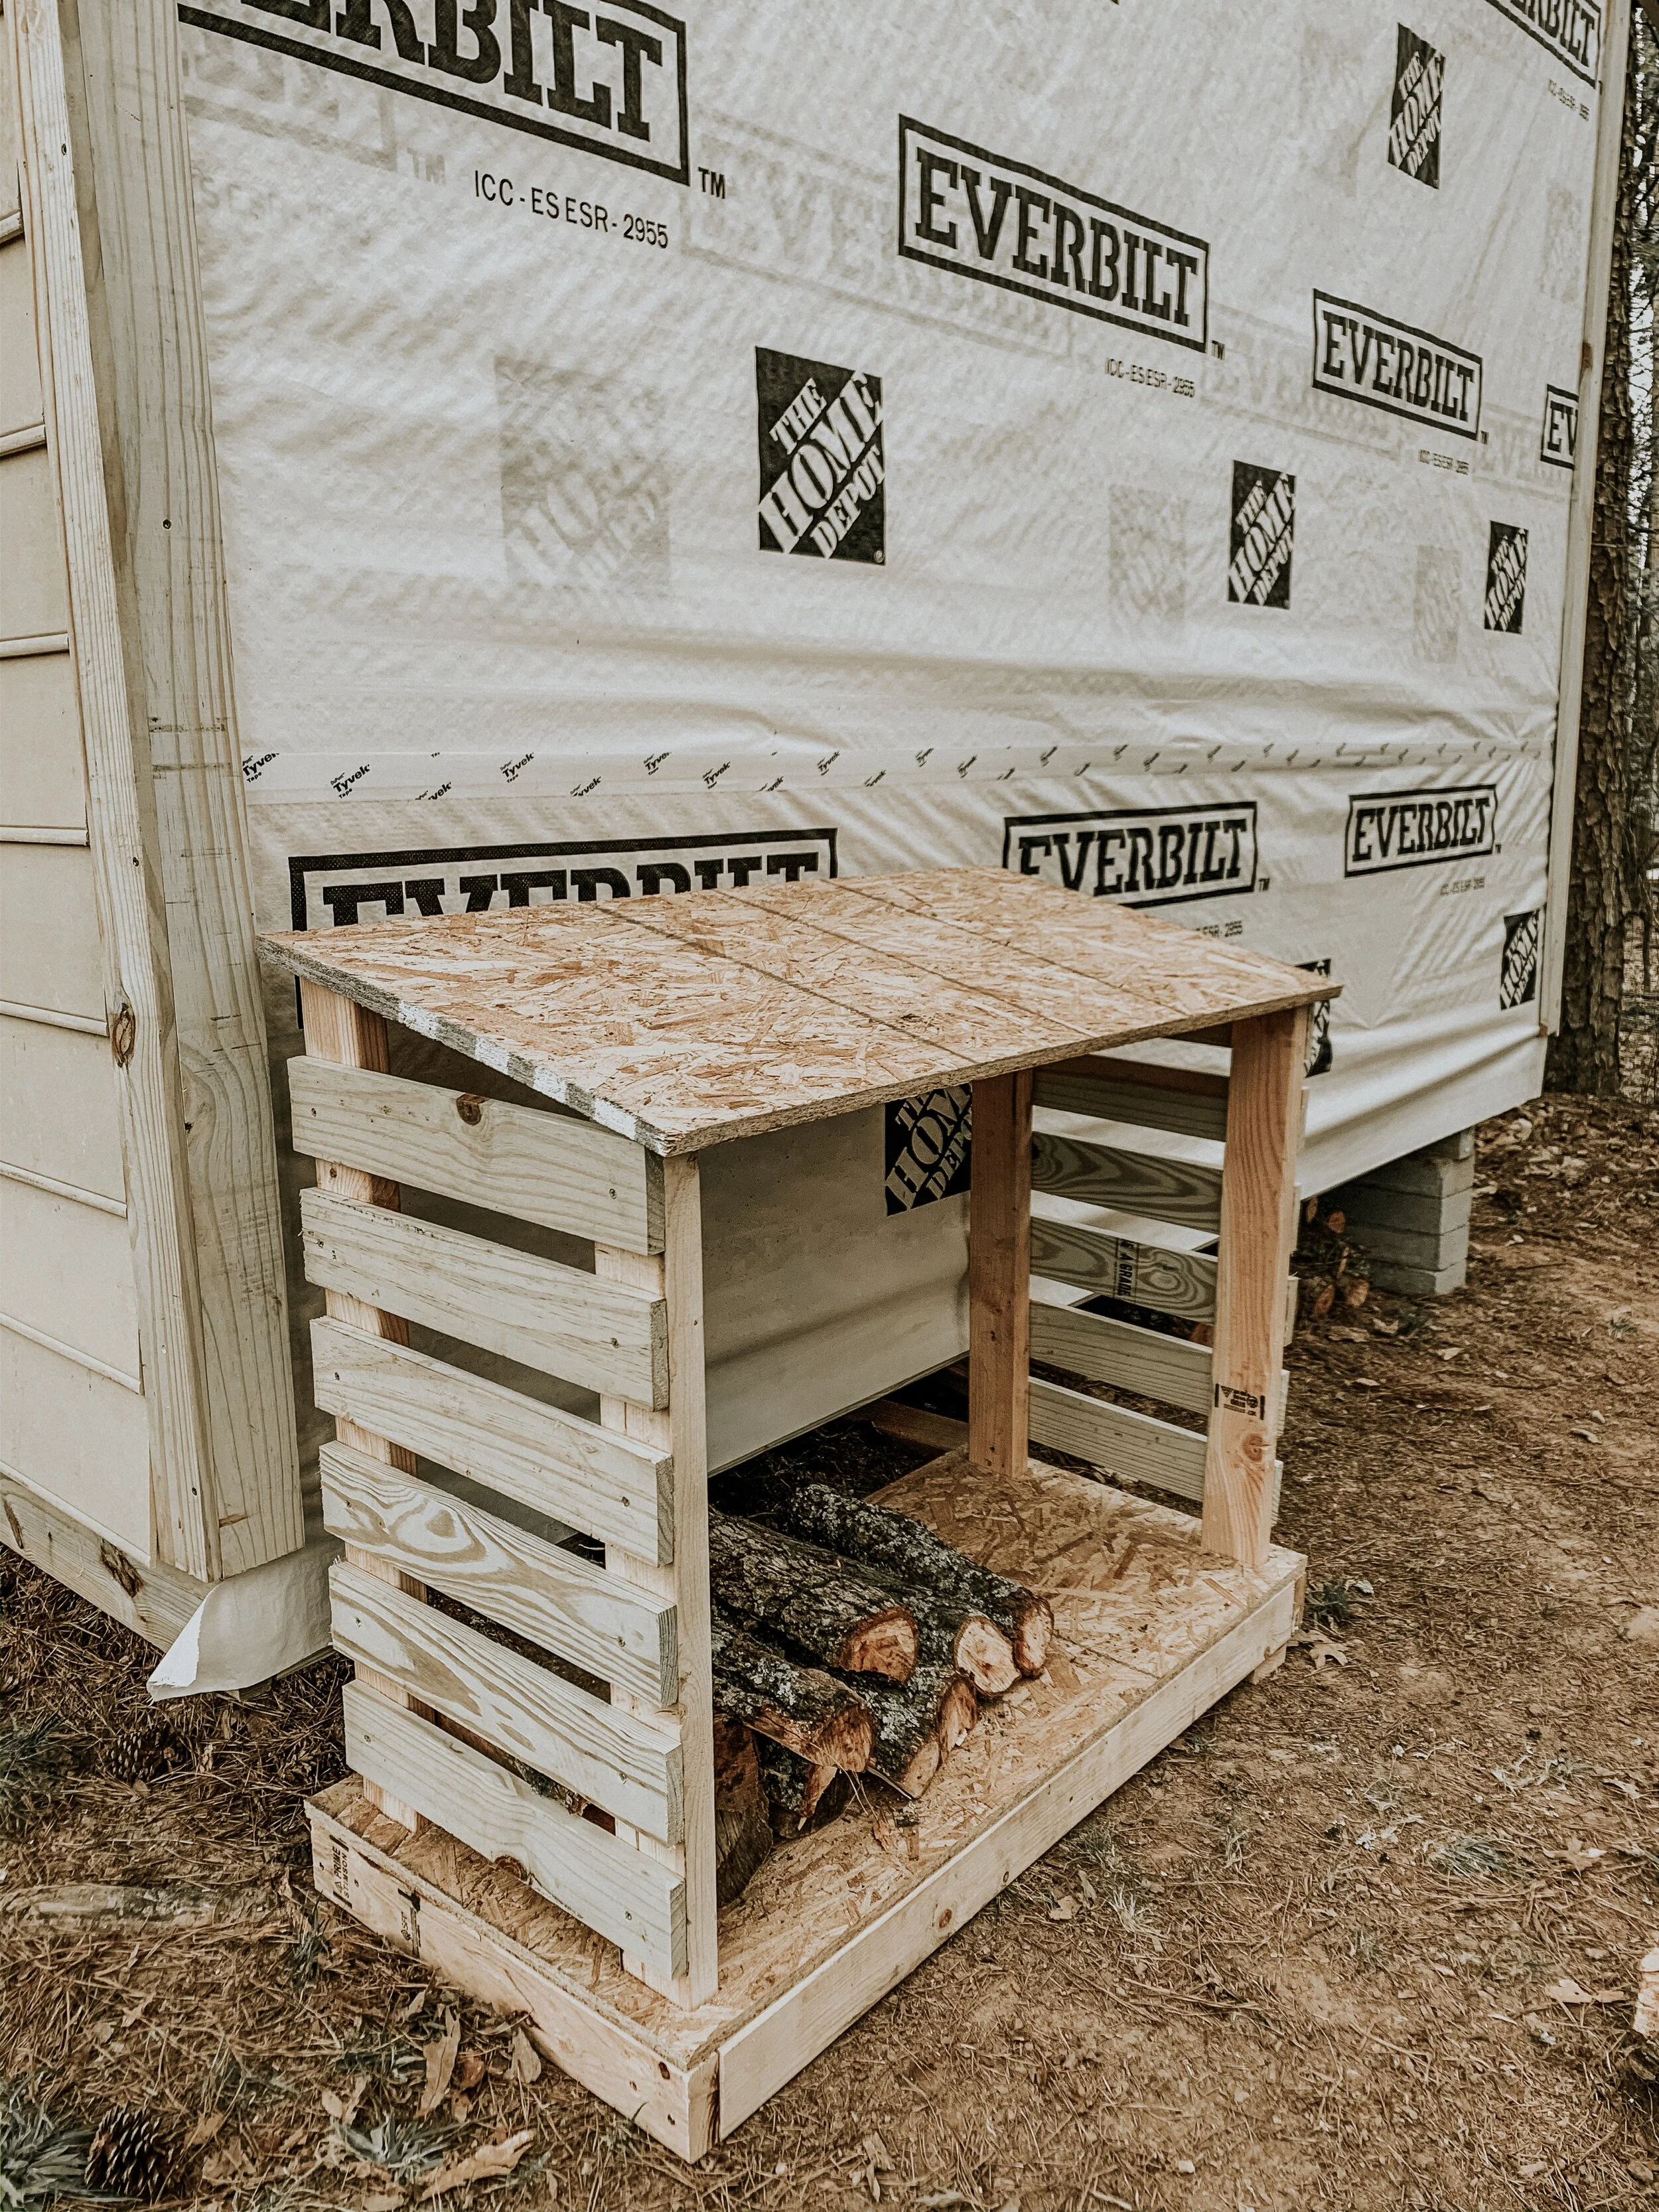
Isn’t it so cute?? I am obsessed with anything that involves wood slats, so this build turned out exactly how I envisioned it! We added a few fun extras to the rack after I took this photo, so I’m excited to show you guys the final reveal soon! It’s raining today so Scot brought it into the basement so I could continue working on it! I’m hoping to show you the final firewood rack tomorrow!
Until then check out the side by side inspiration and diy build!

So excited for this wood build, even more excited for all the money we SAVED by doing it ourself!
I created these pins below in case you want to save this project for a sunny Saturday! We would love for you to follow along with us on Pinterest so you can see what’s currently inspiring us!


