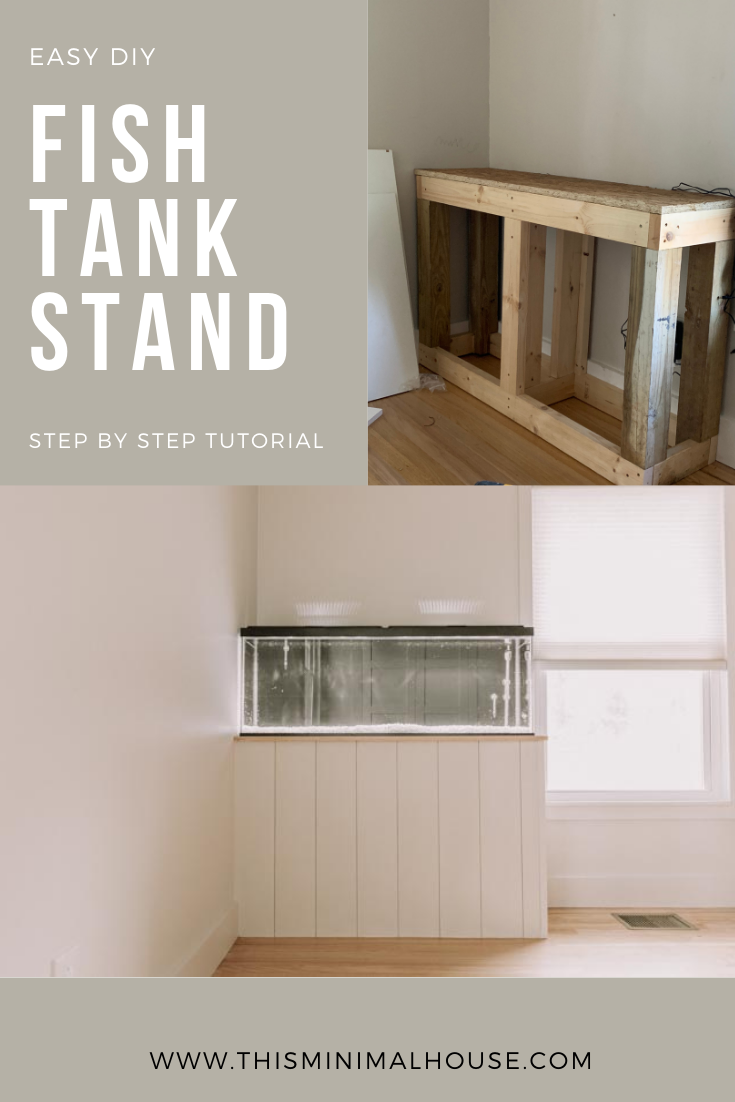
How to build a sturdy aquarium stand the right way

We are moving right along in our son's room. So far we have completed sanding down the hardwoods, creating a custom closet, and a built in modern floating bed. Last week we began working on a big surprise for him by upgrading his 10 gallon fish tank to this LED hooded 50 gallon aquarium. He loves fish so much and wanted to add a few more to his fish family, but in order to do that we had to upgrade his tank. Today we're going to be showing you how to build a sturdy aquarium stand the right way.
Details:
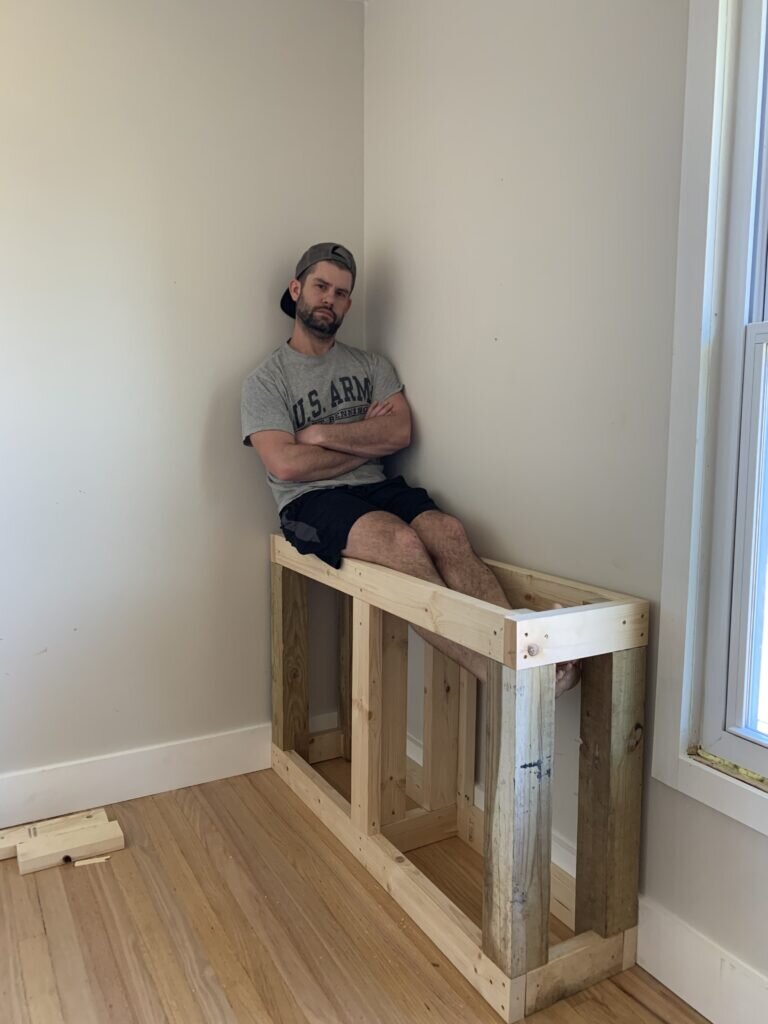
This tank full weighs a minimum of 600 pounds, so we needed a substantial base to accommodate. A huge positive for this build is we were able to build it completely out of scrap wood we've had leftover from other projects. You'll also want to make sure you swap out your regular outlet for a GFI.
*This tutorial is for a 50 gallon aquarium. This will not work for any other size. Alter cut list accordingly. *
Materials:
Tools:
[show_shopthepost_widget id="4390123"]
How to:
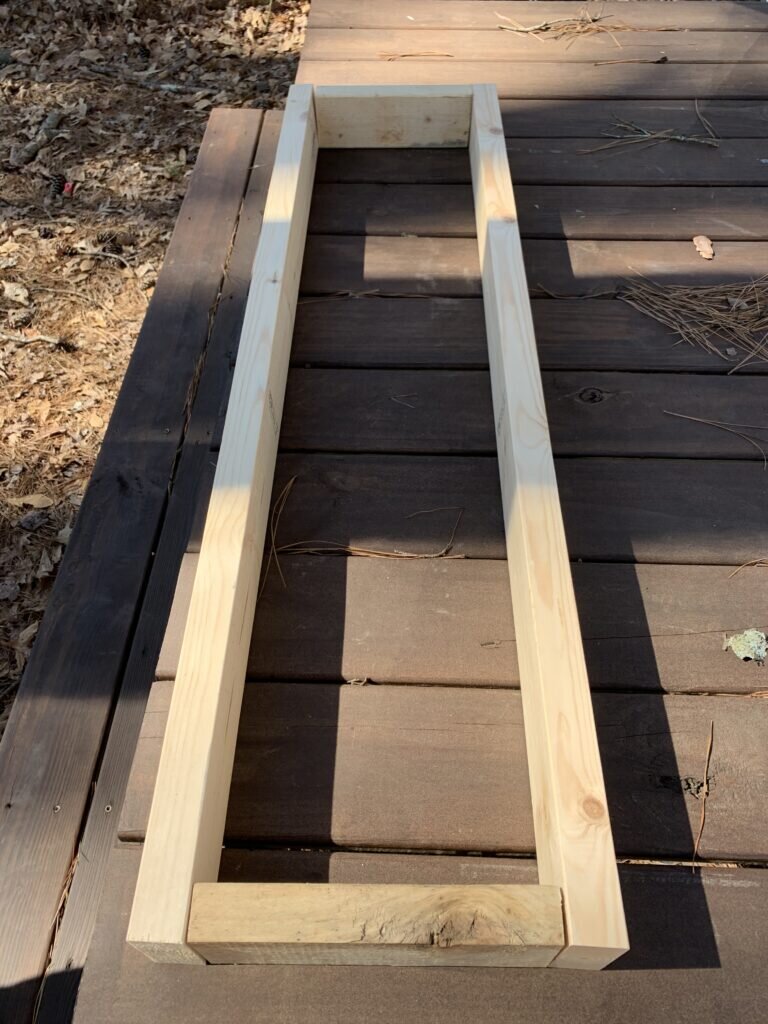
To begin this build you will cut down your 2x4's to create two frames for the top and bottom of the aquarium stand. For the first frame you'll cut two 48 1/4 inch pieces and two 9 3/4 inch pieces. Pictured above.

For the second frame you'll cut two 45 1/4 inch pieces and two 12 3/4 inch pieces. As you can see above this makes the same rectangle but staggers the cut joints.

You'll use construction screws and your drill to attach all pieces of the frame together.
[show_shopthepost_widget id="4390123"]
Legs:
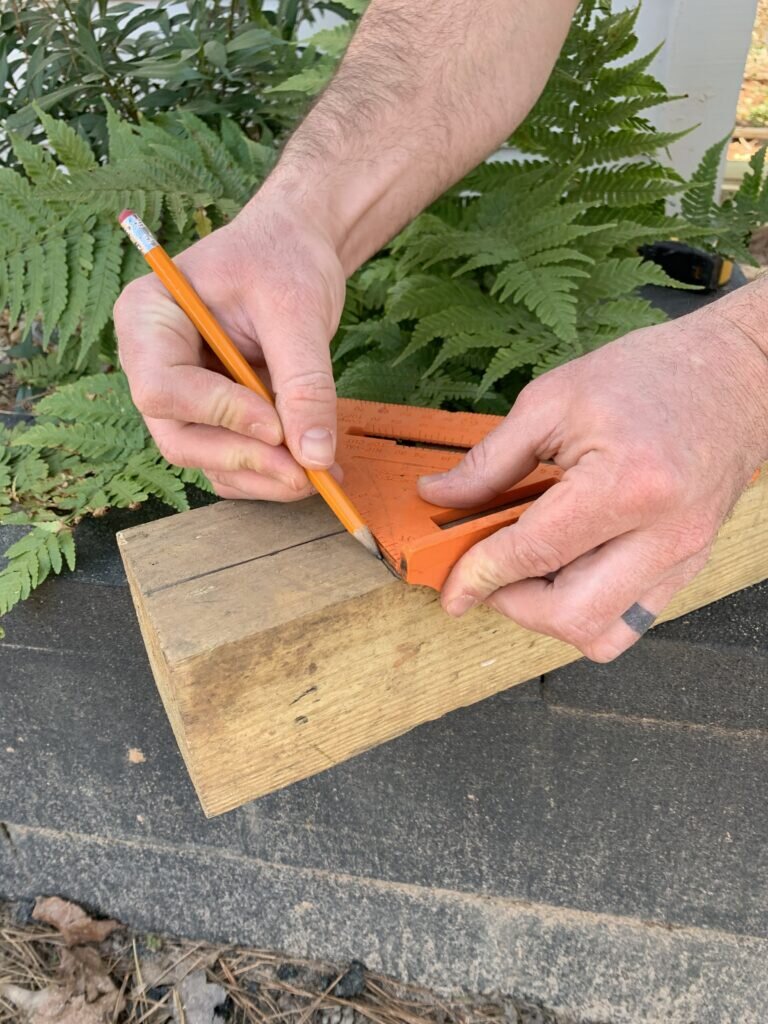
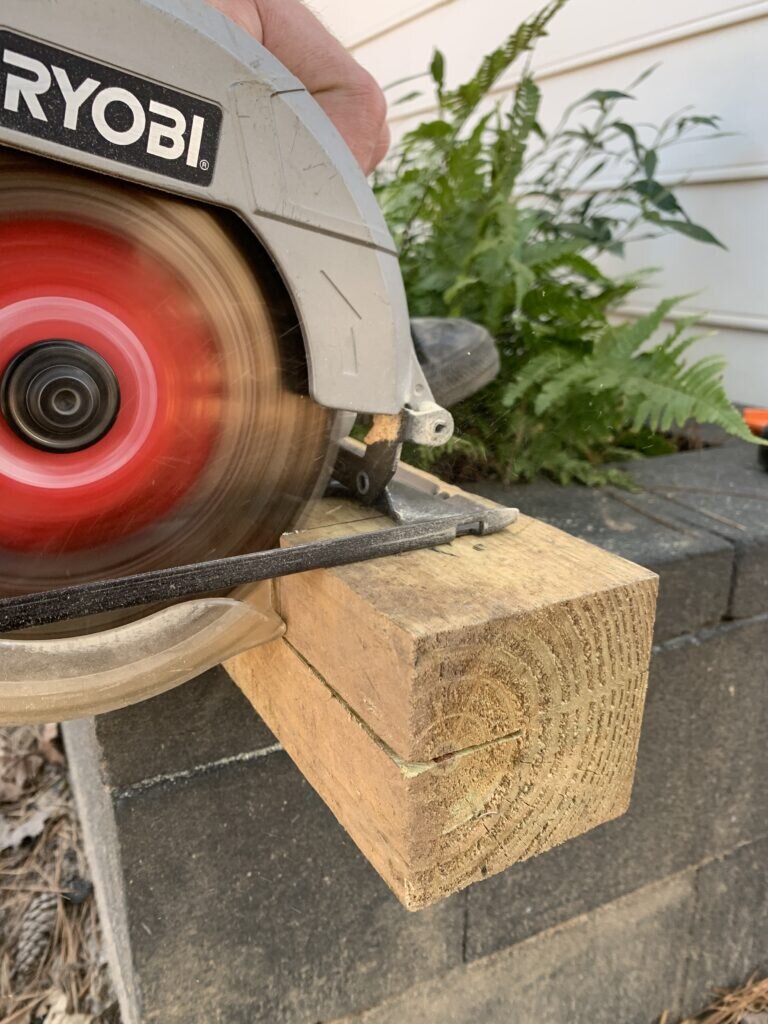
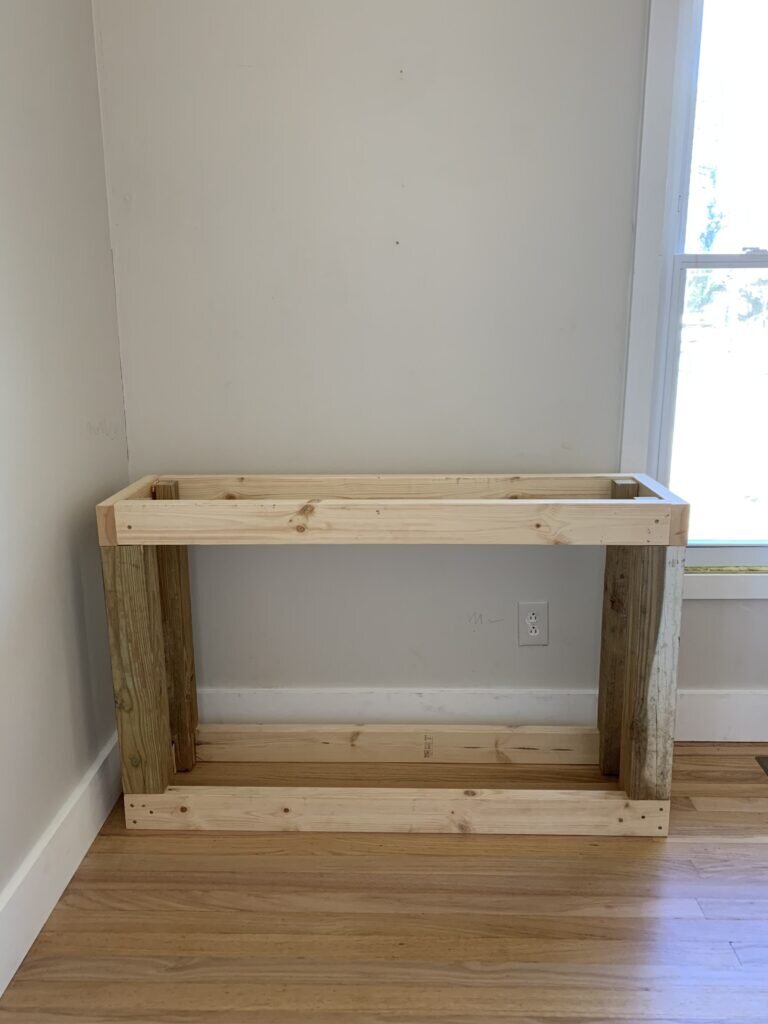
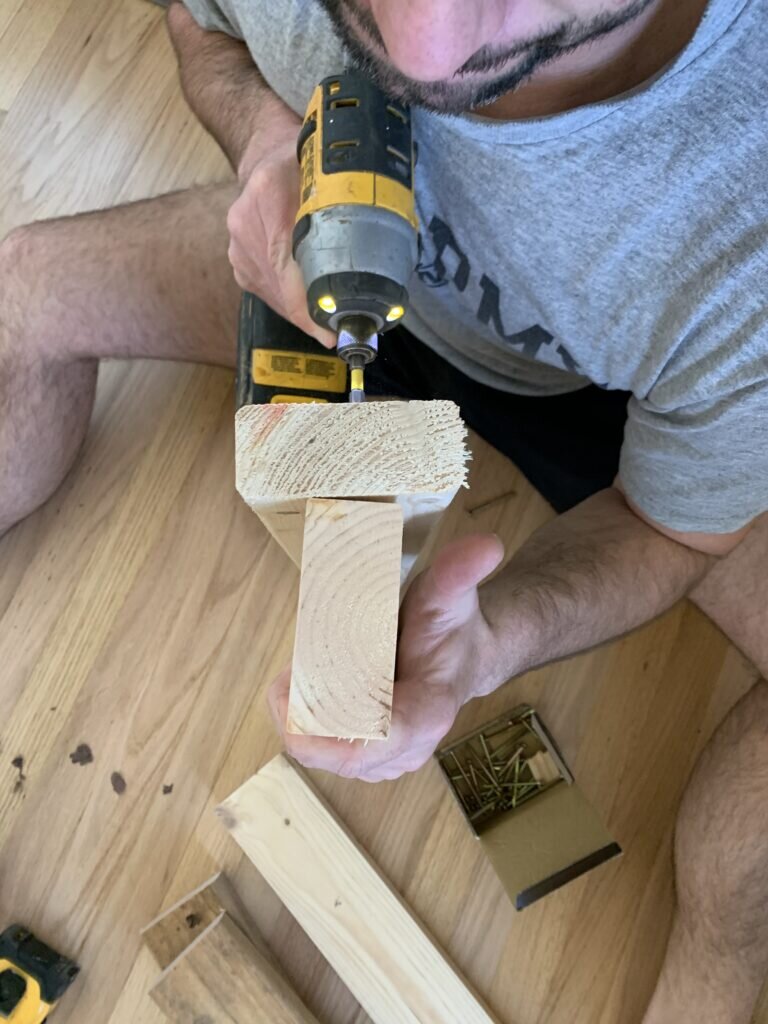
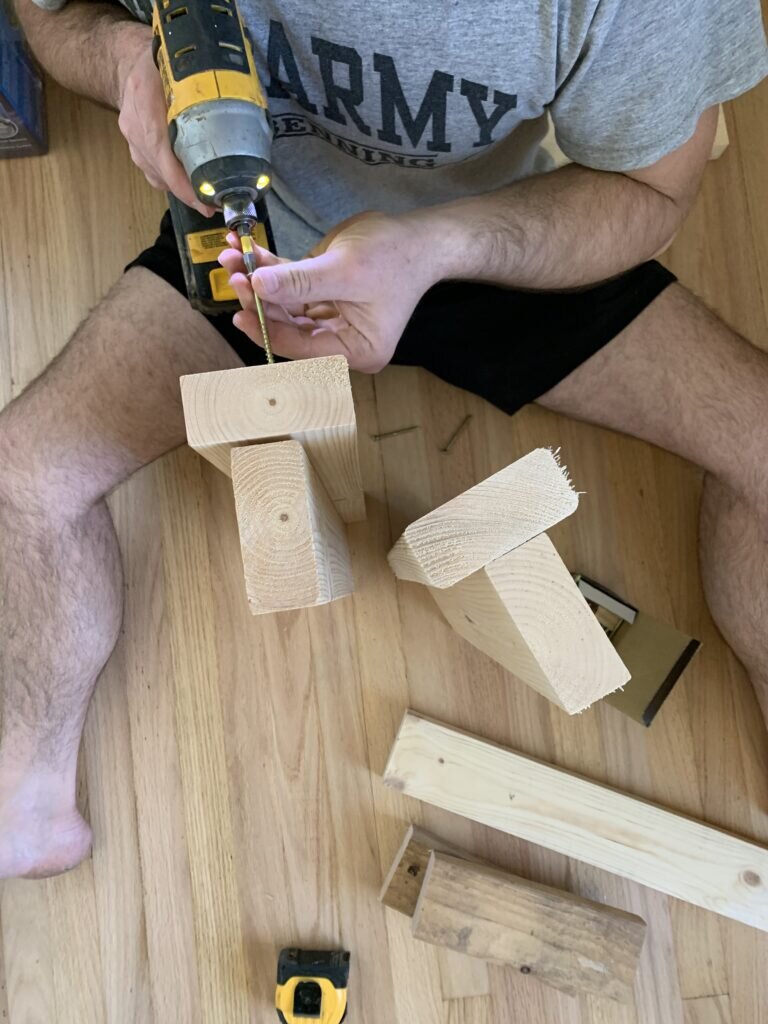
For the legs of the aquarium stand we chose 4x4's. These are 30 inches tall. We chose this height based on our son's height so that the aquarium could be at eye level. We notched out the tops and bottoms of the boards so that they sat flush with the 2x4 framing. Here is a better visual below. (You can also check out our Instagram Reel here for video footage of the cuts).


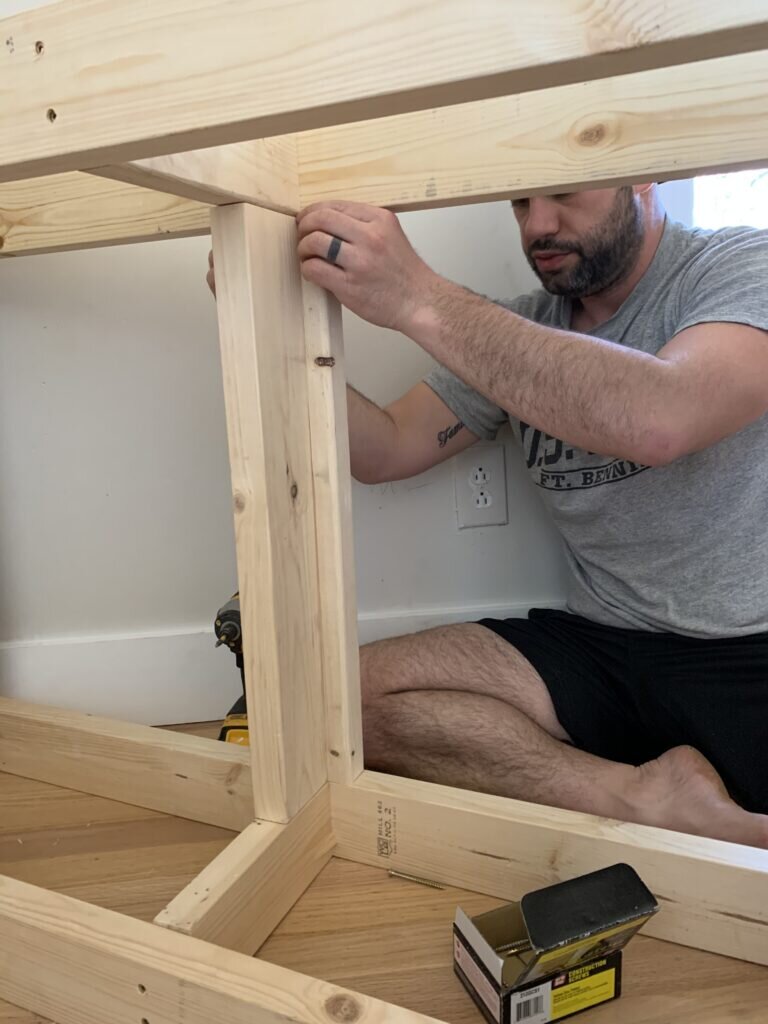
After your four 4x4 notches/cuts are finished you'll be able to attach your top and bottom 2x4 frame using construction screws and your drill.

[show_shopthepost_widget id="4390123"]

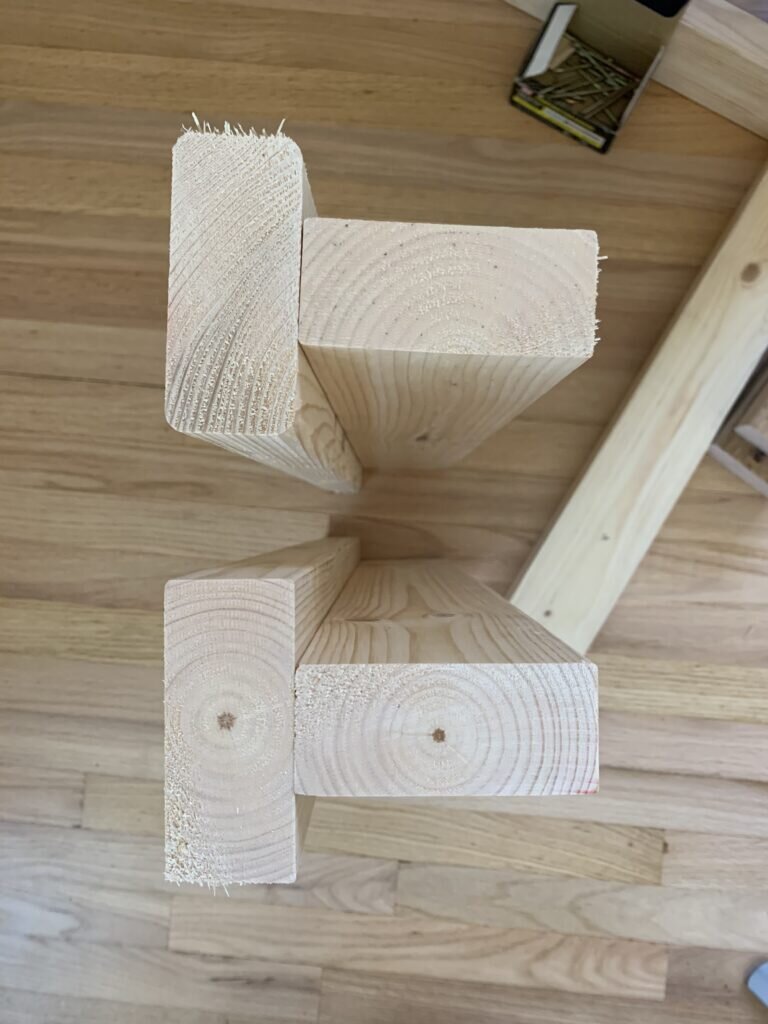
Below is what your frame and 4x4's will look like from above when fitted together.
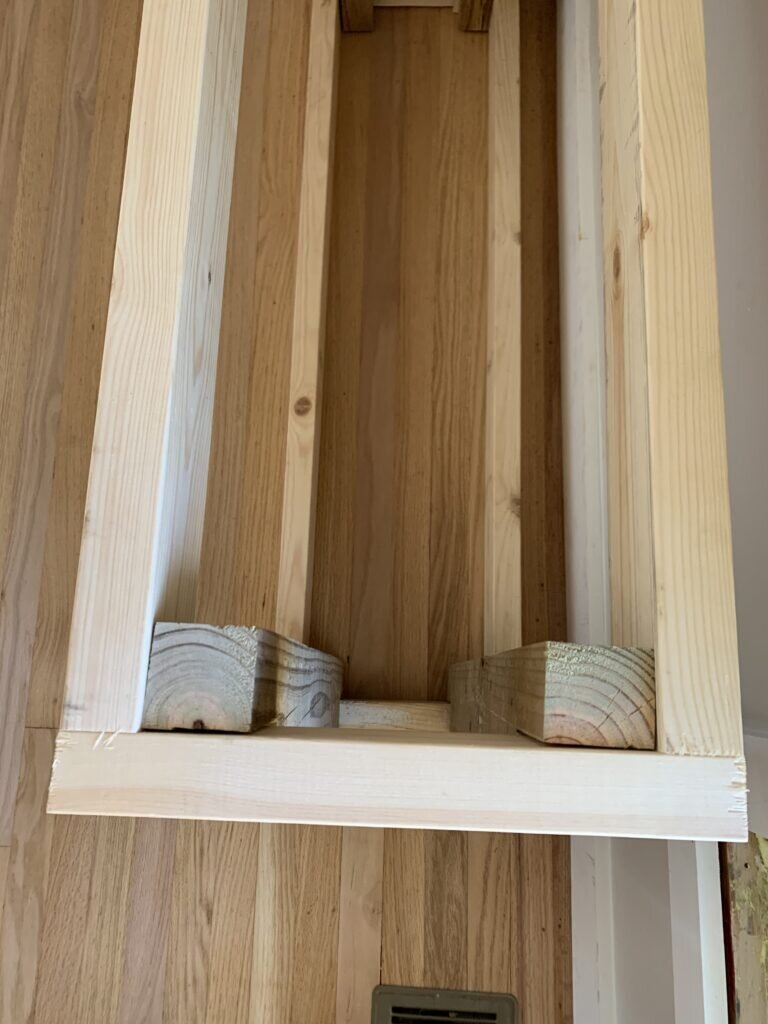
Below is a side view of the aquarium base stand.
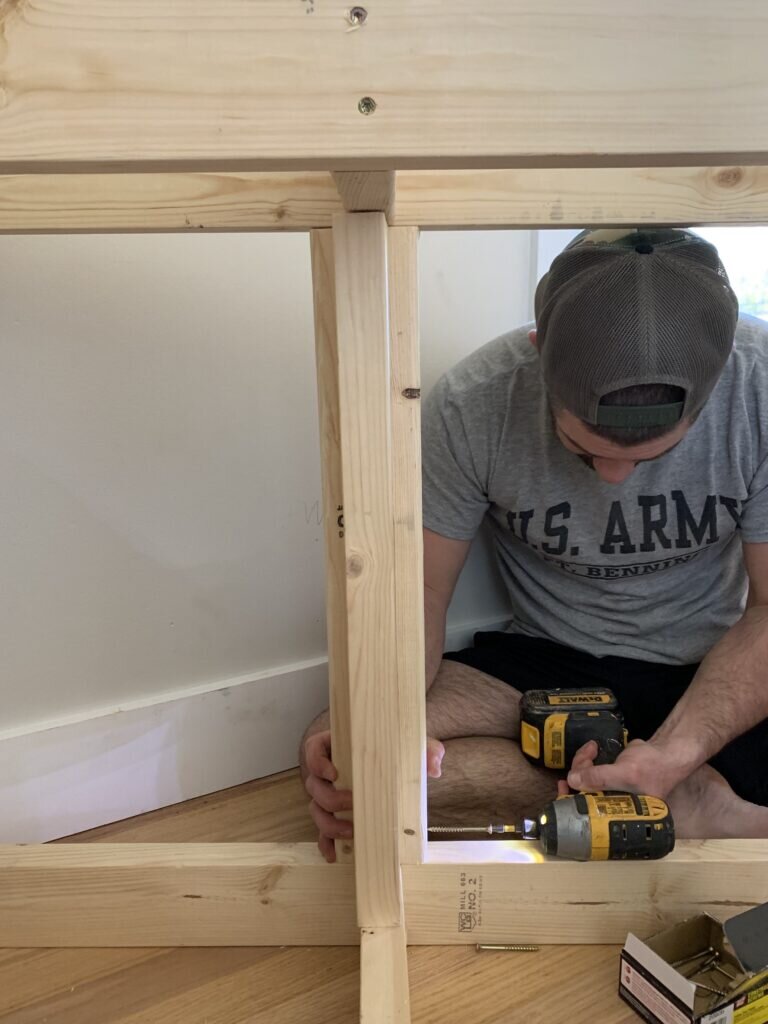
We added bracing with 2x4's. These are the 9 3/4 inch cuts.

Start with your center floor support.
Next we created two t's to go in the center of the aquarium base.
[show_shopthepost_widget id="4390123"]
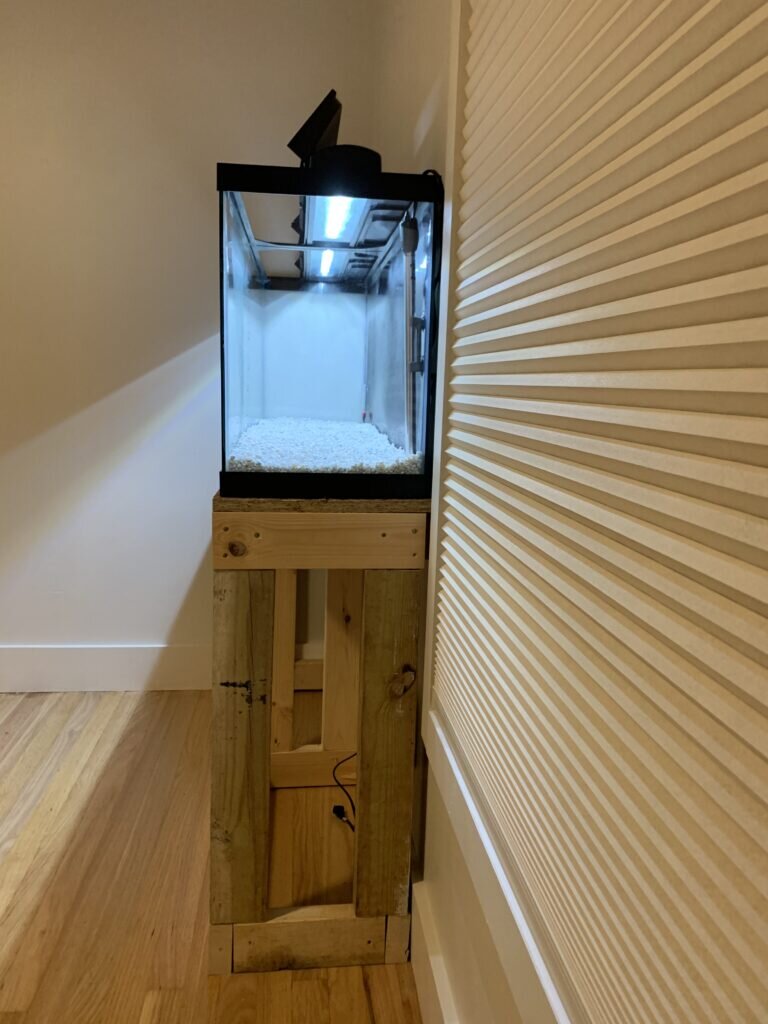
Below is what the aquarium base looked like once everything was assembled. We also attached a scrap plywood board on top.
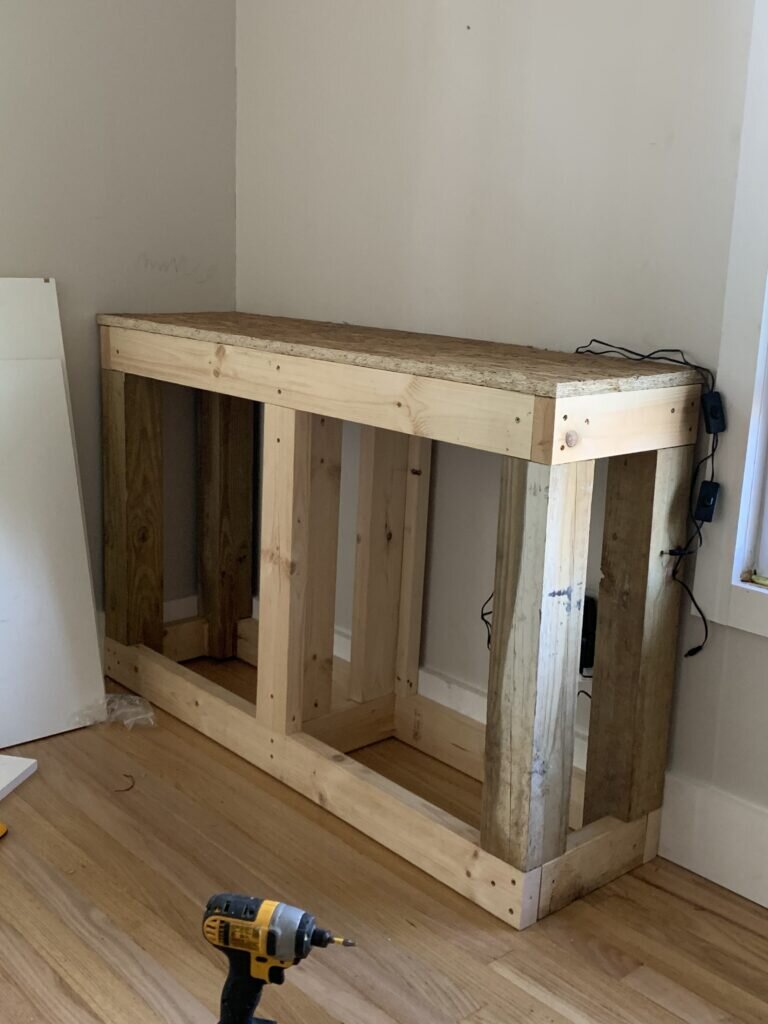
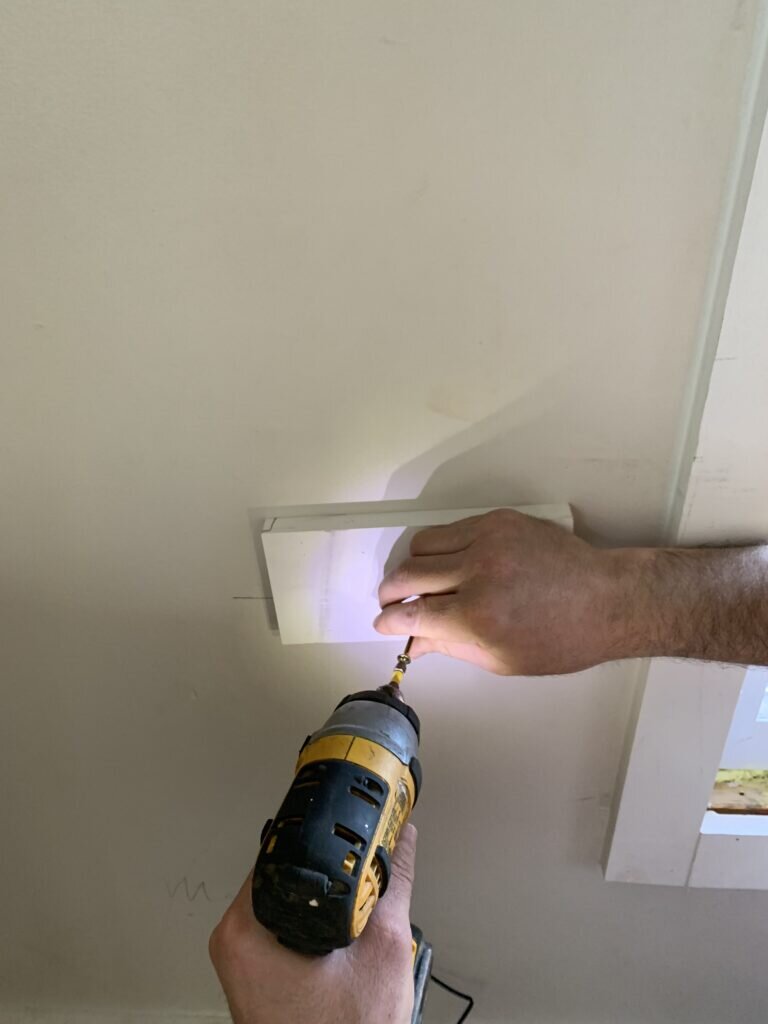
We secured the aquarium base to as many studs as possible. Before securing we added 3/4 inch blocking to account for the width of the baseboards.
[show_shopthepost_widget id="4390123"]

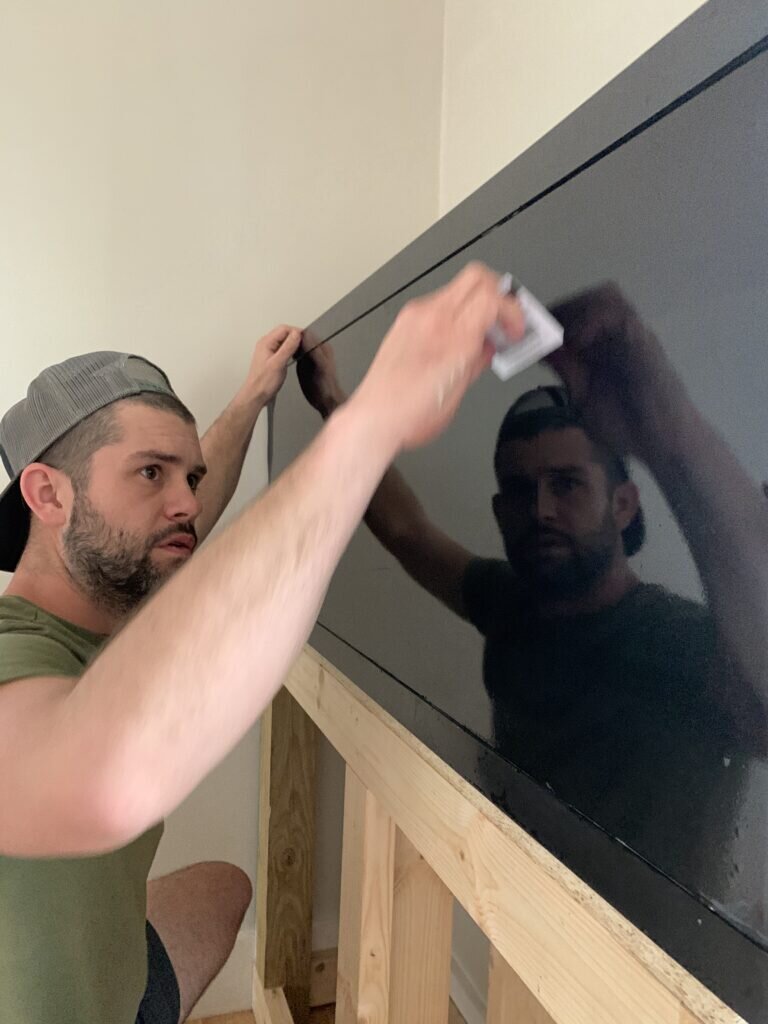
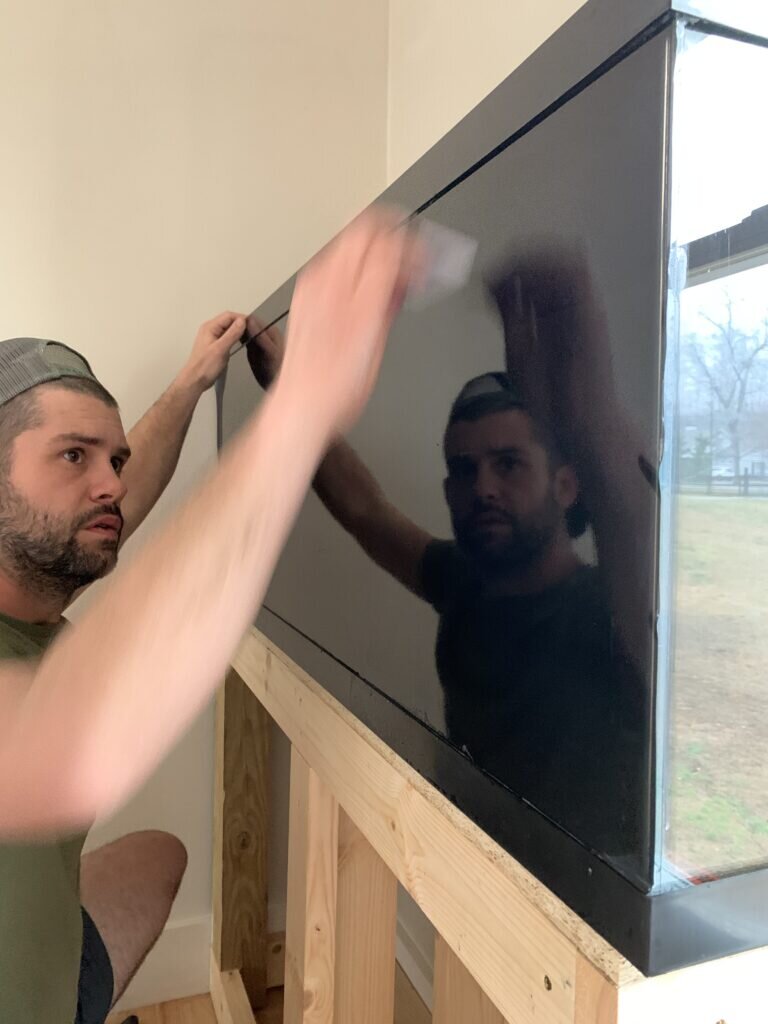
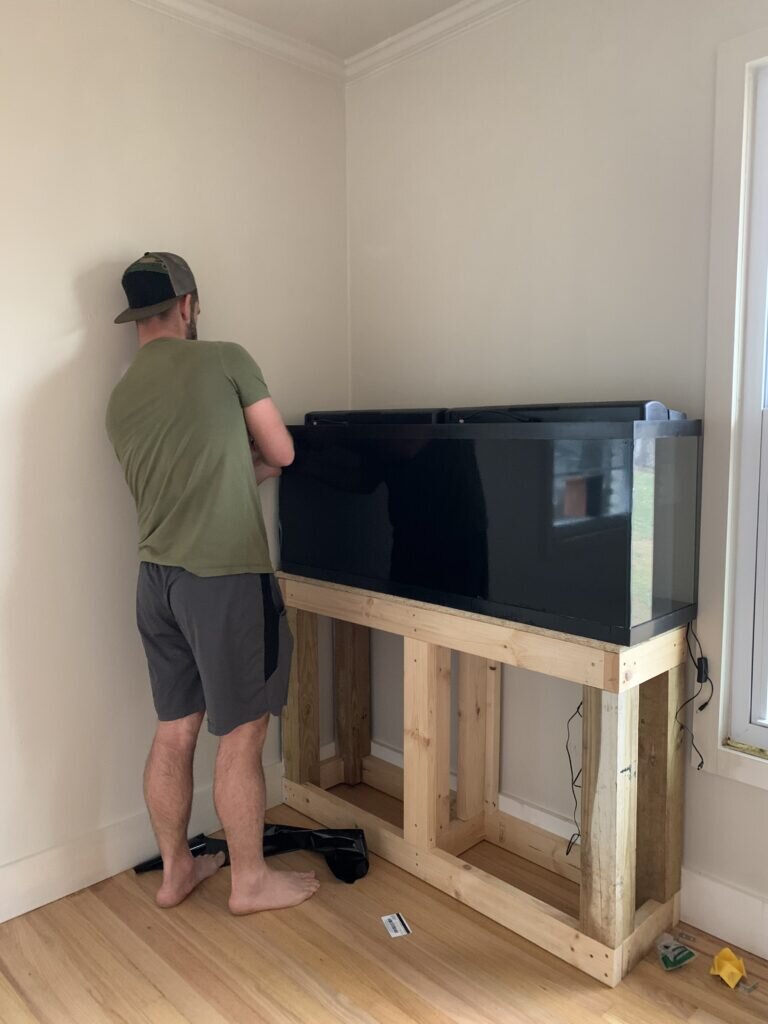
For the back of the aquarium we chose blacked out cling as opposed to a fish background. This was an easy soapy water and credit card installation. To trim off the excess we used a sharp knife.

[show_shopthepost_widget id="4390123"]
Last but not least:
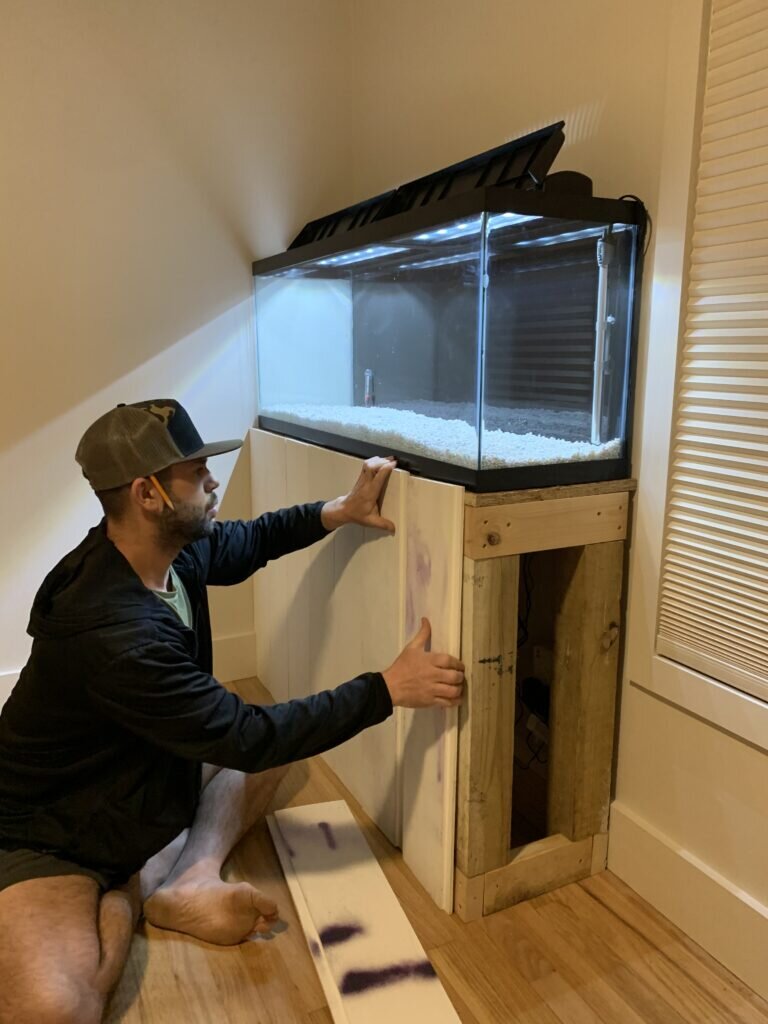
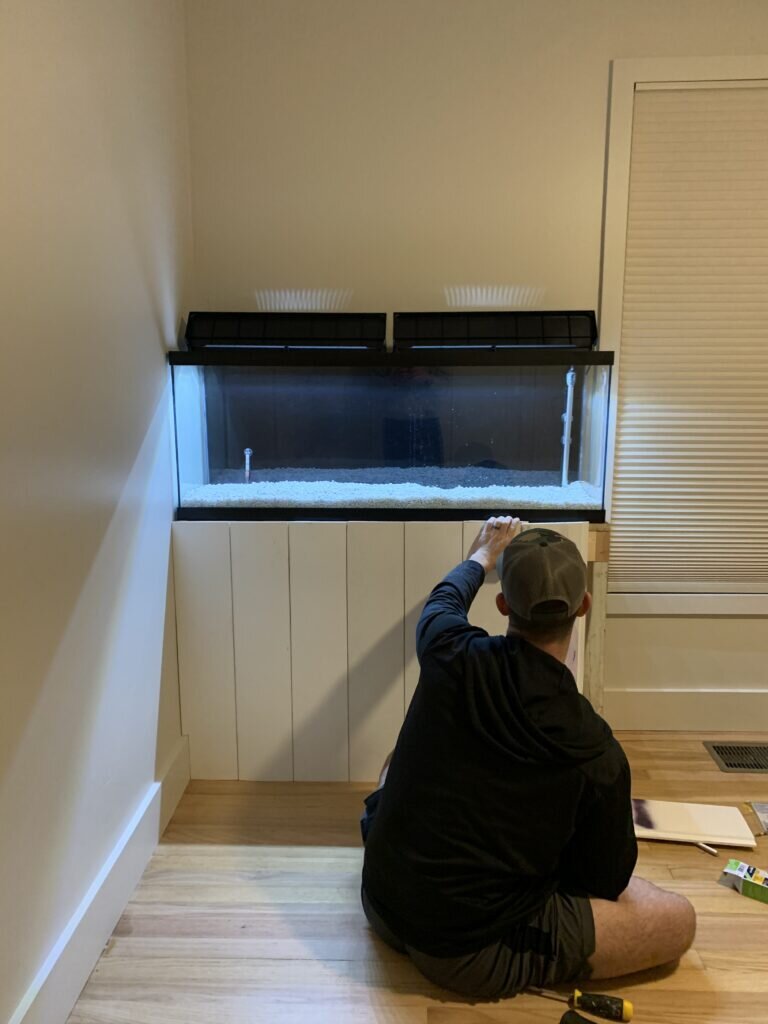
Last but not least it was time for the finishing touches. I grabbed some discounted wood from The Home Depot and decided to do vertical shiplap for the front. This wood ended up being 70% off and cost $24! Can't beat that.
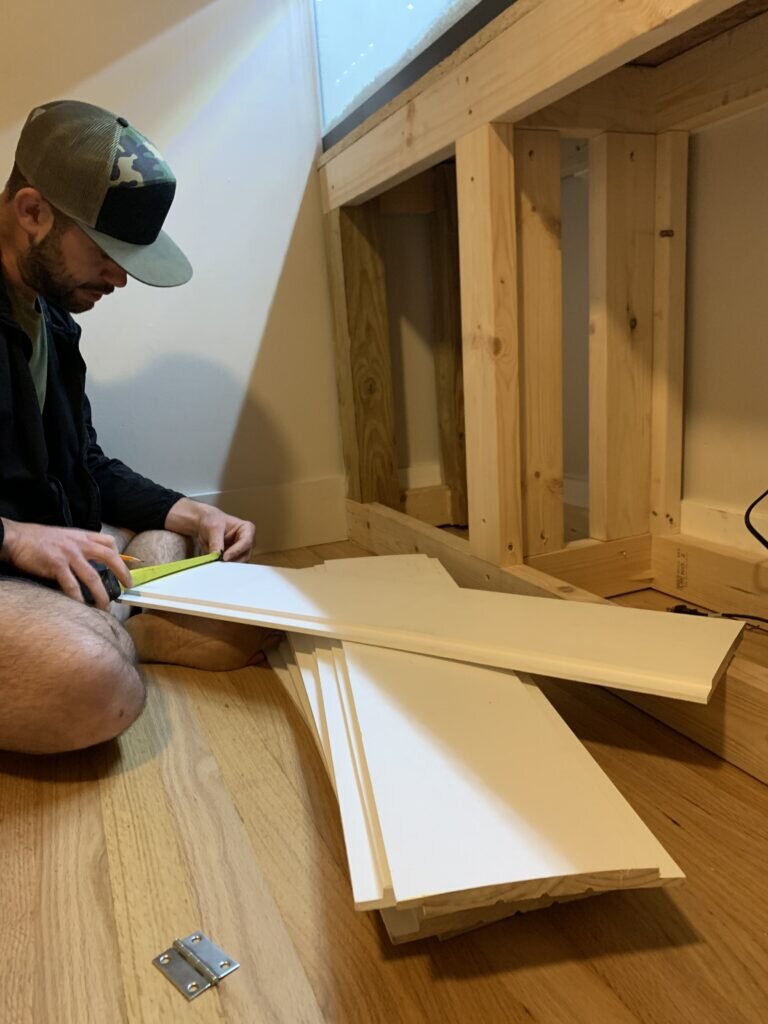
We cut down the ship lap using our miter saw.

To attach the ship lap to the frame we used our nail gun. As you can see in the photos below they were heavily spray painted with spray paint since it was all discounted wood. I was able to get a majority of the spray paint off with paper towels and nail polish remover.
[show_shopthepost_widget id="4390123"]
The final touches:
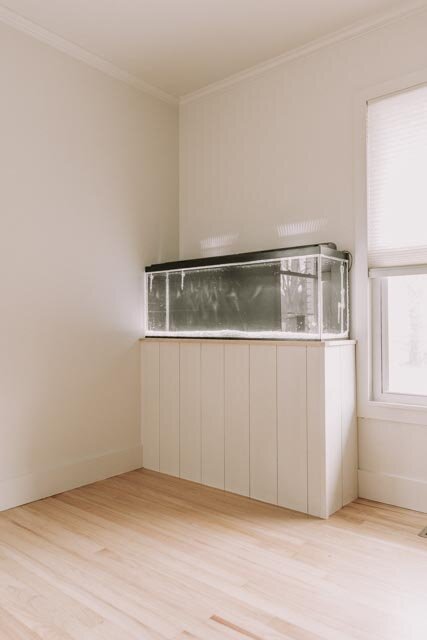
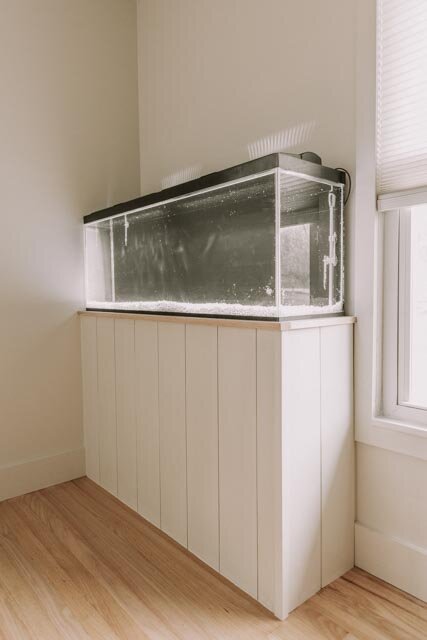
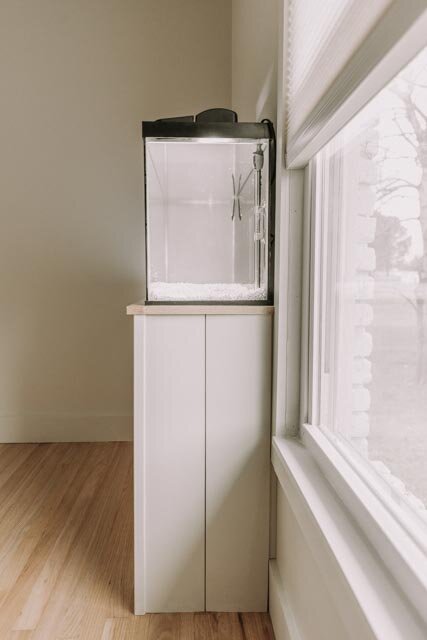
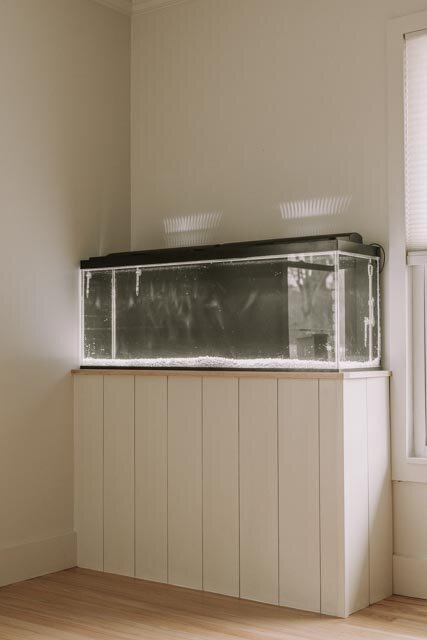
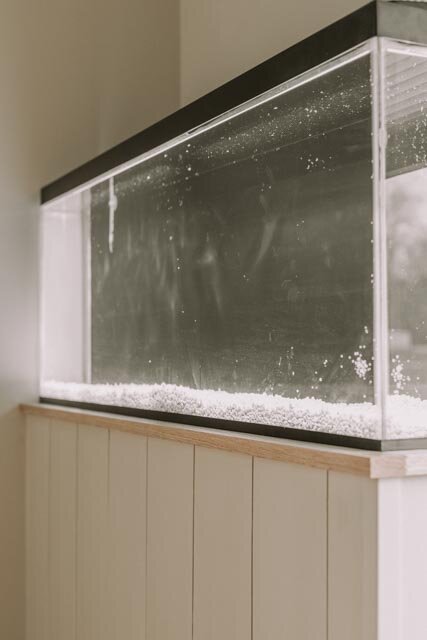
Finally, we installed two red oak 1x2's around the top ledge and a corner piece of trim on the corner. We caulked and painted. However, we also added a solid coat of poly to protect it and make it easy to wipe down.
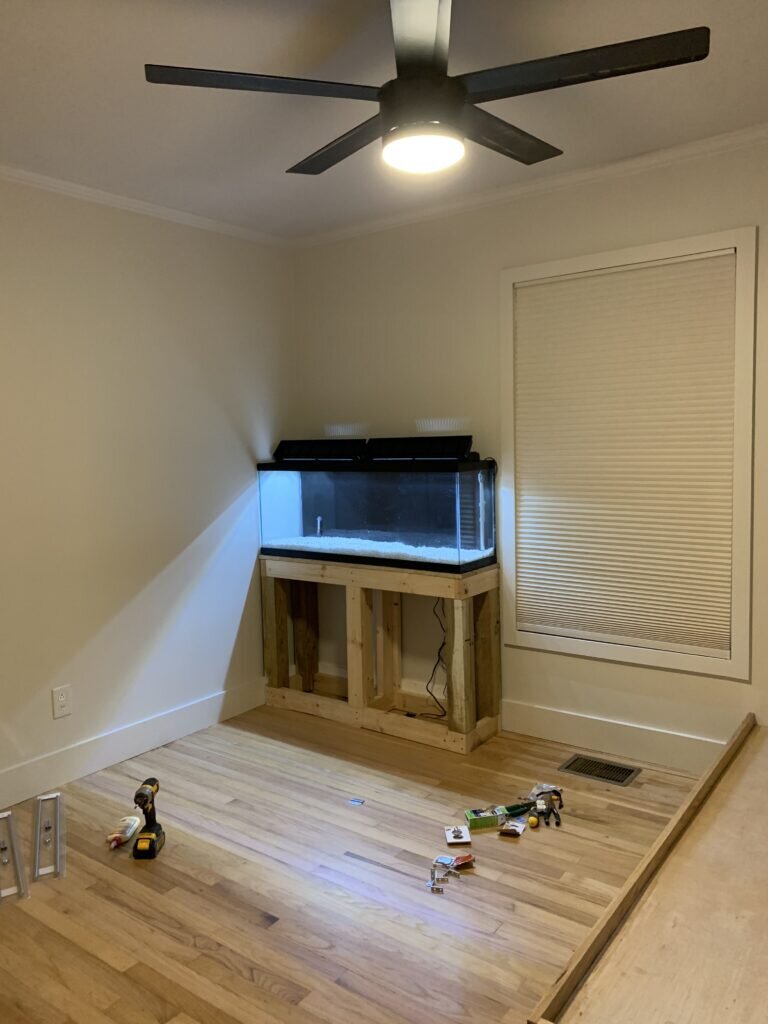
Here's how the aquarium looked once it was completed. (We added the filter after these photos were taken.


Shop the materials for this build:
[show_shopthepost_widget id="4390123"]
Thank you so much for checking out our post on how to build a sturdy aquarium stand the right way. We hope it was helpful and made it a little easier for your current or future aquarium build.
If you're not following along on Instagram and Pinterest what are you waiting for? We share all of our behind the scenes on our reels, and our latest DIY pins on Pinterest! To save this project for later, make sure to pin the graphics (or any photos from this post) below to Pinterest.