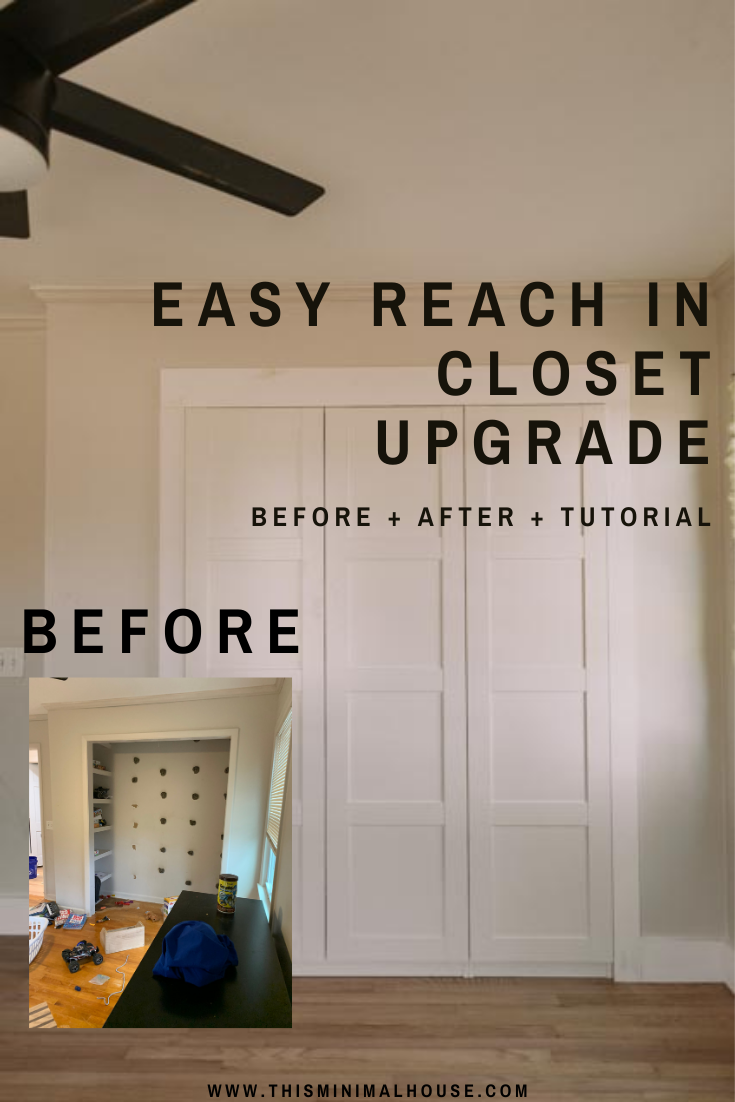
Upgrade your reach in closet with this amazing system

Today I'm going to share how to upgrade your reach in closet with this amazing system. It's an extremely easy project that we would consider beginner if you're just starting out in do it yourself home improvement projects. The hardest part of this project is retrieving your materials from your local Ikea, if you're lucky enough to have one close by (which we hope is the case)! If you have an older home like us, then the chances of you also having a reach in closet is pretty high, so we hope this project is helpful to you. To catch you guys up, I'm going to show you what we started with, what we removed, and how it currently looks.
If you missed the first post of this small bedroom transformation, check it out here. (We sanded down the original, and very orange, hardwood floors!)
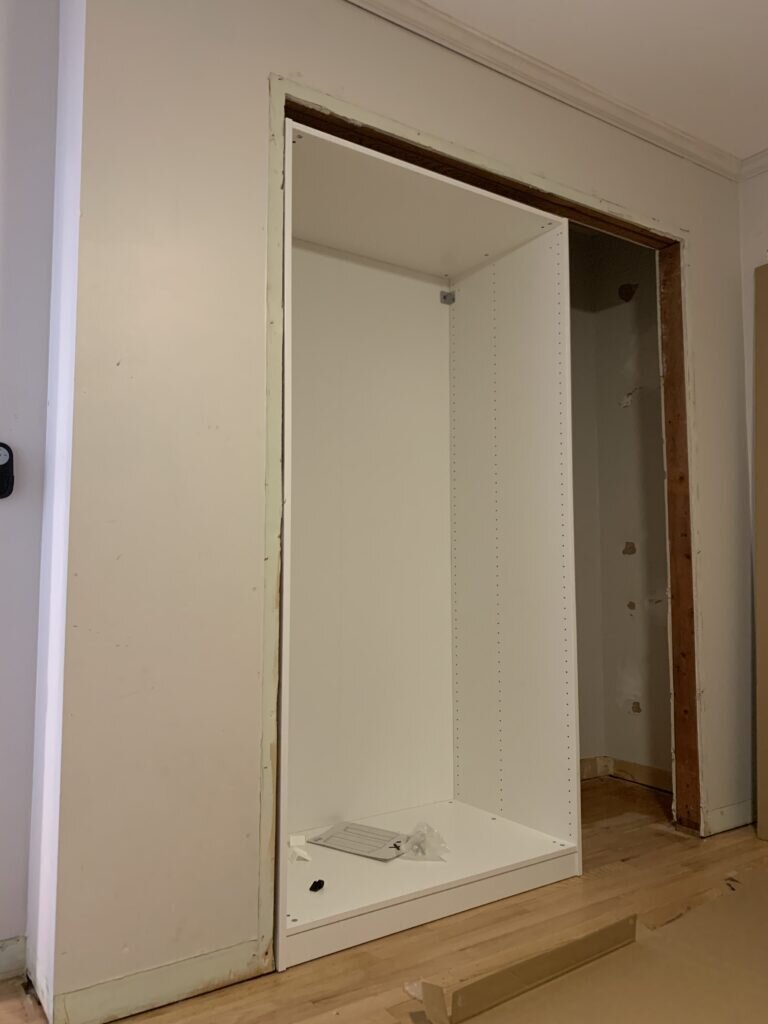
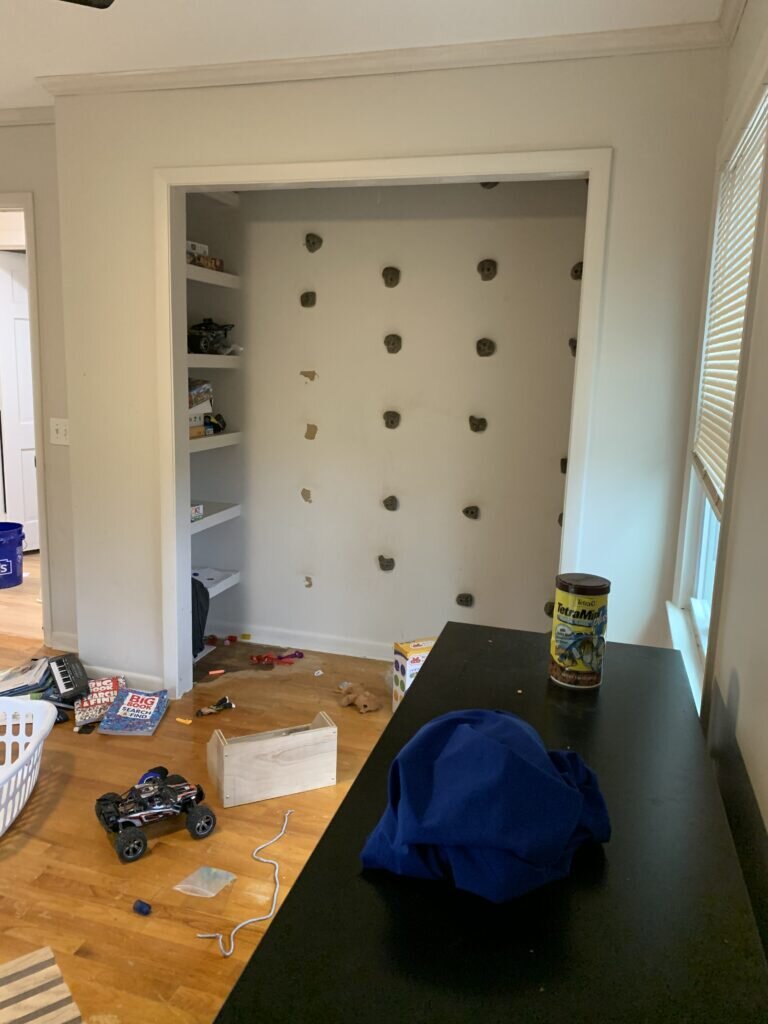
Before closet
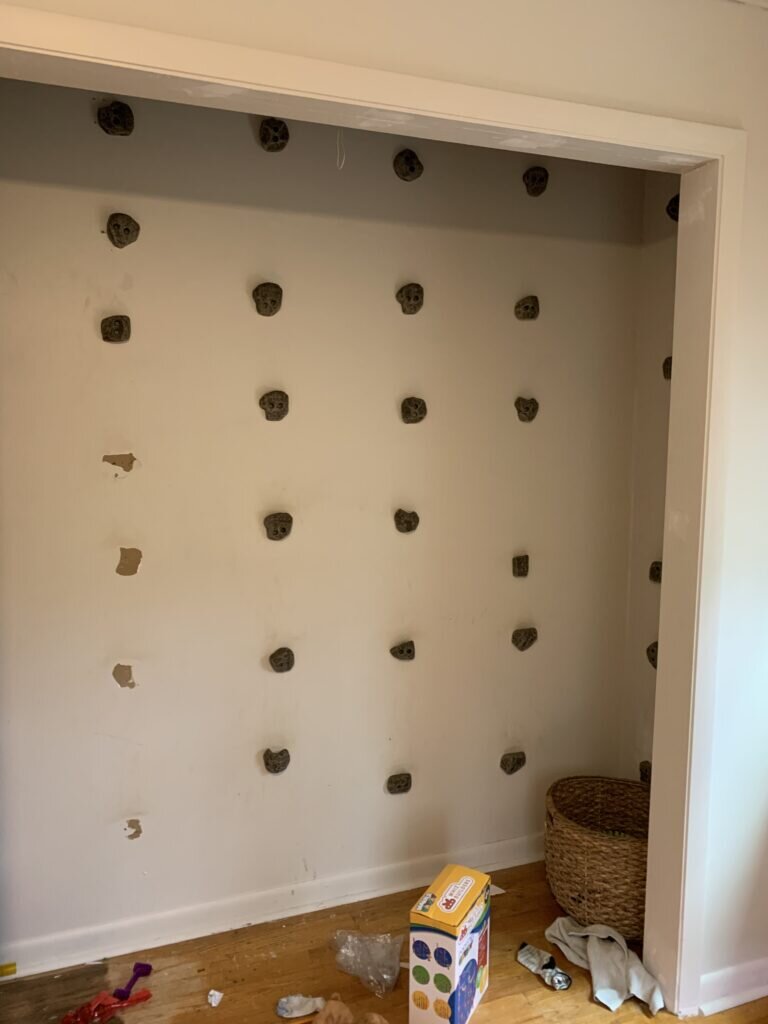
This is what we started with. I had installed these rocks for rock climbing a little over a year ago now. To begin this project we did the following:
- Removed the climbing rocks
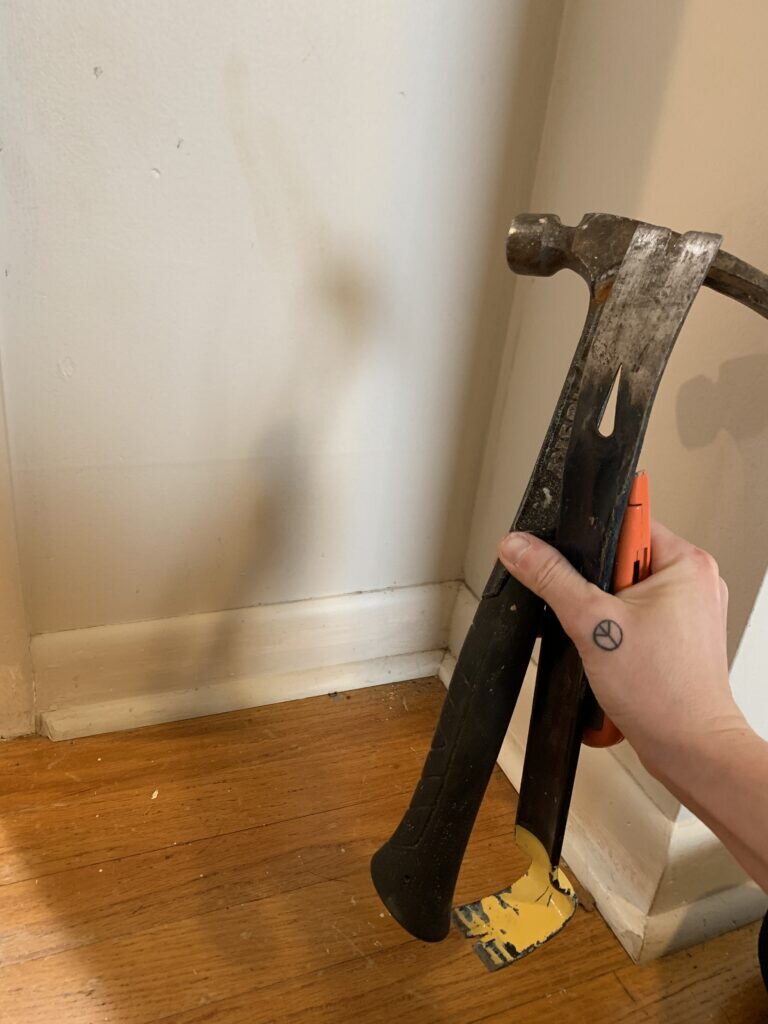
- Took off the trim along the baseboards
- Eliminated the trim around the closet opening
- Nailed in any stray nails we found along the way
Tools we used
The tools we used for this project included the following:
[show_shopthepost_widget id="4381666"]
Let's get started on how to upgrade your reach in closet with this amazing system.
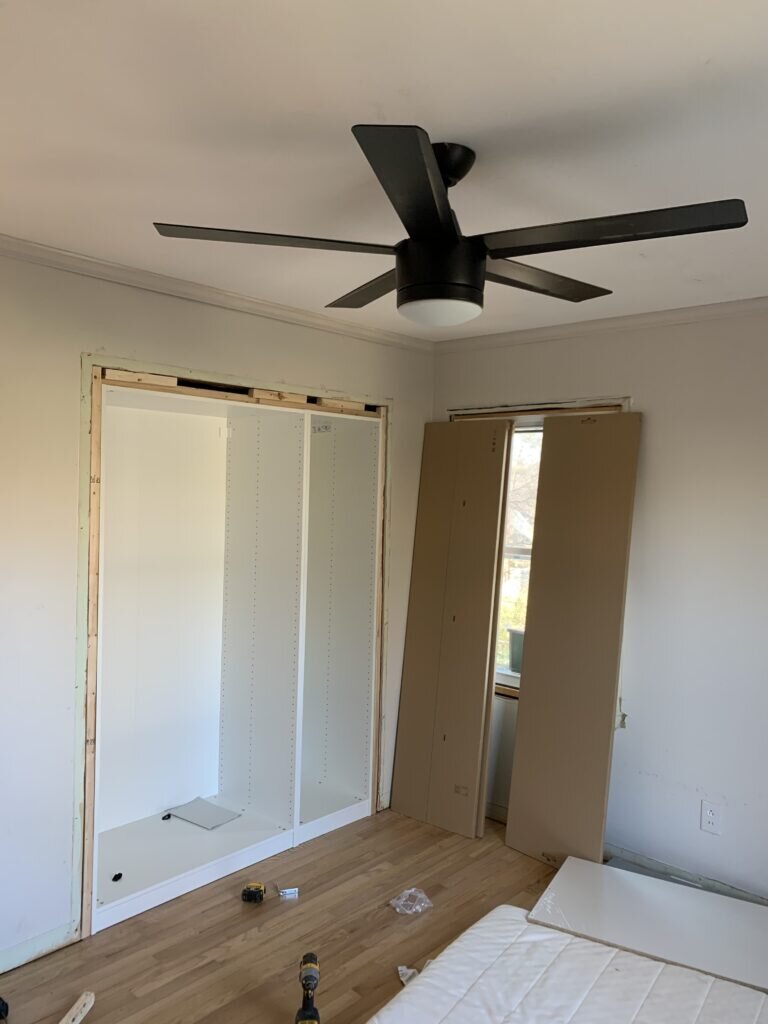
During the upgrade
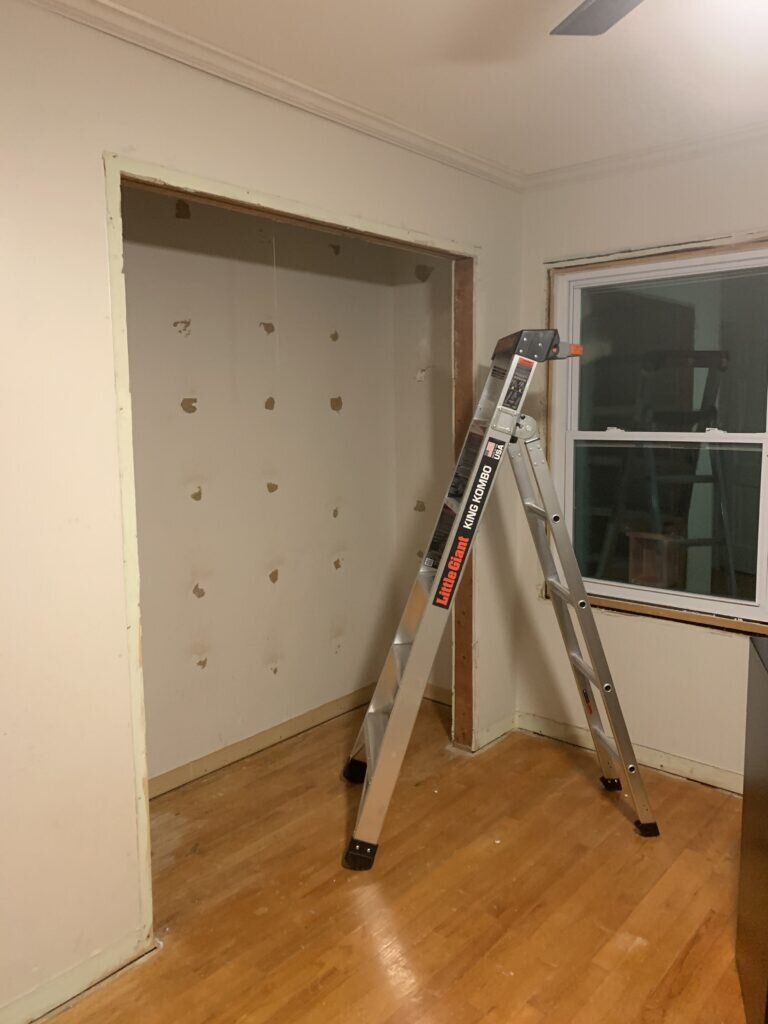
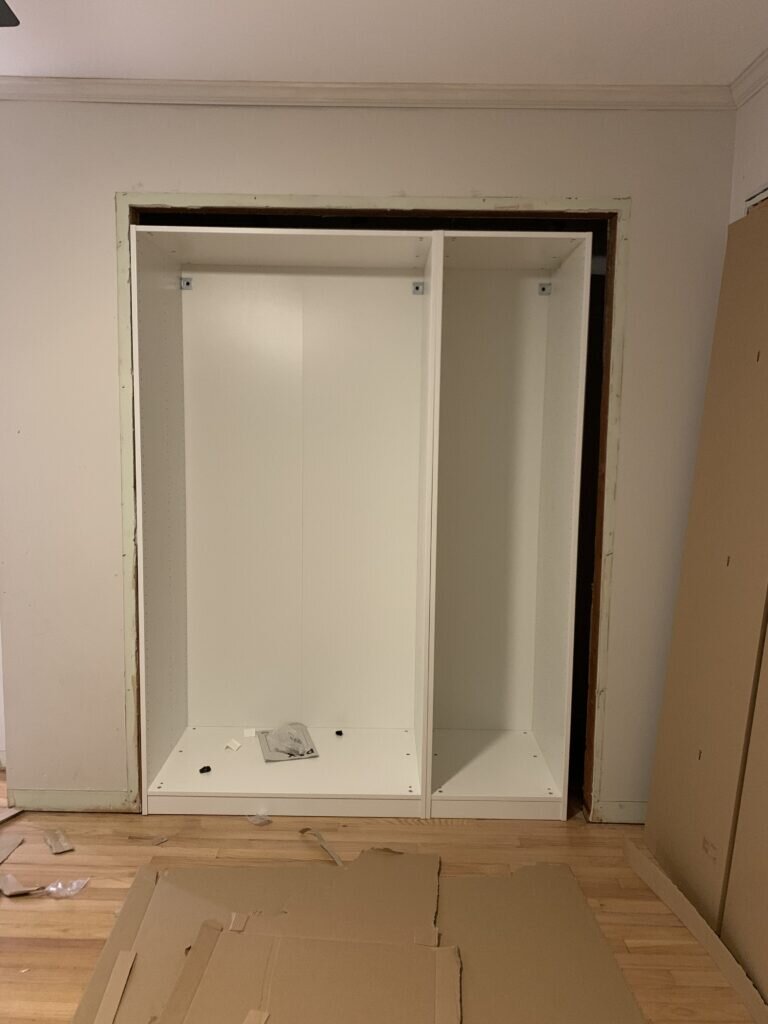
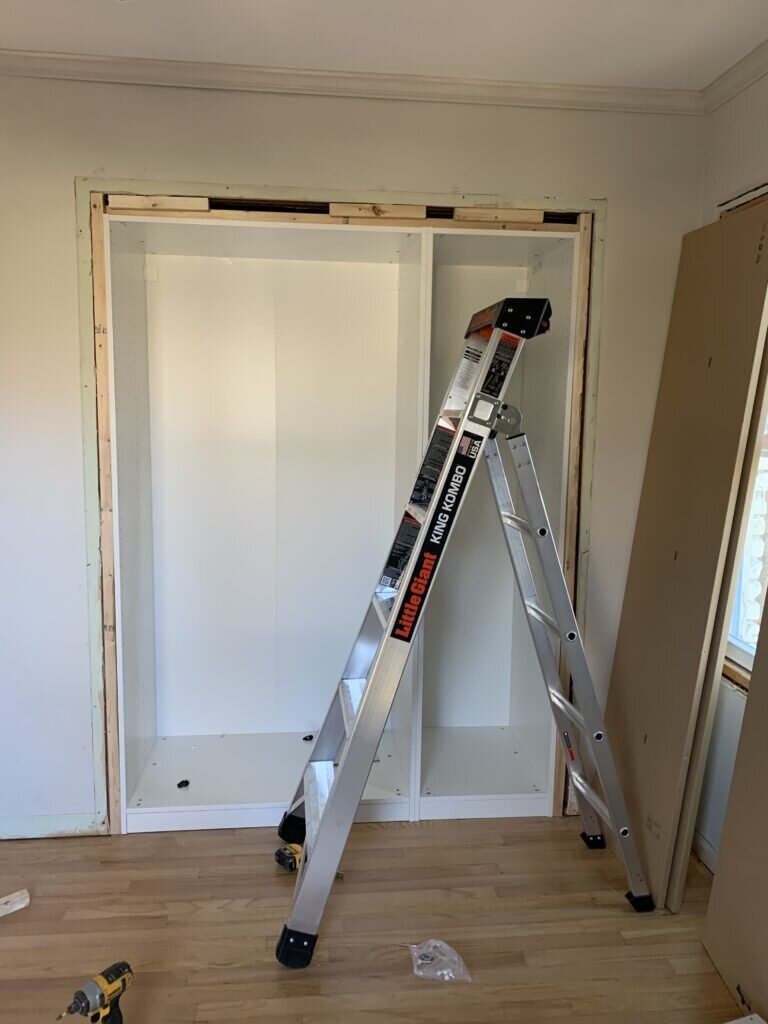
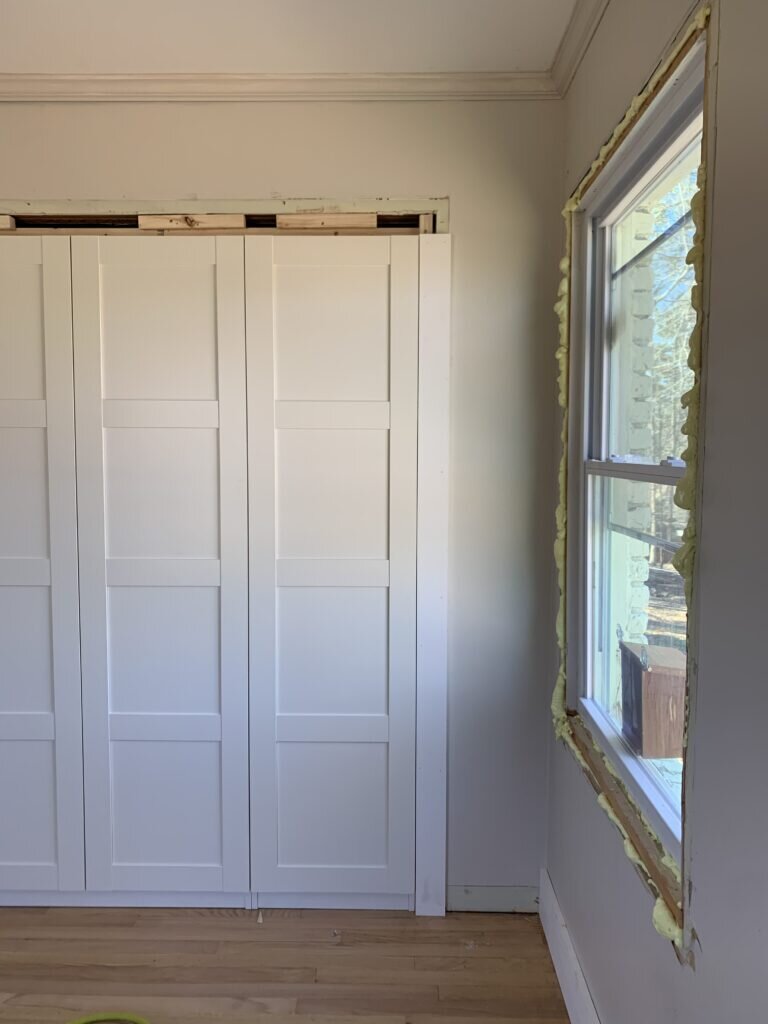
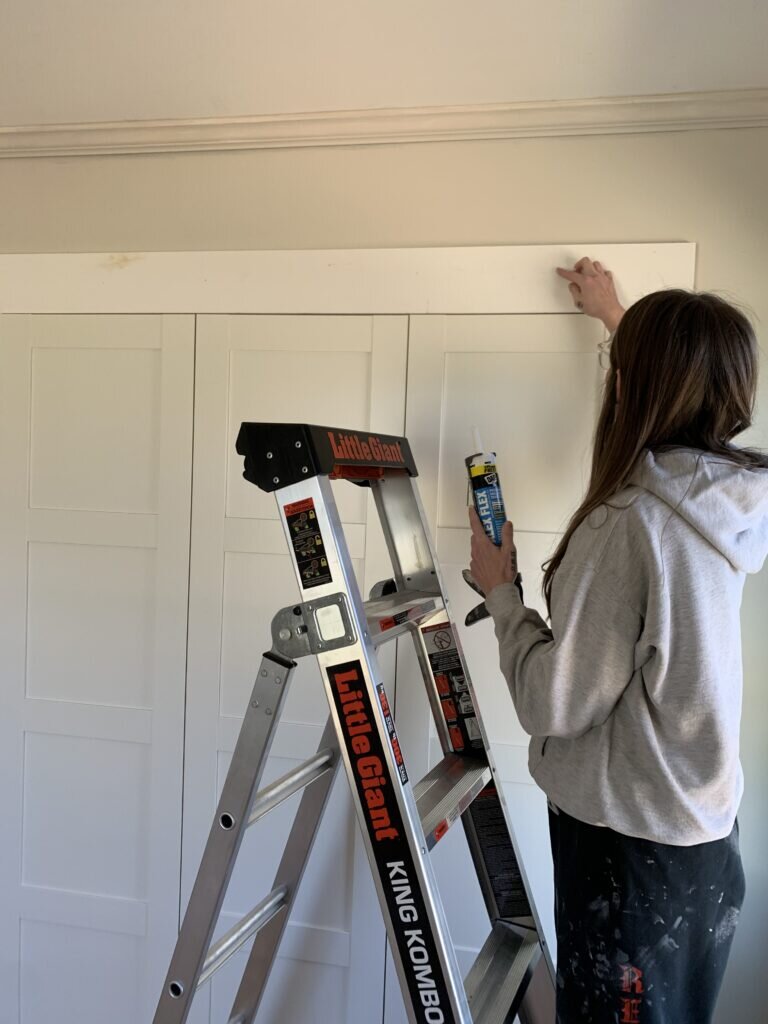
This is how the closet looked once all the trim and climbing rocks were removed. The rocks left some damage on the drywall, but since we planned on installing the Ikea Pax wardrobe, we didn't stress over it. You'll also notice a handy new ladder in the photo above. Scot and I upgraded our 30+ year old ladder with this impressive piece of machinery, and we could not recommend it enough for your home. It's the Little Giant Ladder King Kombo! Shop their entire collection here.
Stay tuned for a product review we will be posting here and on our Instagram account!
Currently
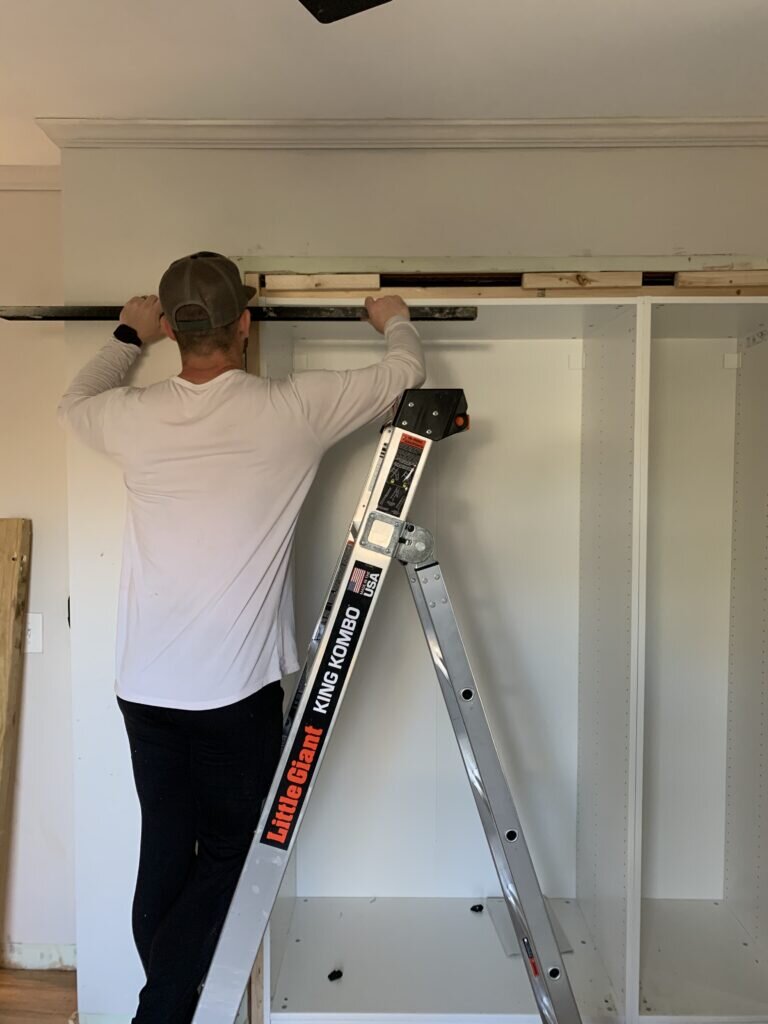
Before installing the Ikea Pax wardrobe, we had to install some blocking pieces to ensure that the wardrobe would fit nice and snug in the reach in closet. Since the wardrobes wouldn't be touching the back wall, this step was imperative to make them flush with the sides. For the blocking we used leftover 2x2's from The Home Depot. You can use any piece of wood for your blocking, it just depends on the size of your gap.
As you can see in the photo above, the gap was pretty large on top of the wardrobe. Ikea has two different sizes of wardrobes, the taller one would require us to reconfigure this load bearing wall, and this one would require blocking. We opted for blocking over installing another LVL beam. We placed the larger wardrobe on the left, and the thinner wardrobe on the right, pictured below.
The game plan
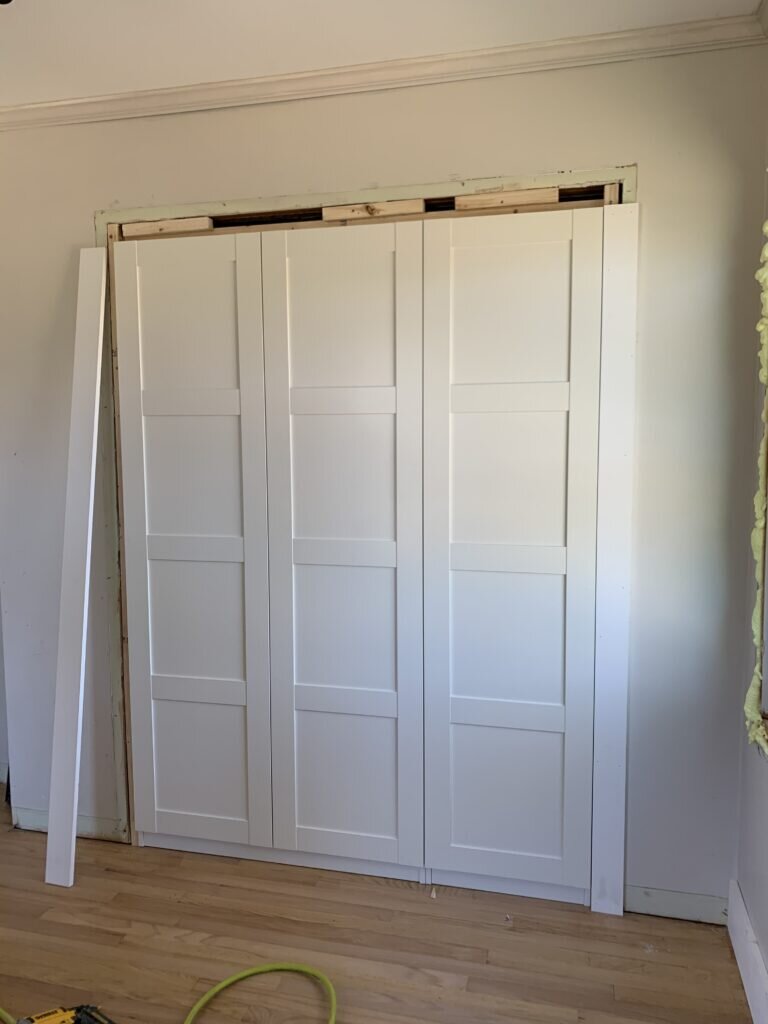
We centered both of the wardrobes with the reach in closet and installed blocking to the sides and top.
[show_shopthepost_widget id="4381680"]
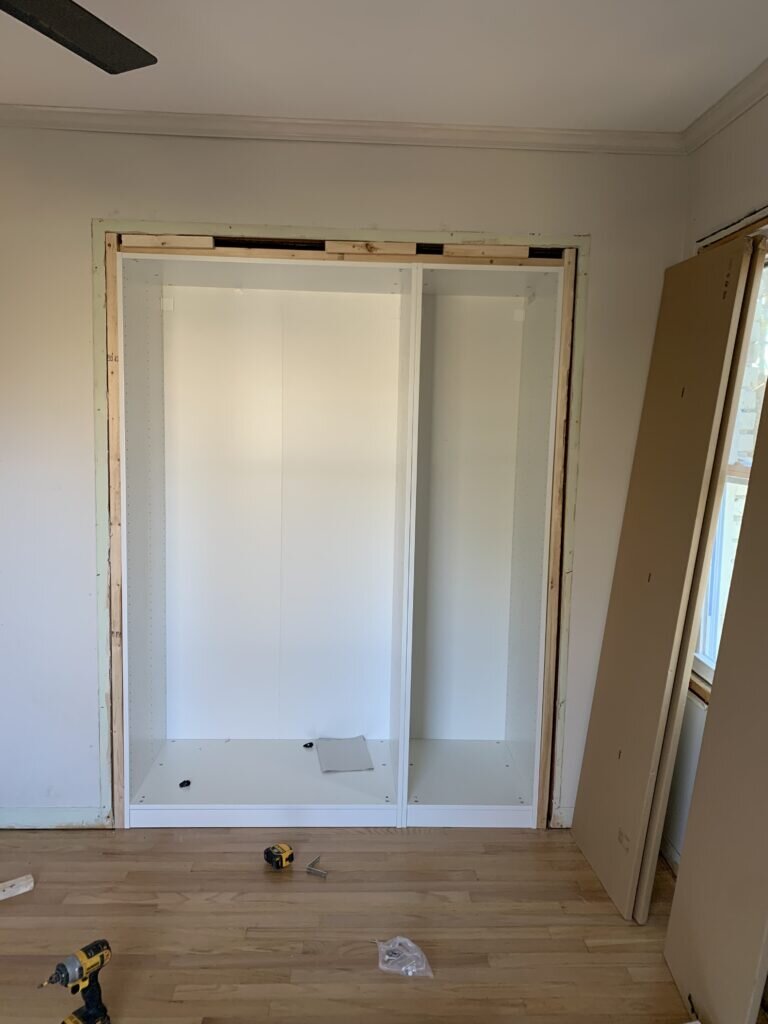
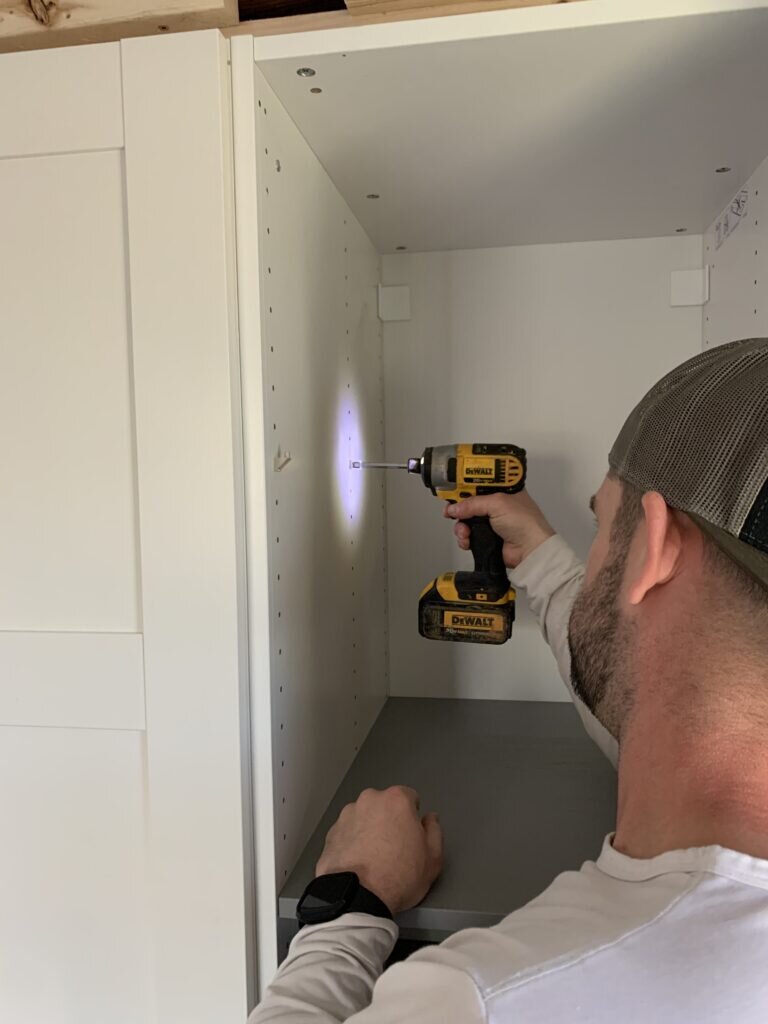
Always make sure everything is level before moving onto the next step. We love this level and have had it for years. Once the blocking was in, we secured the wardrobes to them through the frame itself using screws. This ensured that the wardrobes wouldn't budge. We connected the two wardrobes in the center using custom screws that came with the wardrobes. By doing this, we were able to eliminate the gaps in the middle.
Doors
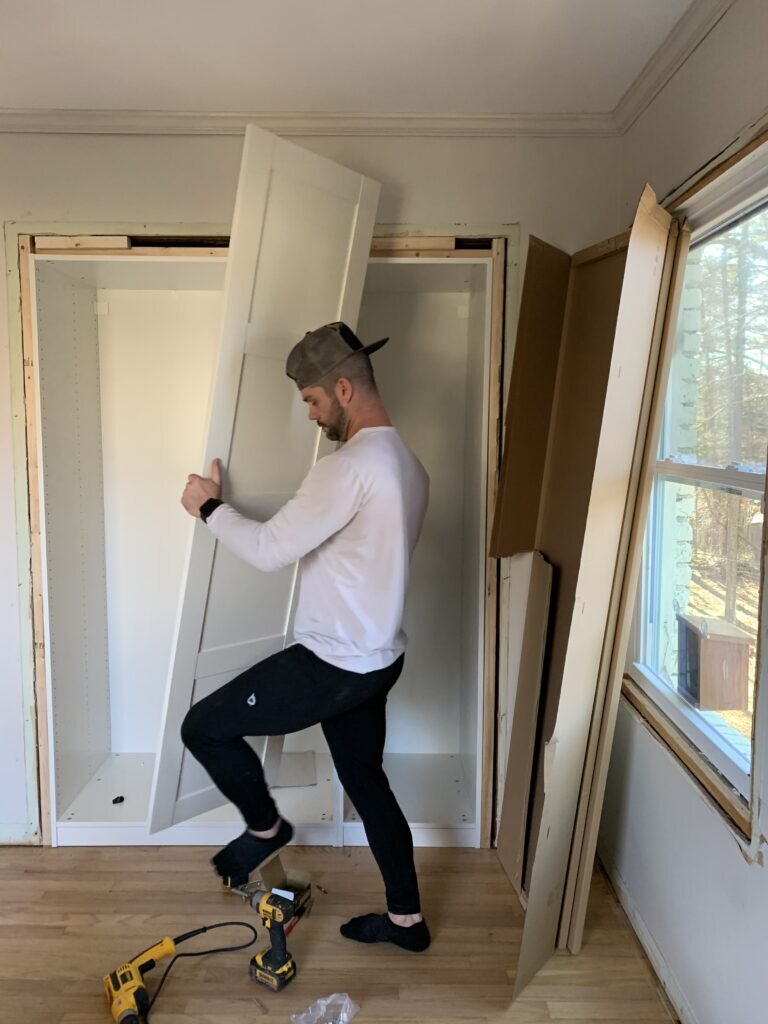
Now that the wardrobes were secured, we were finally able to install the doors. This is a very simple step. You simply place the hinges (that you must purchase separately) into the doors, and screw them in using your drill. We included this step in video form on our latest Instagram reel. You can check that out here.
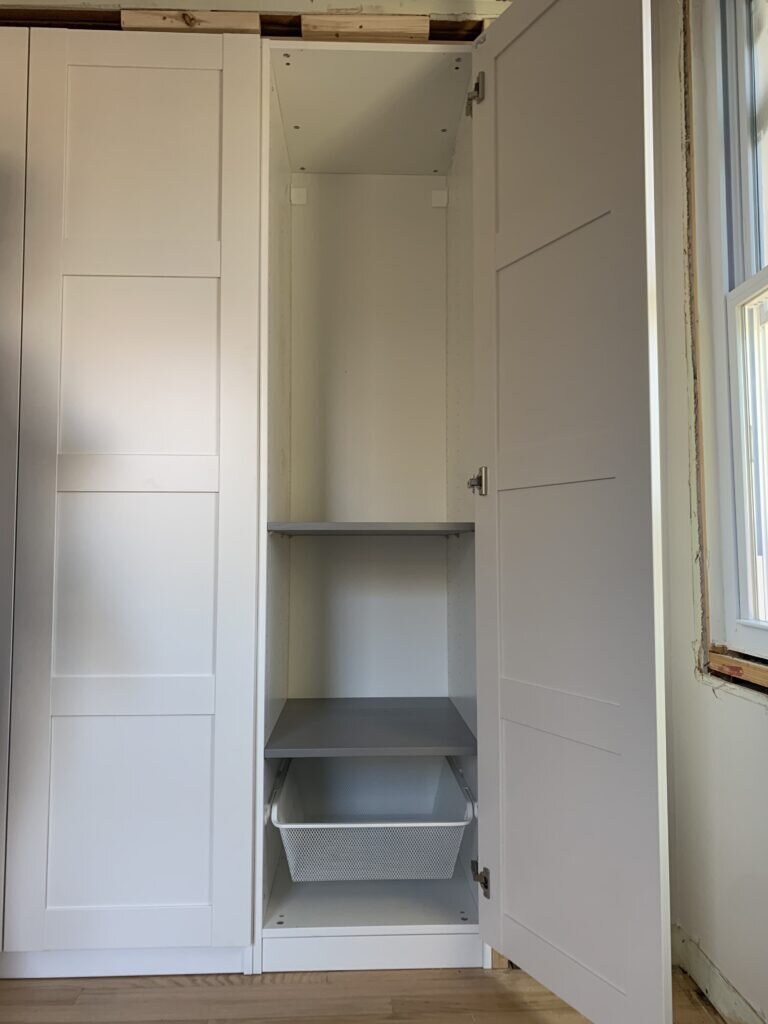
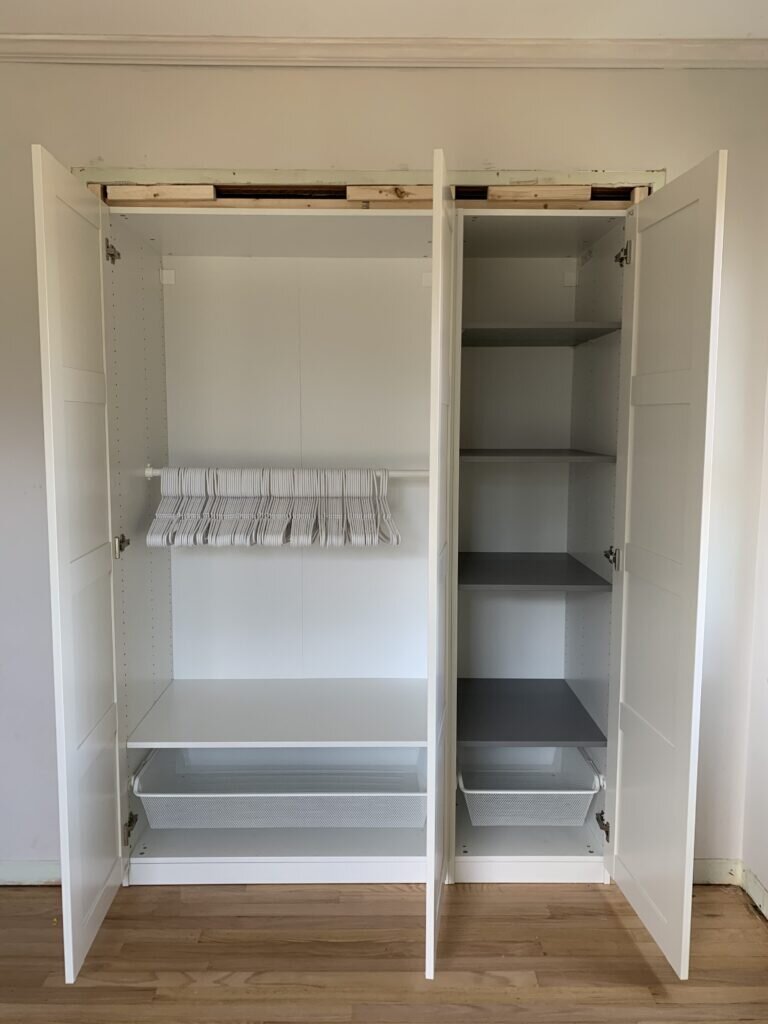
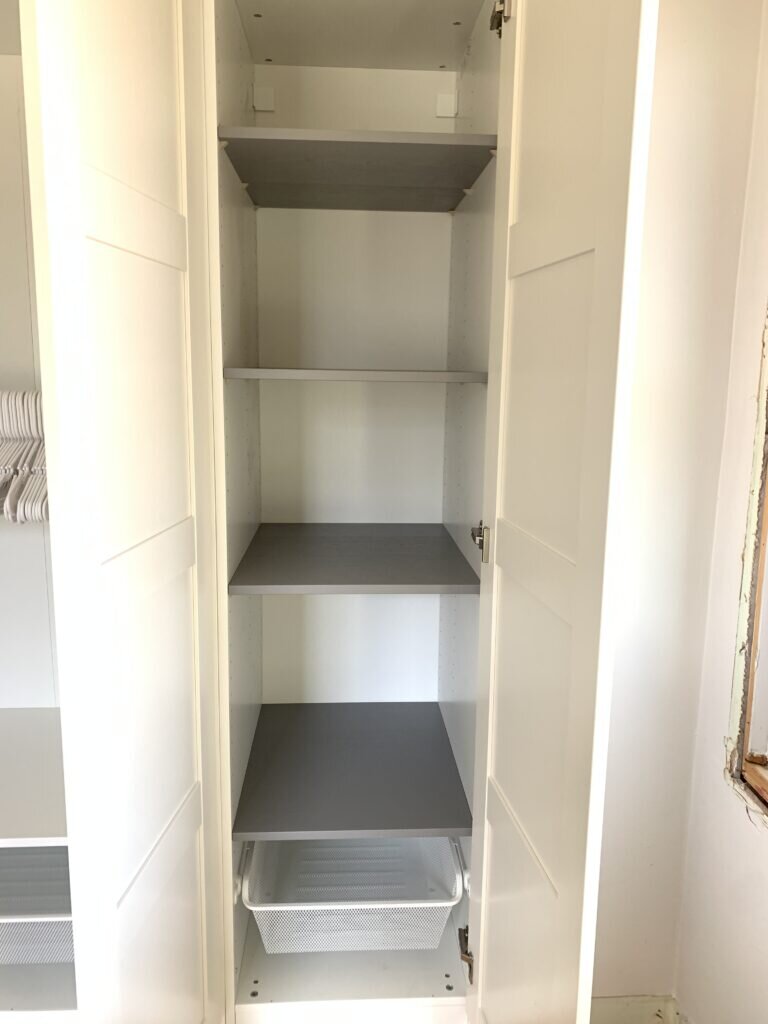
Shelves and baskets
After the doors were ready to go, we installed the shelves, baskets, and clothing rail that we picked up while at Ikea. We have these three items in all of our wardrobes, and they're game changers. Here's what the wardrobe looks like once all three were installed.

Trim
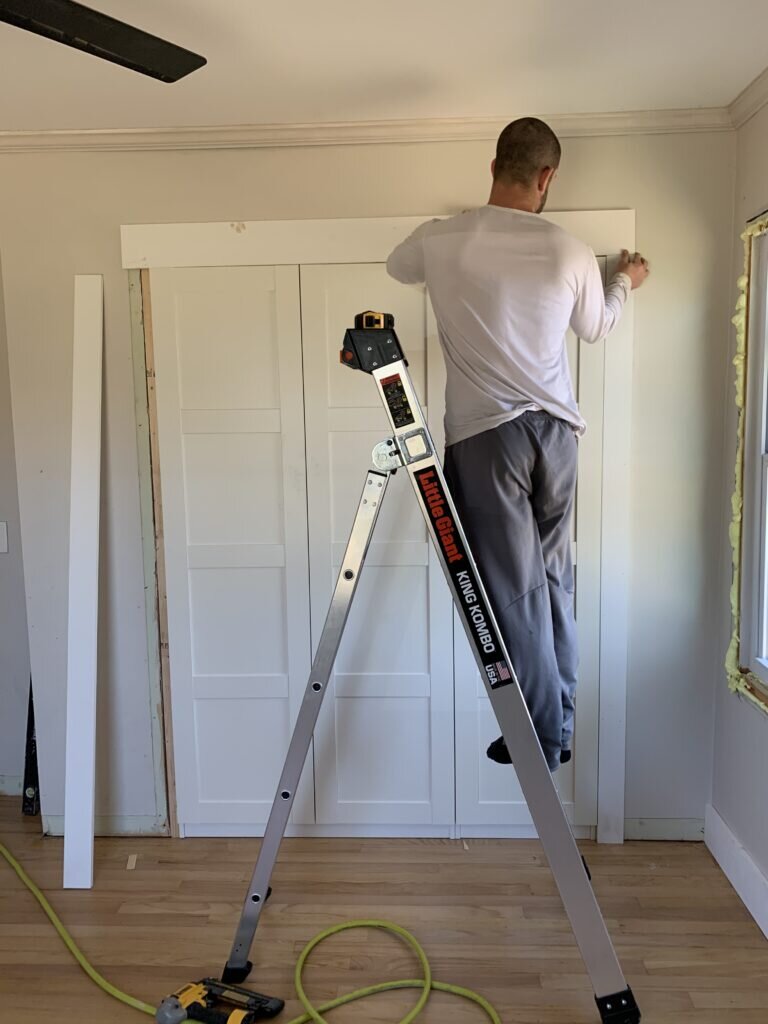
Last but not least, it was finally time to install the new trim. Normally we opt for custom cut MDF trim, however for the sake of time on this small bedroom makeover, we decided to go with pre-primed pine boards. They cost a little bit more, but that's usually the case when you're paying for convenience. We added some caulk to the nail holes, and now our new closet is ready for a coat of fresh paint.
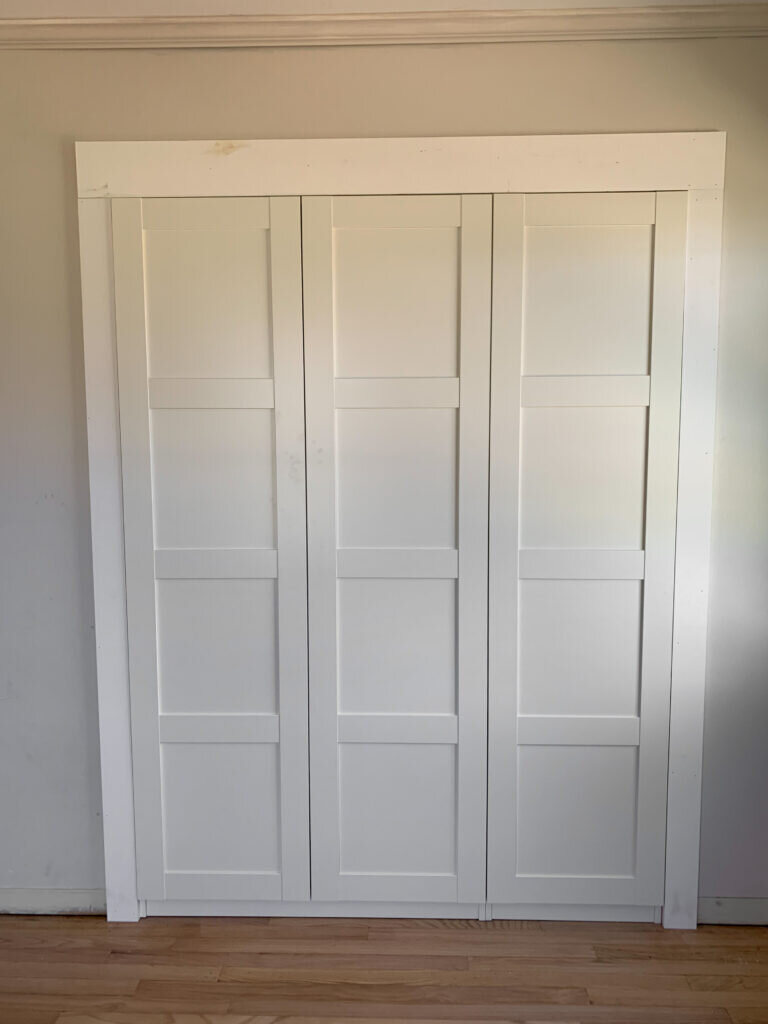
After
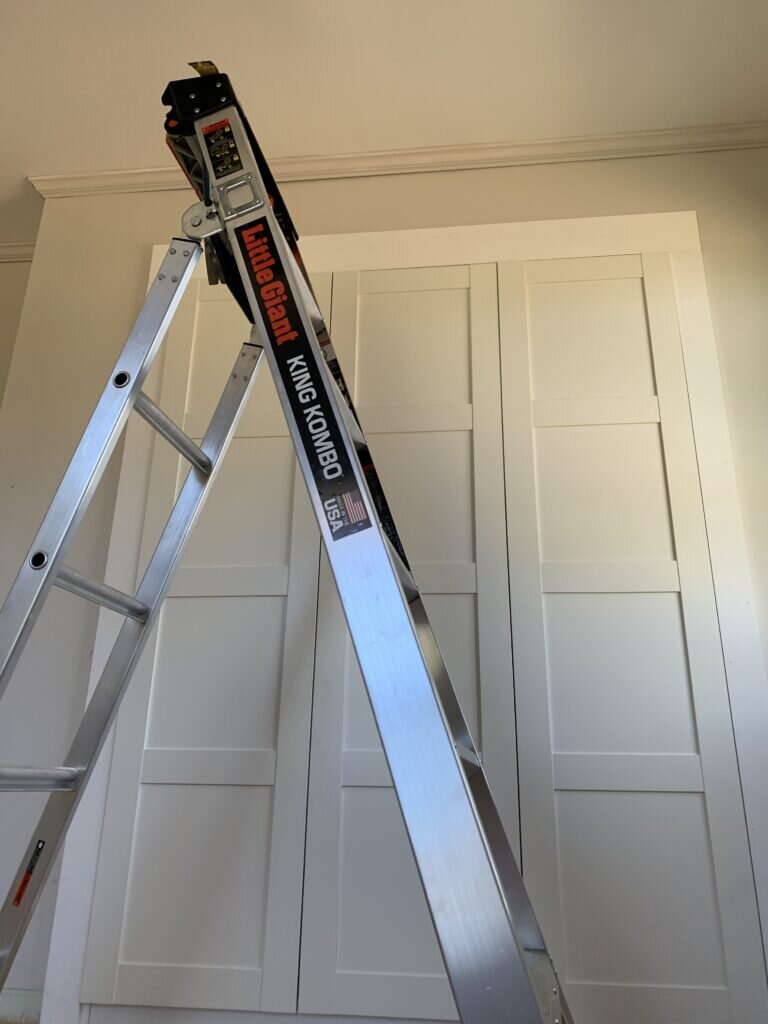
Scot and I are so incredibly thankful for the star of the show. The Little Giant Ladder King Kombo was a game changer for this project. We felt safe, secure, and capable of anything with the help of this ladder.
We totally forgot to get the handles when we were at Ikea, so we ordered them online and they'll be here on Wednesday!
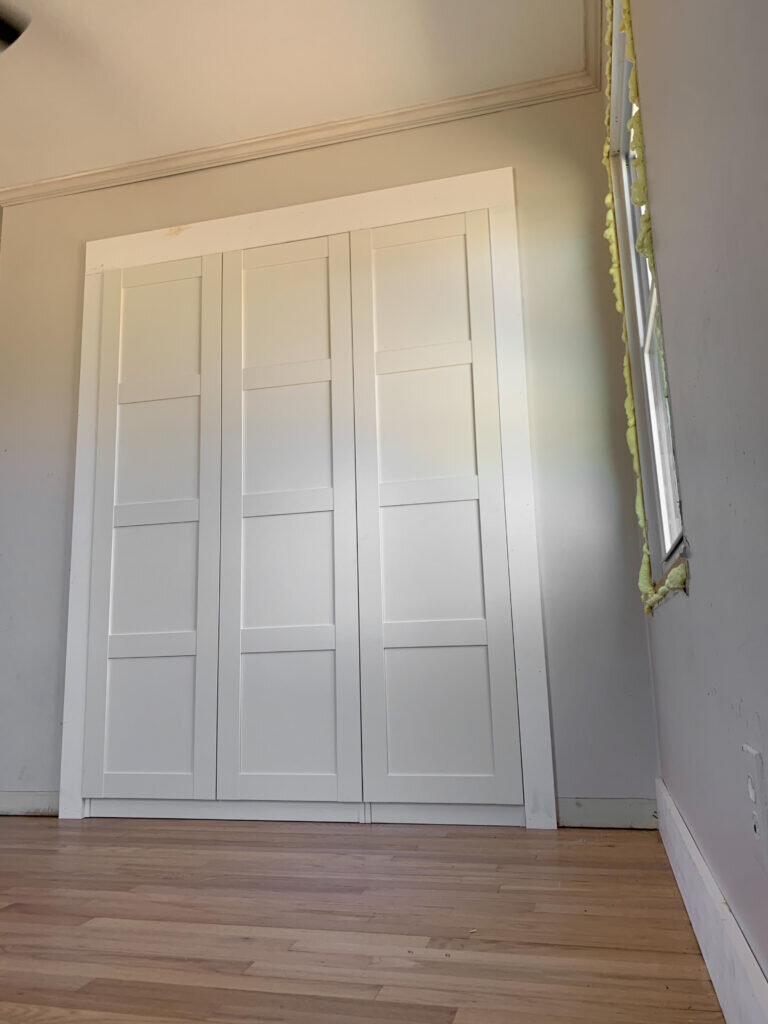
Before and after
A do it yourself project isn't complete without an awesome before and after. Here's how far this reach in closet has come.

Thanks for stopping by and checking out our post on how to upgrade your reach in closet with this amazing system. We hope it was helpful to you, whether you have a reach in closet, or whether you'd like to create your own closet like we did in our daughter's room.
If you're not following us on Instagram or Pinterest, what are you waiting for? We share all of our behind the scenes over there, and we'd love for you to join us for some DIY inspiration! Make sure you save this project for later by pinning the graphic (or any photo from this post) below!